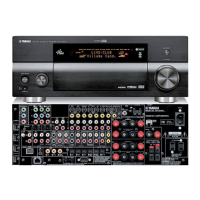
18
RX-V2700/DSP-AX2700
RX-V2700/
DSP-AX2700
■ UPDATING FIRMWARE / ファームウェアーの書き込み
下記の部品をサービス部品に交換した場合、最新のファー
ムウェアの書き込みを行ってください。
DSPP.C.B.
FUNCTIONP.C.B.
D-VIDEOP.C.B.
NETP.C.B.
DSPP.C.B.のIC540 :X8012A00
FUNCTIONP.C.B.のIC402 :X8338A00
D-VIDEOP.C.B.のIC147 :X8072A00
※ NETP.C.B.のIC613はサービス部品として供給でき
ません。
● 必要なツール
・ USBフラッシュメモリー
・ ファームウェア(RXV2700-xxxx.bin)
● 操作手順
1. PCへ指定のダウンロード先から最新のファーム
ウェアをダウンロードしてください。
2. 最新のファームウェアをUSBフラッシュメモリーの
ルートフォルダにコピーします。
注意)ファームウェアをサブフォルダにコピーし
た場合、書き込みできません。
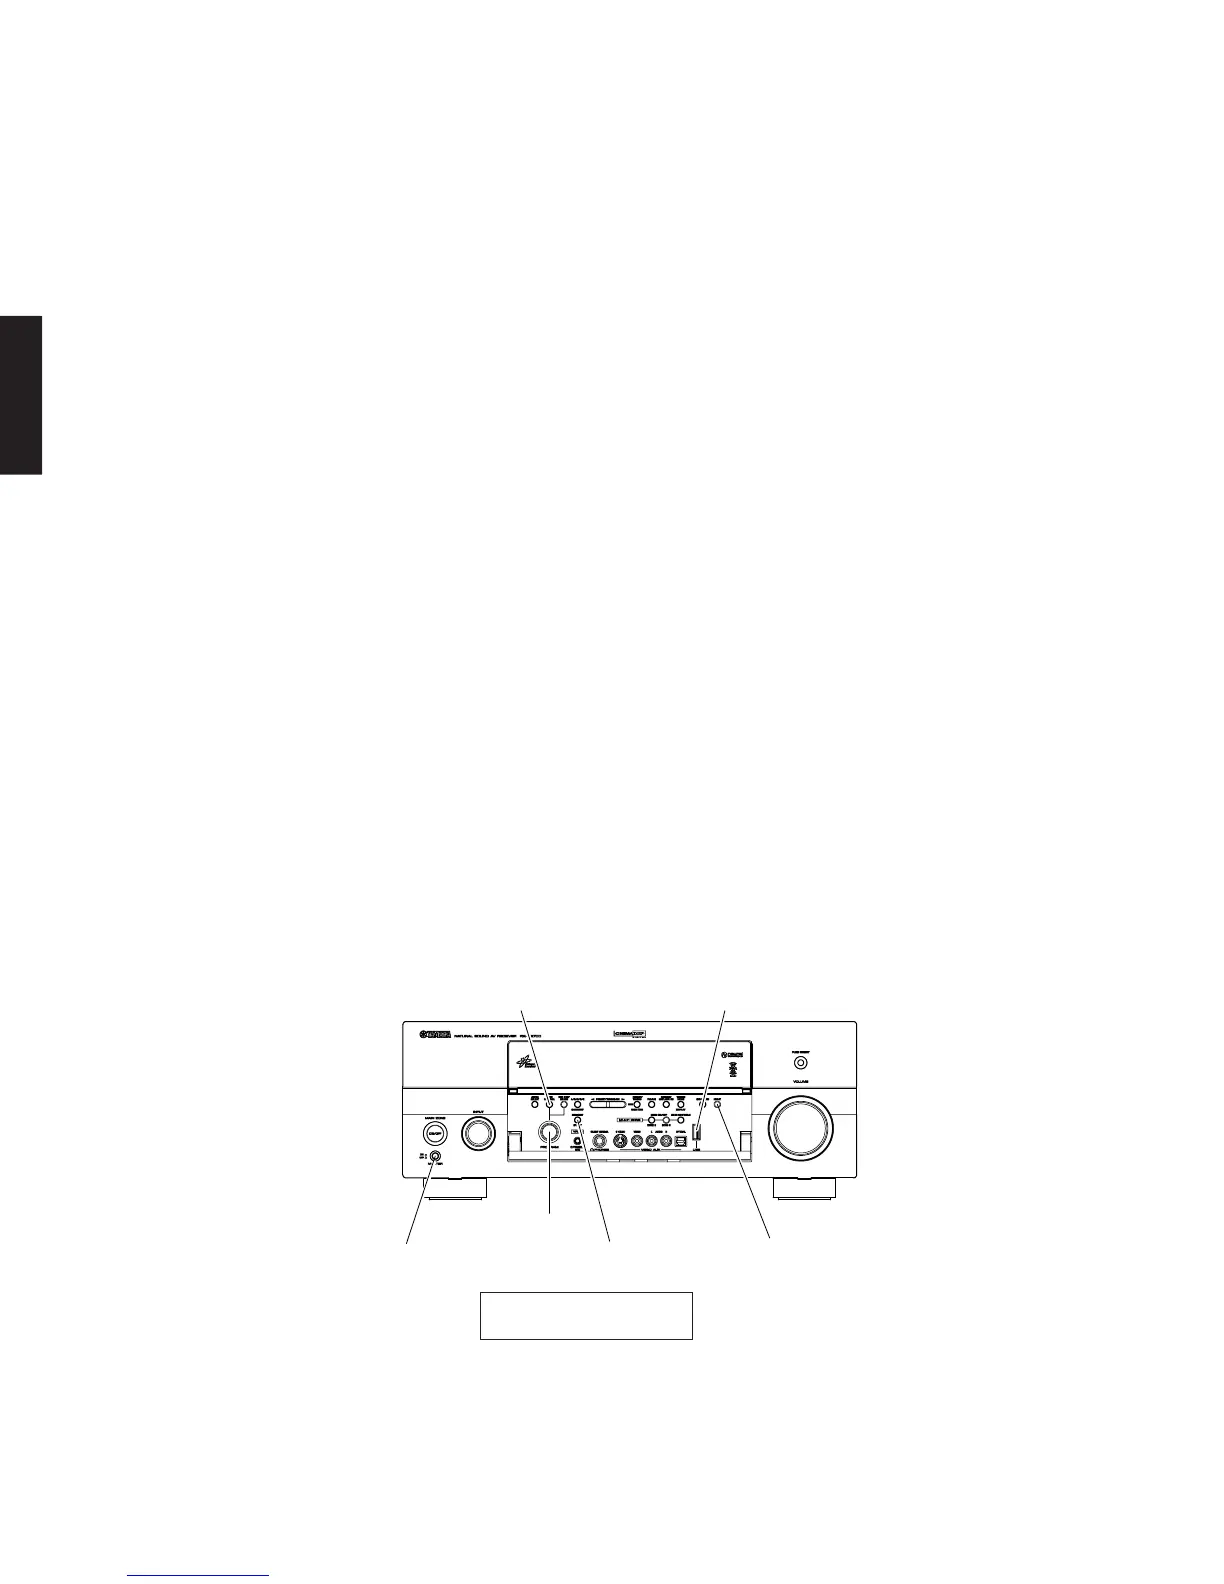
3. 本機の電源コードをACコンセントに接続します。
4. 本機のSTRAIGHTキーを押しながら、MASTER
ON/OFFキーを押し、アドバンスドセットアップ
を起動します。(Fig.1)
When replacing the following parts, be sure to write the
latest firmware.
DSP P.C.B.
FUNCTION P.C.B.
D-VIDEO P.C.B.
NET P.C.B.
IC540 of DSP P.C.B. : X8012A00
IC402 of FUNCTION P.C.B.: X8338A00
IC147 of D-VIDEO P.C.B. : X8072A00
* The IC613 of NET P.C.B. is not supplied as a re-
placement part.
● Required tools
• USB flash memory
• Firmware (RXV2700-xxxx.bin)
● Operation Procedures
1. Download the latest firmware from the specified
download source to PC.
2. Copy the latest firmware into the root folder of the
USB flash memory.
Note) When the firmware is copied into the
sub-folder, it is not possible to write
data in it.
3. Connect the power cable of main unit to the AC out-
let.
4. Press the “MASTER ON/OFF” key of the main unit
while simultaneously pressing the “STRAIGHT”
key of the main unit. Then the ADVANCED SETUP
mode is activated. (Fig. 1)
Fig. 1
5. 本機のNIGHTキーを約3秒間押し続けます。
(Fig.1)
ファームウェアの書き込みが起動します。(Fig.2)
5. Keep pressing the “NIGHT” key of the main unit for
about 3 seconds. (Fig. 1)
Writing of the firmware is started. (Fig. 2)
"MASTER ON / OFF" key
"PROGRAM" knob
"STRAIGHT" key "NIGHT" key
USB terminal"TONE CONTROL" key
SPEAKER IMP.
8ΩMIN
 Loading...