43
DTX-PRO Owner’s Manual
Recording Your Performance
Basic Guide
Recording to a USB Flash Drive
1.
Connect a USB flash drive to the [USB TO DEVICE] terminal on the rear panel.
2.
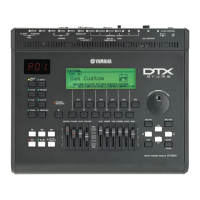
Press the [RECORDER] button.
When a USB flash drive is connected
• You can record up to 90 minutes at a time.
• A new file is created every time you record.
• Simultaneous playback and recording to overdub your performance onto the currently playing
song.
Recording
3.
Press the button below “” ([F1]) to
start recording.
While recording, the
elapsed recording time
(min: sec) appears.
4.
Play the drums.
5.
After you finish playing, press the but-
ton below “ ” ([F1]) to stop recording.
The RECORDER SAVE
screen appears.
6.
Press the button below “SAVE” ([F3])
and save the file.
Press the button below
“CANCEL” ([F2]) if
you do not want to save
the file.
NOTE
If you want to change the file name, press the button below
“NAME” ([F1]) and enter a new name. (page 37)
Playing Back
NOTE
This is not displayed when there
is no recorded song.
3.
Use the [–][+] con-
trollers to select a
song for playback.
NOTE
Up to 1,000 songs are recog-
nized.
4.
Press the button
below “>” ([F2]) to
start playback.
5.
Press the button
below “
” ([F2]) to
stop playback.
Changing Other
Settings
Other settings such as
the playback speed or
the recording source
can be changed. For
more information,
refer to the Reference
Manual (PDF).
The [RECORDER]
button flashes
while recording.
Destination
File name
Playback speed
The RECORDER (USB) screen appears.