| Setting the Camera | 15
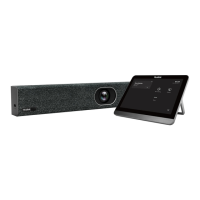
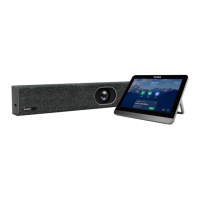
• Controlling MeetingBar A20
• Adjusting the Camera Exposure
• Adjusting the White Balance
• Adjusting the Display Image of the Camera
• Setting the Hangup Mode
• Adjusting the Camera Pan Direction
• Resetting the Camera
Controlling MeetingBar A20
• Enabling/Disabling Auto Framing
• Controlling the Camera
• Creating/Resetting Presets in a Meeting
• Renaming Presets in a Meeting
• Setting Camera to the Preset Position
Enabling/Disabling Auto Framing
With the real-time face detection and position tracking, the auto framing feature can automatically adjust
the camera according to the number and the position of the participants, covering every participant in the
conference.
About this task
This feature will be automatically disabled if you manually use the PTZ feature or adjust the presets after
enabling this feature. If you need to use this feature, re-enable it.
Procedure
1. On the idle screen, tap Settings > General > System Settings > Others.
During a meeting, tap Camera Control.
2. Enable/disable Auto Framing (Auto-framing).
Controlling the Camera
Procedure
1. On the idle screen, tap Settings > General > System Settings > Control.
During a meeting, tap Camera Control.
2.
Tap ( )/ ( ) to zoom in or zoom out the camera.
3. Tap the navigation keys pan or tilt the camera.
Creating/Resetting Presets in a Meeting
Presets are the pre-saved settings of both the angle and the focal length for the camera. You can use it to
quickly point a camera at a pre-defined location.
Procedure
1. During a meeting, tap Camera Control.
2.
Tap / to adjust the focal length.
3. Tap the navigation keys pan or tilt the camera.

 Loading...