3 - 5
ADJUSTMENTS
SM 700820-01E
3
3.7 Flatness Adjustment on the Attenuator board
3.7 Flatness Adjustment on the Attenuator board
NOTE Before performing this Flatness adjustment, the Power supply adjustment must have
been completed.
Procedure
1) Remove the main unit cover and the two fixing plates.
2) Turn power on and allow the unit to warm up for 20 minuets or more.
3) Connect each instrument as shown in Figure 3.3 Connection method.
50 ohm Termination
Function Generator
Cable
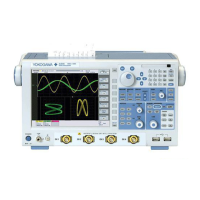
DL2700
Figure 3.3 Connection method
4) Press the [INITIALIZE] key and select the “Initialize” option to execute initialization.
5) Press the [CAL] and “Calibration” option to perform calibration.
6) For adjustment of the /1 range, set up the DL2700 and Function Generator as follows.
DL2700 Ch 1 - 8 Probe: 1:1
Volt/div: 20 mV/div
Tim/div: 200 us/div
ACQ Record Length: 10KW
Function Generator Wave Form: Square wave
Frequency: 1 kHz
Amplitude: 120 mVp-p
7) Adjust the variable resisters (R120 and R220, refer to Figure 3.4 Adjustment point
location diagram) so that the top of the waveform becomes flat as shown in Figure 3.5
Observed waveform. The flatness of the waveform must be fitted within ±0.1 div.
8) For adjustment of the /10 range, set up the DL2700 and Function Generator as follows.
DL2700 Ch 1 - 8 Probe: 1:1
Volt/div: 200 mV/div
Tim/div: 20 us/div
ACQ Record Length: 10KW
Function Generator Wave Form: Square wave
Frequency: 10 kHz
Amplitude: 1.2 Vp-p
 Loading...