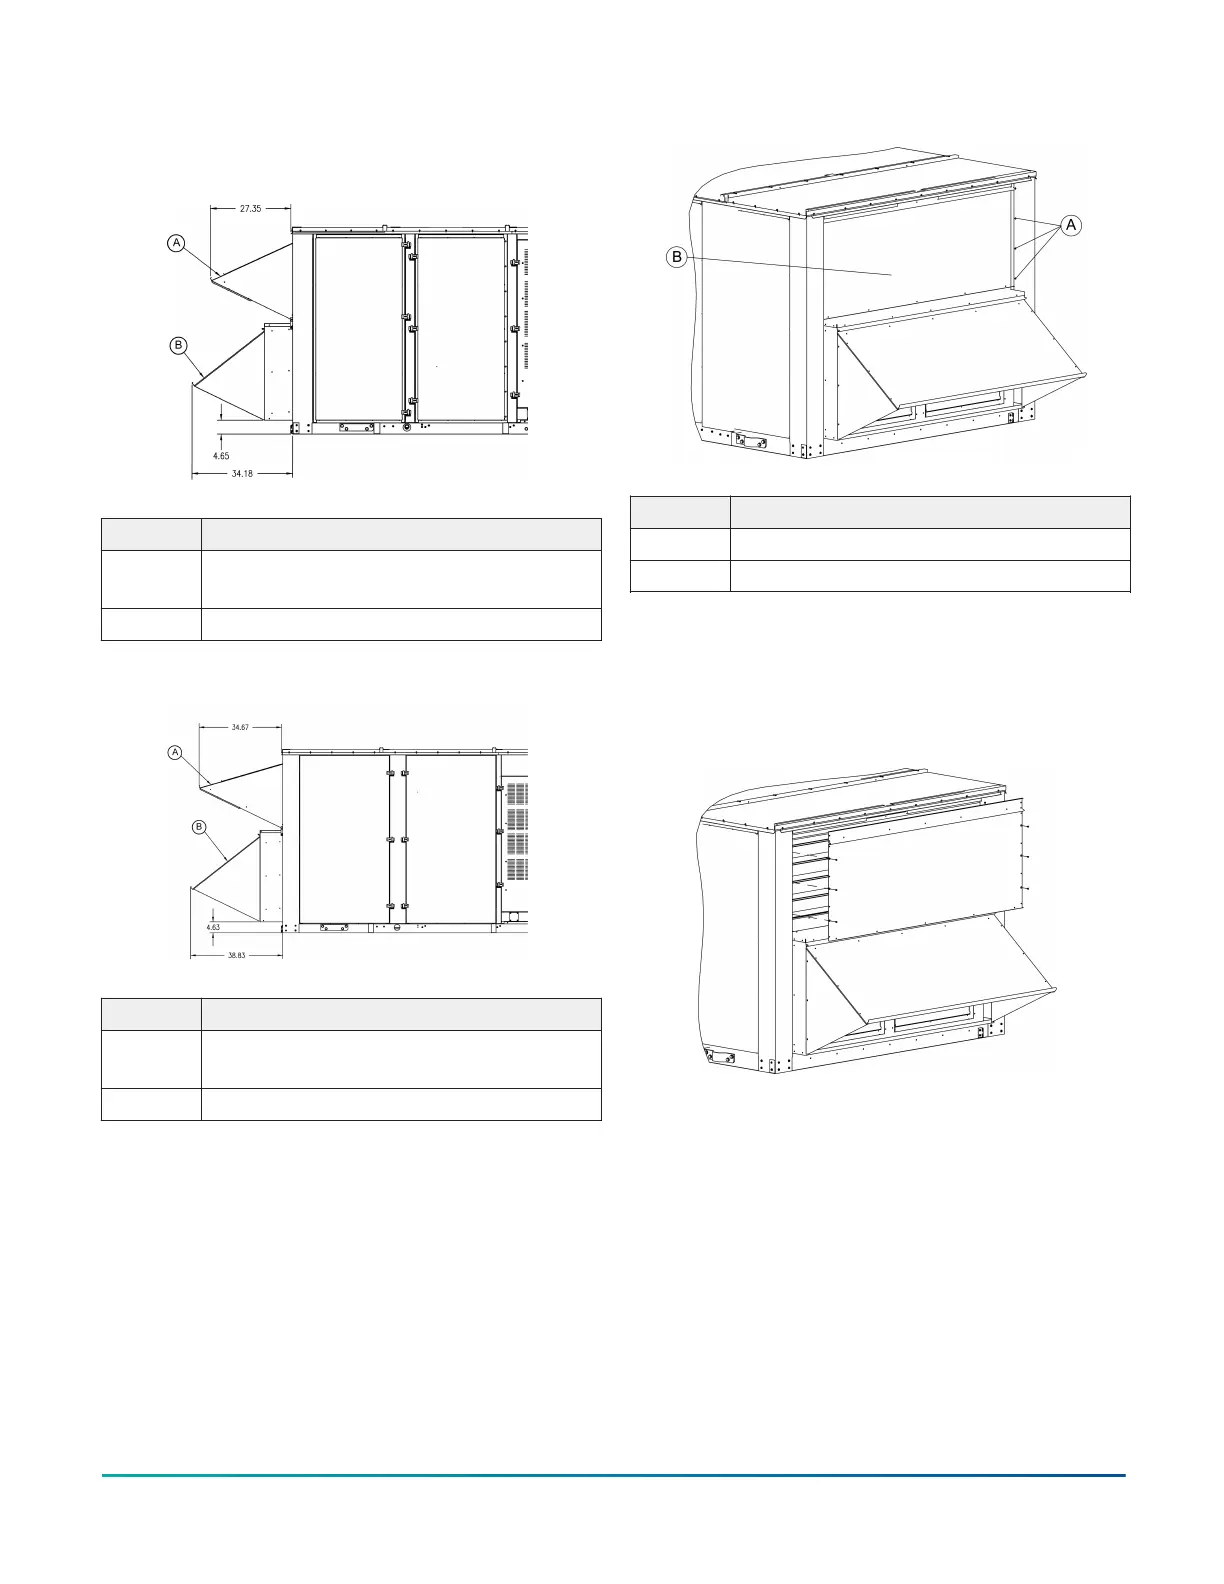
Rain hood dimensions
Figure 5: 27.5 ton to 35 ton rain hood dimensions
Item Description
A
Economizer and manual damper rain
hood
B Power exhaust rain hood
Figure 6: 40 ton to 50 ton rain hood dimensions
Item Description
A
Economizer and manual damper rain
hood
B Power exhaust rain hood
Economizer outdoor air hood assembly
About this task:
After a unit with an economizer is installed in the
field, you must assemble the economizer outdoor
air hood.
To install the outdoor air hood, complete the
following steps.
1. While transporting the unit, the hood top
panel is used as a shipping cover attached to
the unit exterior as shown in Figure 7.
Figure 7: Hood top panel
Item Description
A Screws
B Hood top panel
2. Remove the screws and the hood top panel
as shown in Figure 7 and Figure 8. Keep both
the screws and the top panel for use in a later
step.
Figure 8: Removing the corner screws and top
panel
3. The additional outdoor air hood assembly
parts are shipped behind the top panel
removed in the previous step. This location is
shown in Figure 9.
Installation Manual: YORK
®
Sun
™
Select YV28 to YV50
16
Johnson Controls Ducted Systems