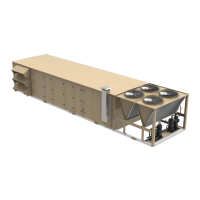
Figure 9: Economizer hood assembly parts
location
Item Description
A
Economizer hood assembly parts
shipping location
4. Using two no. 10 screws that were removed in
Step 2, attach the left side panel and right side
panel to the unit as shown in Figure 10.
Figure 10: Left side and right side panel
mounting
Item Description
A Left side panel
B Right side panel
5. Taking the hood top panel that was removed
in step 2, slide the flange under the lip at the
top of the hood assembly. Lay the panel on
top of the left side and right side panels.
6. Take the small top panel provided with the
assembly components and mount it at the
end of the hood top panel covering the
remainder of the left side and right side
panels. Starting with the small top panel,
attach the two top panels to the left side and
right side panels using the screws provided.
See Figure 11.
Figure 11: Top hood assembly
Item Description
A Hood top panel
B Small top panel
7. To assemble the filter tracks and secure the
filters, insert the first filter track so that the
channel is facing away from the unit.
8. Place the first three filters in the assembly
as shown in Figure 12. Make sure that the
filters rest within the first filter track with
the outdoor edges on top of the L brackets
attached to the inside of the left side and right
side panels.
Installation Manual: YORK
®
Sun
™
Select YV28 to YV50
17
Johnson Controls Ducted Systems
 Loading...