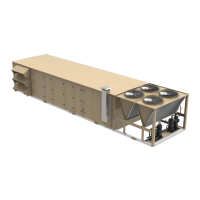
2. Remove the screws and the hood top panel as
shown in Figure 15 and Figure 16. Keep both
the screws and the top panel for use in a later
step.
Figure 16: Removing the screw and top panel
Item Description
A Screws
B Hood top panel
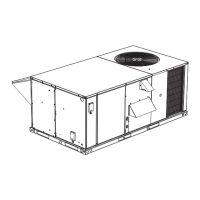
3. The additional outdoor air hood assembly
parts and filters are shipped inside the unit's
return air section. The hardware bag is
shipped in the base of the unit control box.
These locations are shown in Figure 17.
Figure 17: Manual damper hood assembly parts
location
Item Description
A Hardware bag shipping location
B
Filter and assembly components
shipping location
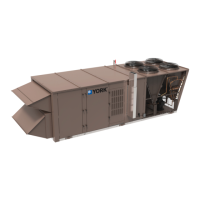
4. Using three of the no. 10 screws that were
removed in Step 2, attach the left side panel
and right side panel to the unit as shown in
Figure 18 and Figure 19.
Figure 18: Left side panel mounting
Item Description
A Screws
B Left side panel
Figure 19: Right side panel mounting
Item Description
A Screws
B Right side panel
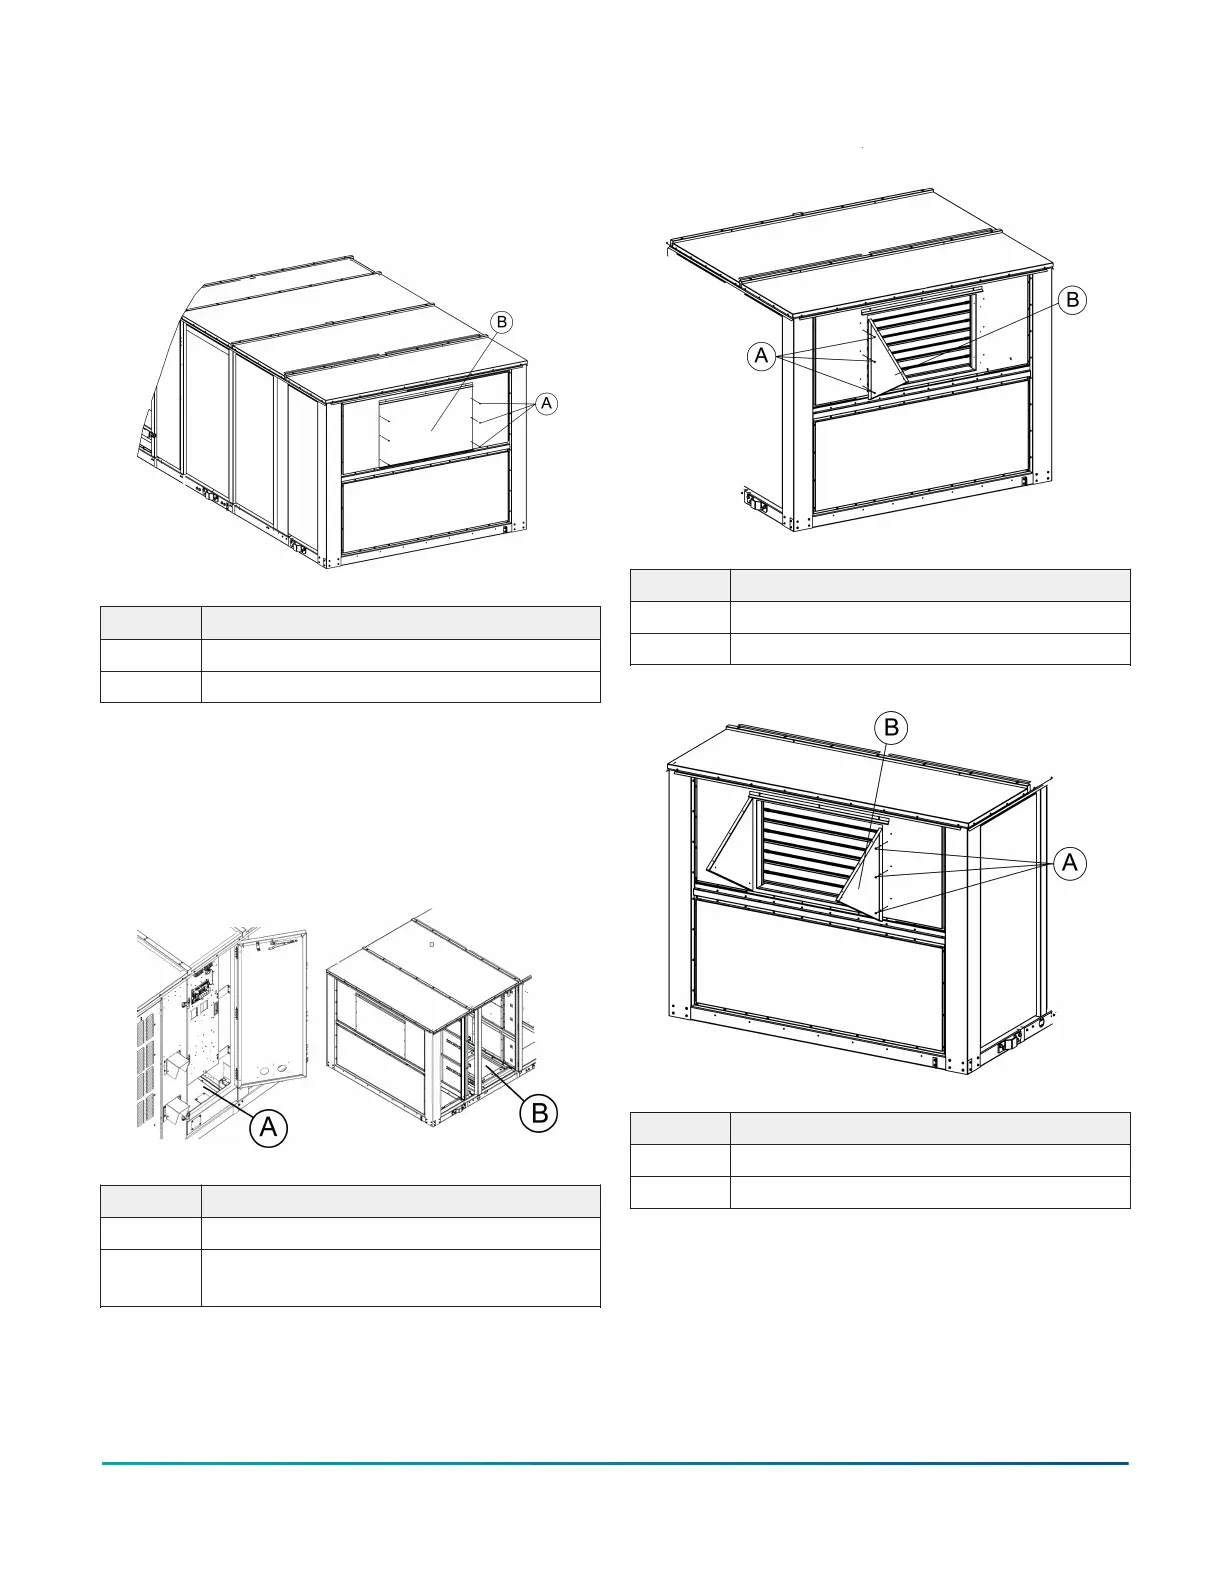
5. As shown in Figure 20, attach the left side
and right side filter support brackets to the
bottom of the side panels using the screws
provided in the hardware bag.
Installation Manual: YORK
®
Sun
™
Select YV28 to YV50
19
Johnson Controls Ducted Systems