DMX Input JesterML Operating Manual
73-406-00 Issue 2.0 39 of 73
• Return to the main Setup menu, and scroll down to find the DMX Input Setup
menu. In this menu, set the Wing Width to 24.
• Return to the main Setup menu, and hold MODE for a few seconds to leave
Setup.
Testing the Setup
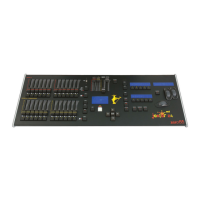
• Put the JesterML into Preset Mode. Set the A Master to full, and the B Master
to zero. Raise the Grand Master to full, and ensure that Blackout is not active.
• On the JesterML, press the Page B button so that the bottom LED is lit and
the STORE button lights up orange.
• On the JesterML, make sure that A FADERS, B STORED is displayed on the
main LCD, if not, press the STORE button so that it is.
• Move the channel faders on the Jester24/48 to fade the channels up and
down. The results can be seen on your dimmers, and on the monitor screen
connected to the JesterML.
• When programming, all operations are performed on the JesterML. Only the
preset faders are used on the Jester24/48.
Saving Shows
All show data is recorded on the JesterML, and so shows should be saved to a USB
memory stick from the JesterML. You may save the default setup of the Jester24/48
too if you wish, but there is no real need since this will only contain the default 1:1
patch on that desk.
Memories & Submasters on the JesterML will include the preset channels recorded
from the Jester24/48. Other channels from the DMX Input are ignored and not
recorded – in this simple setup these will all be at zero anyhow.