6
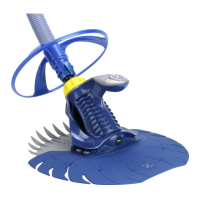
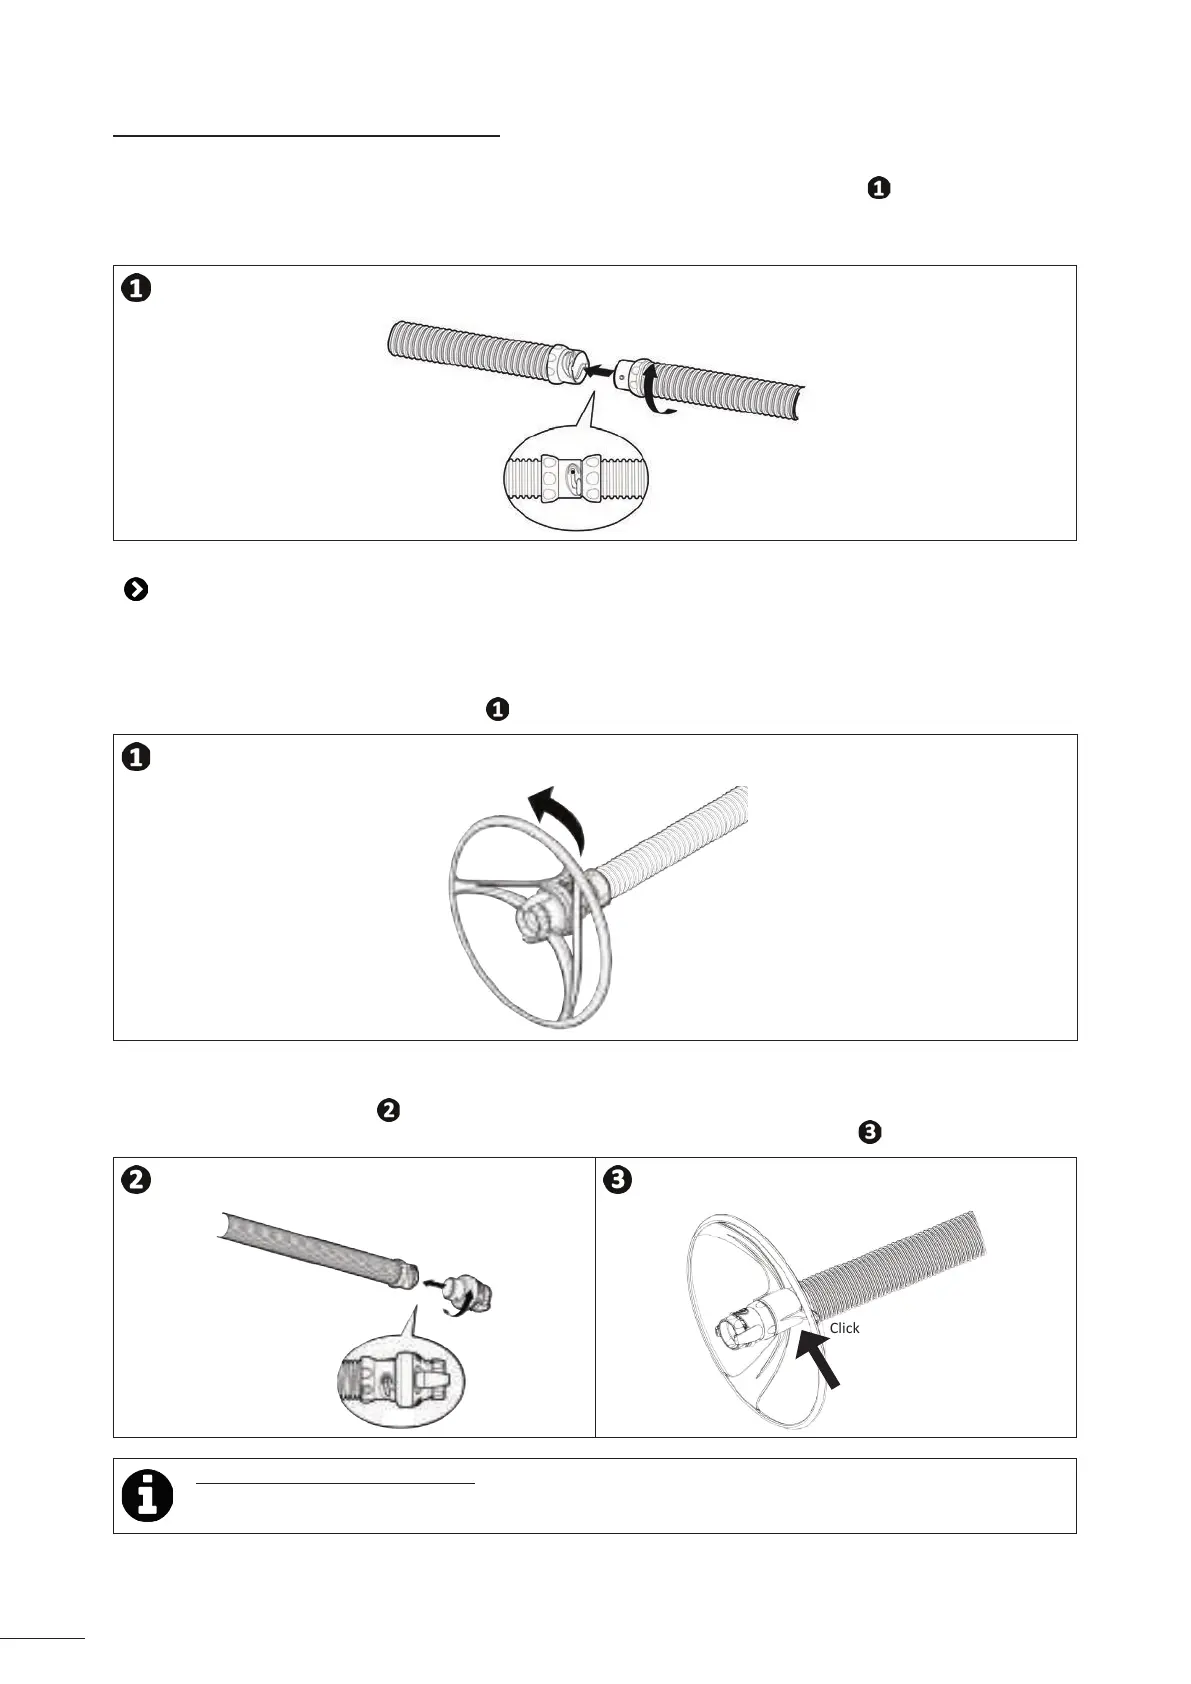
2.2.2 Assembling Twist Lock hose secons
• To easily assemble two hose secons using the Twist Lock system, lock them together and twist them as far as you can
unl the connectors reach maximum abutment in one of the 3 sealing notches (see image ).
• The hose secon that holds the counterweight should be connected to the cleaner. The counterweight must be
1 metre from the cleaner.
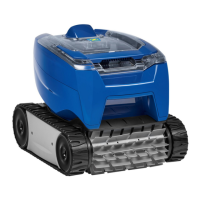
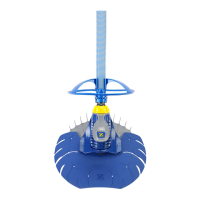
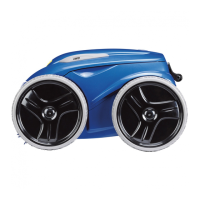
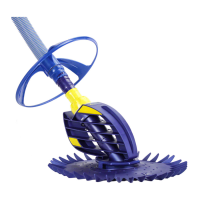
2.3 I Installing the wheel deector and quick connector (depending on the model)
The wheel deector helps the cleaner move around steps and other obstacles in the pool.
For the T3 / R3 / B3 models, the quick connector is integrated into the wheel deector:
• Assemble the wheel deector on the end of the last hose secon by twisng a quarter turn to posion the catch
inside one of the three notches (see image ).
For the T5 Duo model, the quick connector is not integrated into the wheel deector:
• Assemble the quick connector on the end of the hose by twisng a quarter turn to posion the catch inside one of
the three notches (see image ).
• Clip the wheel deector onto the hose immediately aer the quick connector (see image ).
Click
Tip: installing the quick connector
When installing the quick connector, the catch does not need to be clipped inside the last notch when rst
using the appliance.
 Loading...