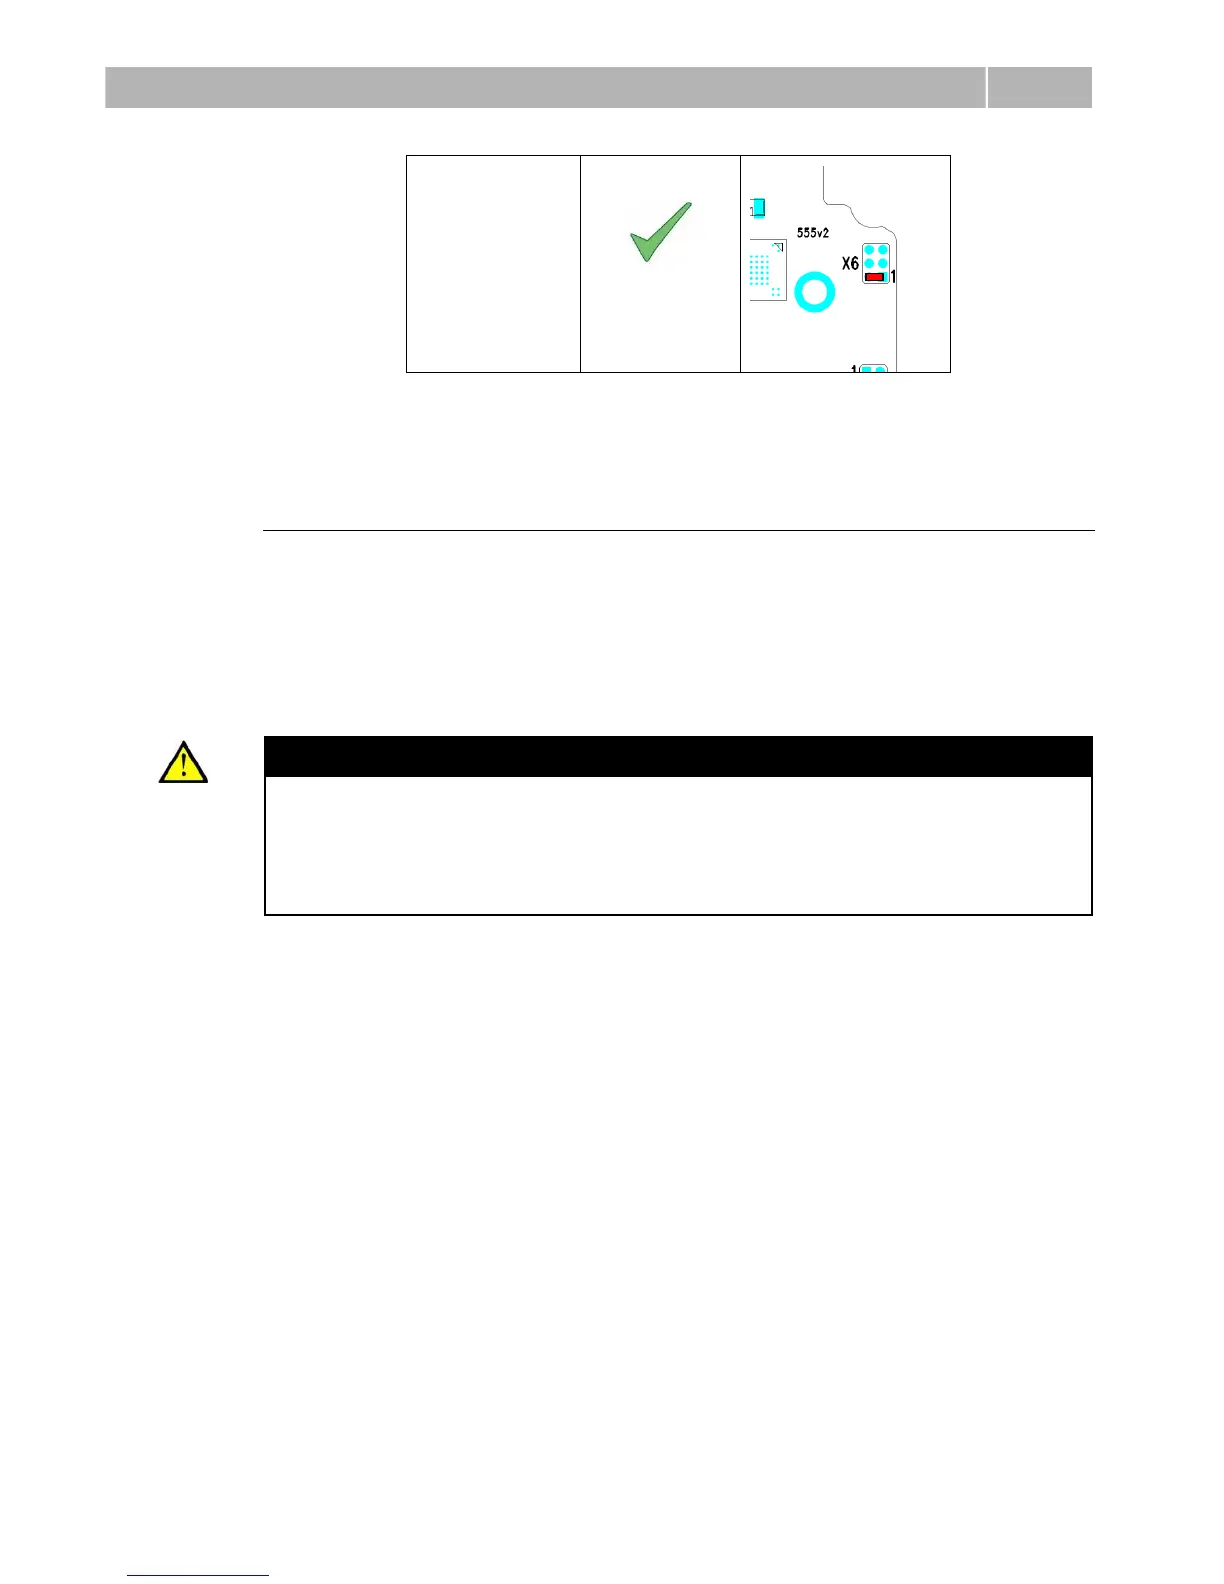
Table 2.1 Configuration Jumpers X6
Mounting Completion
1. Having connected all the wires, make sure that the bushings, if used, are
tightened properly and the RJ-45 connector is inserted in the PCB connector.
2. Connect the pushbutton cable (to X5) and place the front cover carefully. Make
sure that the connector is inserted correctly and the wires inside the device leave
enough space for the board if you are installing a four-button board. Tighten the
four screws thoroughly with the wrench enclosed (Torx 20) to make the panel fit
tightly to the metal chassis.
Caution
An incorrect mounting may compromise the intercom watertightness.
Water leakage may damage the electronic part of the system.
Stainless steel screws are used for the 2N
®
Helios IP Safety assembly.
Other screws than stainless steel ones corrode soon and may aesthetically
deteriorate the surrounding environment!
 Loading...