NOTE: The camera will reboot when you save the settings.
6. After the configuration, connect the camera to the protected network.
Integration Protocol
Purpose:
If you need to access the camera through a the third party platform, you can enable ****-CGI function. If you
need to access to the device through ONVIF protocol, you can configure ONVIF users in this interface. Refer to
ONVIF standard for detailed configuration rules.
Steps:
1. Enter the Integration Protocol configuration interface: Configuration > Network > Advanced Settings >
Integration Protocol
b.
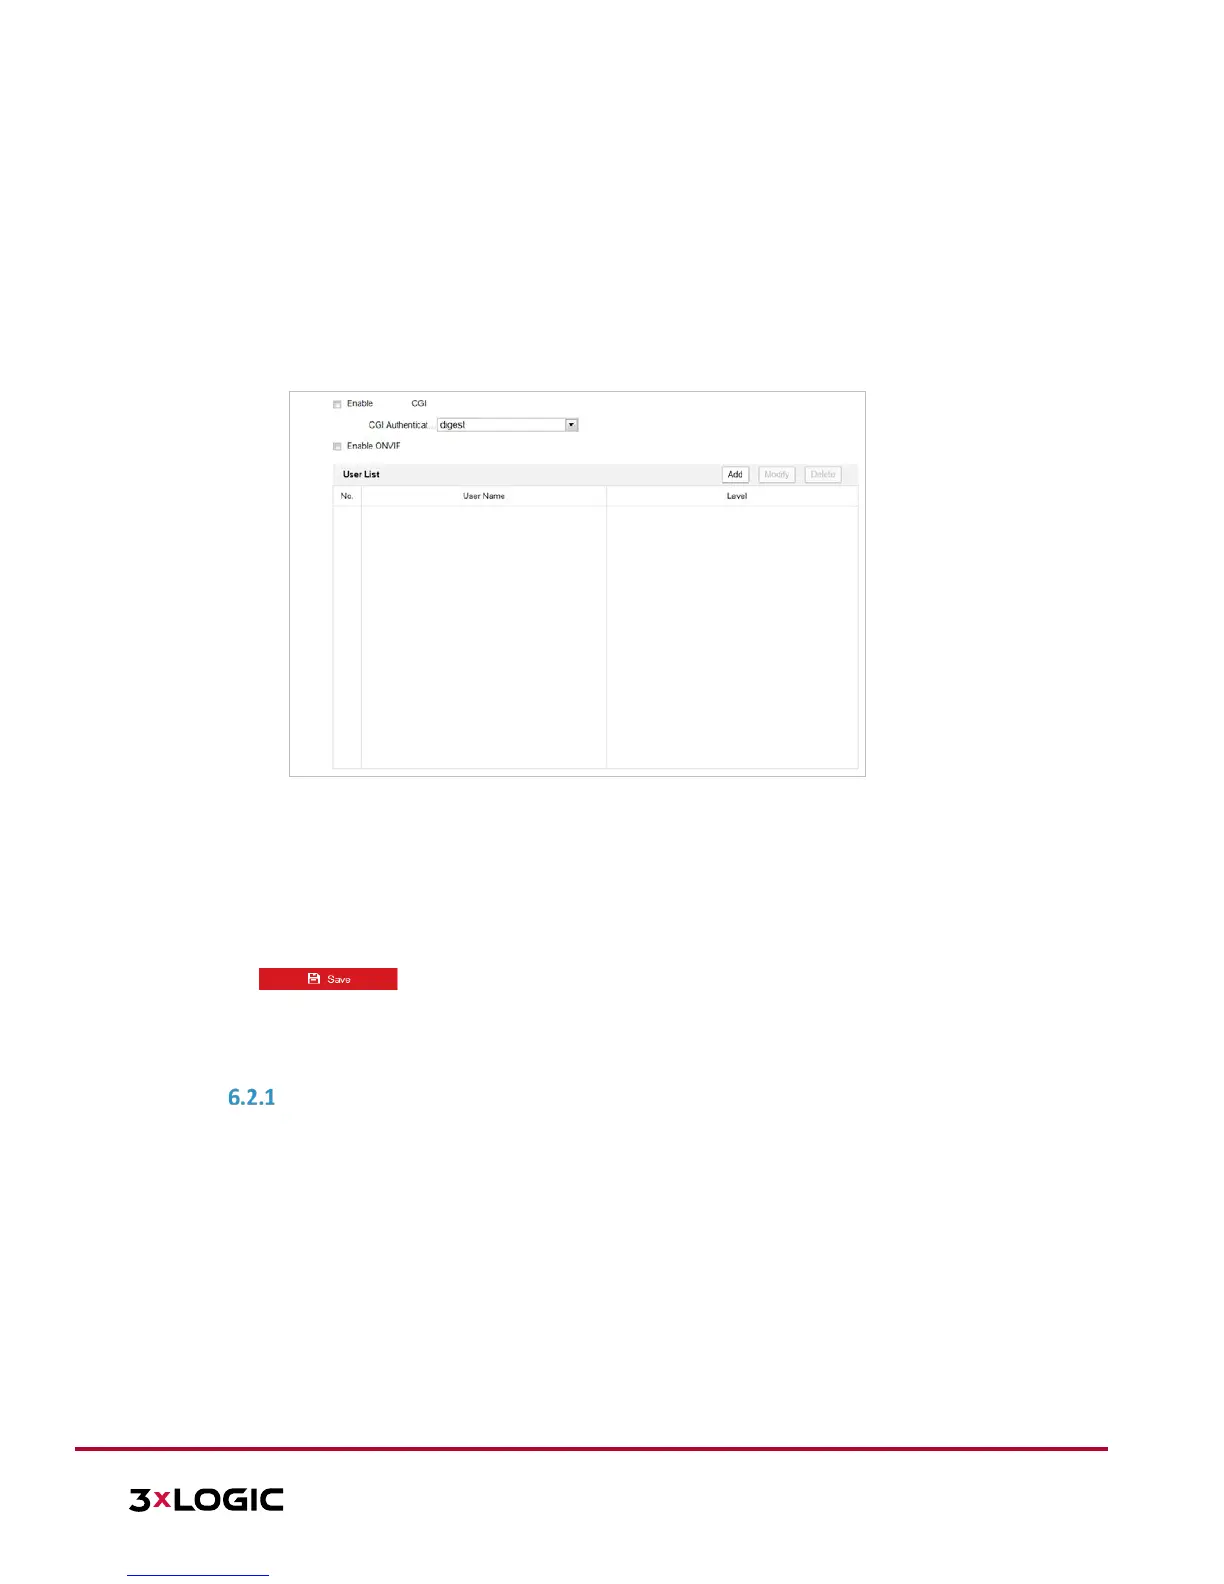
Figure 6-18 Integration Protocol Settings
2. Toggle the Enable ****-CGI checkbox and then select the authentication from the dropdown list. Access to
the camera through a third party platform can then be granted.
3. Toggle the Enable ONVIF checkbox to enable the function.
4. Click Add to add a new ONVIF user. Set the user name and password, and confirm the password. The user
can set the user as media user, operator, or administrator.
5. Click Modify to modify the information of the added ONVIF user.
6. Click Delete to delete the selected ONVIF user.
7. Click to save the settings
6.2 Configuring Video and Audio Settings
CONFIGURING VIDEO SETTINGS
Steps:
1. Enter the Video settings interface: Configuration > Video/Audio > Video
 Loading...