Installing the VetScan HM5 2-5
13. Attach the waste tube (red) to the top of the large white waste cap. Leave the other ends of the
five reagent tubes free for now.
14. Place the white waste cap on the white waste bottle. This bottle can rest below the analyzer to
provide more room on the counter.
15. If needed, attach the mini-keyboard to a USB Type A port on the back of the analyzer.
16. Turn the analyzer on using the power switch on the back.
17. Allow the analyzer to boot up and initialize.
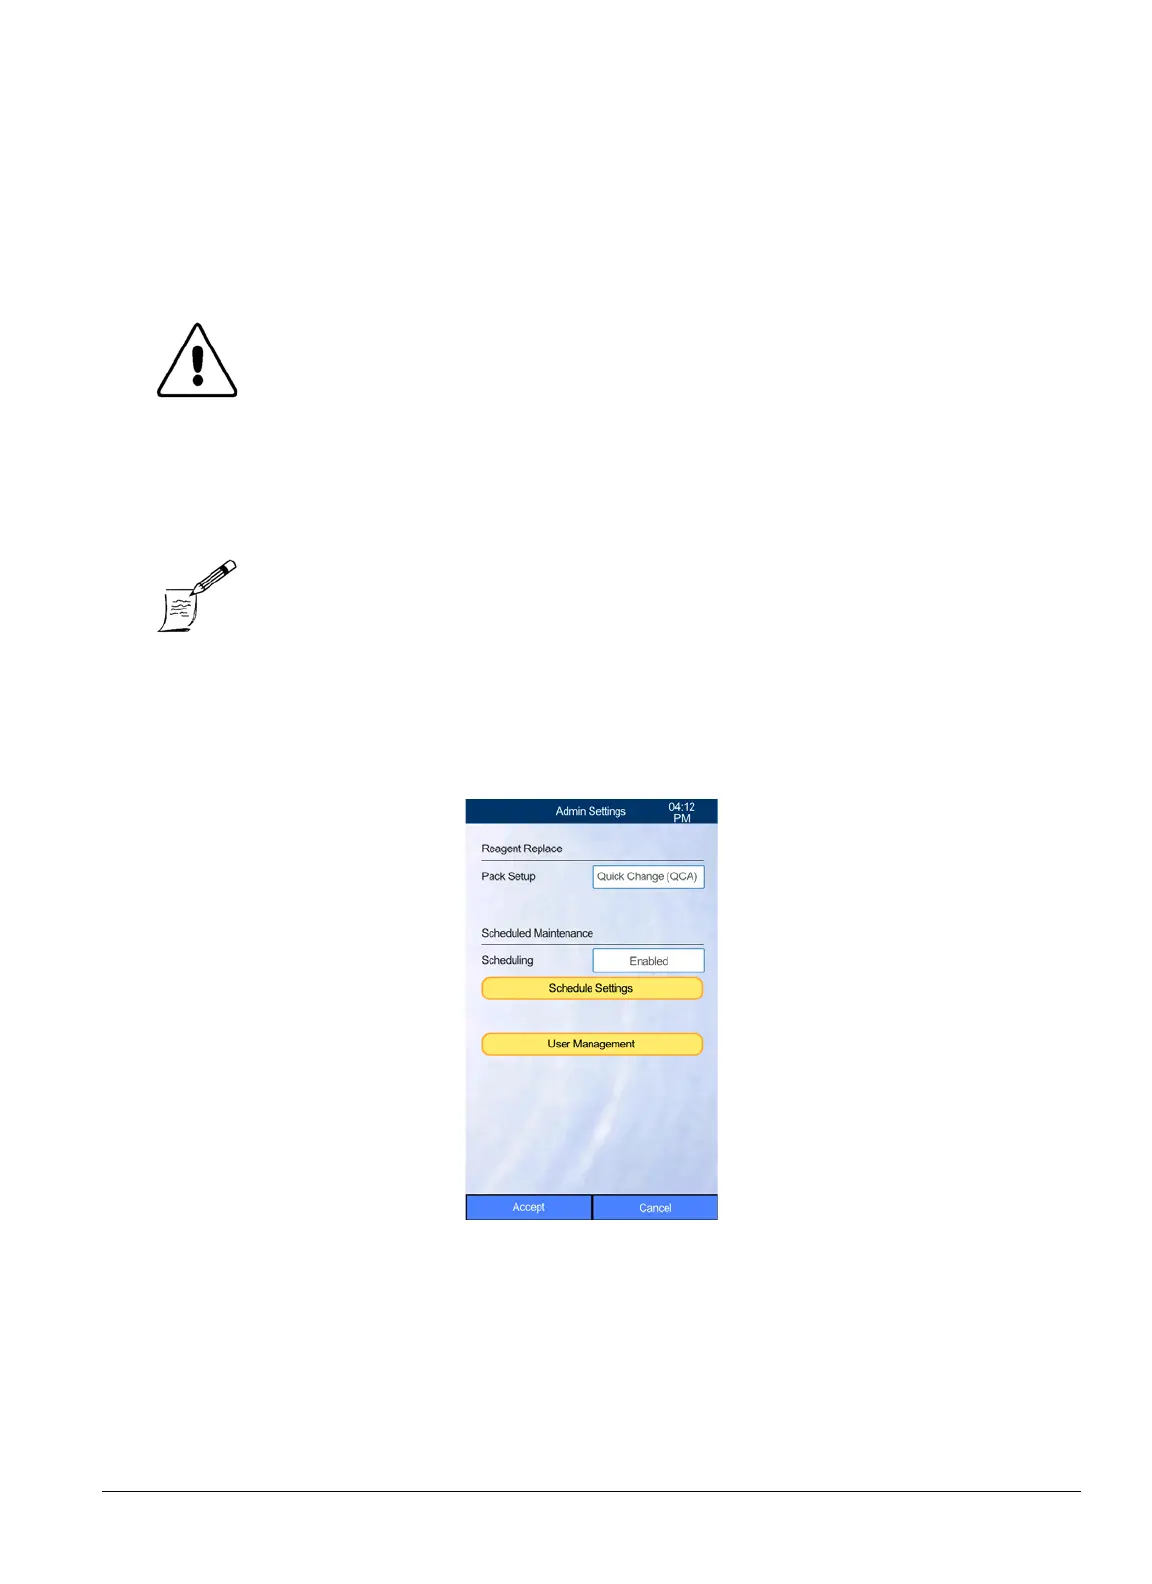
18. On the HM5’s Home screen, select
Settings > Admin Settings
.
CAUTION: If the analyzer has been kept at a temperature below 50 ºF (10 ºC),
allow it to sit for at least an hour at the correct operating tempera-
ture (59–86 °F, 15–30 °C) before using it.
Note: When the analyzer is turned on, it first performs a startup routine: all
moving parts are tested, tubing is primed, sensors are calibrated, and
automatic self-cleanings are performed. This process will take about 2
minutes.
 Loading...