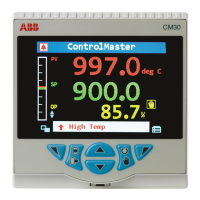
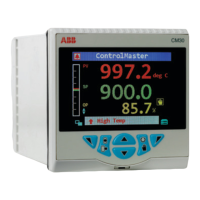
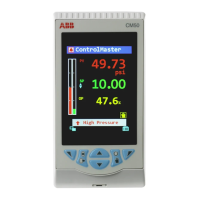
ControlMaster CM30 and CM50
Universal process controllers,
1
/4 and
1
/2 DIN 4 Installation
IM/CM/ED–EN Rev. B 9
4.3 Mounting
ControlMaster is designed for panel mounting. For
NEMA4X protection, a panel thickness of 2.5 mm
(0.1
in.) is required.
To panel-mount the controller:
1. Cut a hole of the correct size for the
controller in the panel (see page
8 for
dimensions).
2. Insert the controller into the panel cut-out.
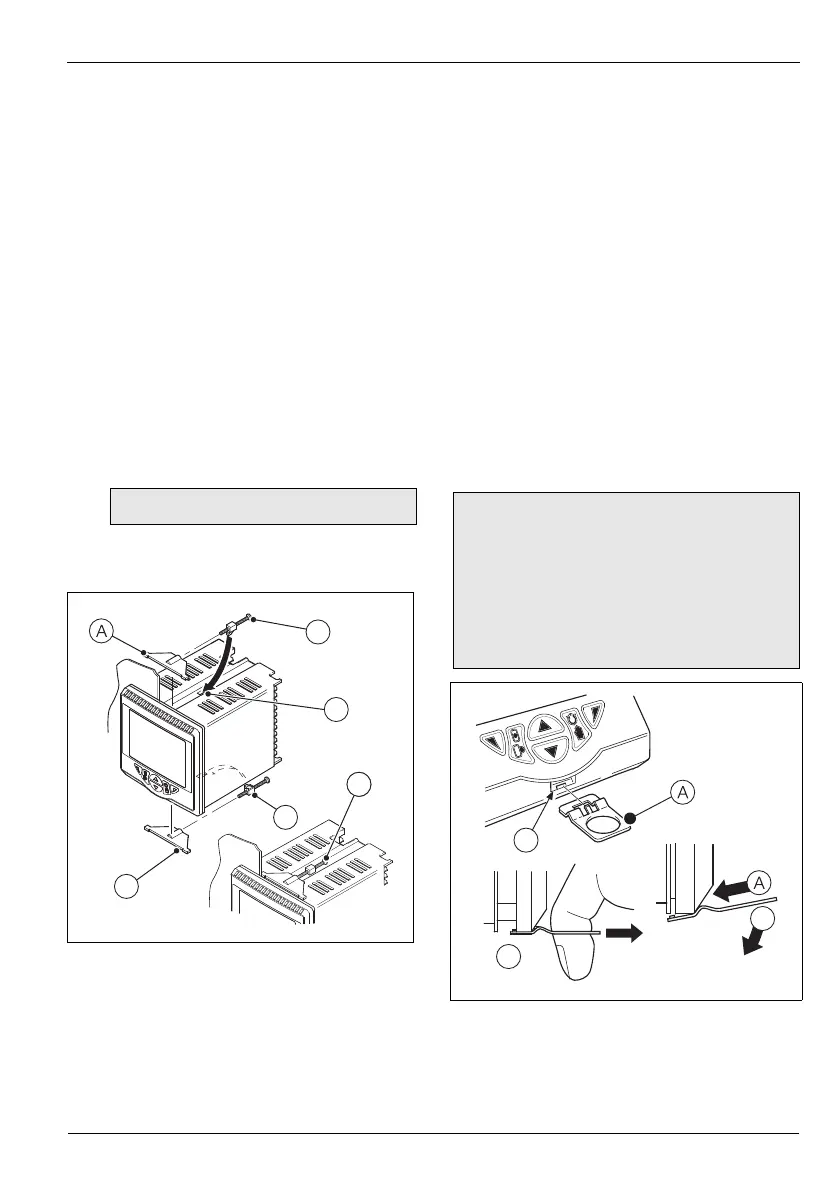
Referring to Fig. 4.5:
3. Position the upper panel clamp A at the
top front of the case against the panel.
4. Locate the panel clamp anchor B in slot
C.
5. Tighten the panel clamp anchor screw D
until panel clamp A is secured against the
panel.
6. Repeat steps 3 to 5 to fit the lower panel
clamp
E and panel clamp anchor F.
4.4 Jumper Links for Relay Outputs
The factory-set default for relay action is N/O.
4.4.1 Removing the Controller
from its Case
The ControlMaster inner assembly must be
removed from its case to access the relay contact
jumper links.
Referring to Fig. 4.6:
1. Insert the bezel release tool A (supplied)
into the front panel slot
B below the
function keys.
2. Press the bezel release tool A fully in and
then down
C until the shoulder on the tool
engages with the notch behind the
controller front plate.
3. Pull the bezel release tool A to withdraw
the inner assembly from the case
D.
Note. Do not overtighten the screw.
Fig. 4.5 Mounting Details
Note. If the bezel release tool is mislaid, 2 small
flat-headed screwdrivers (4 mm [0.15 in.]) can
be used as alternative tools, one inserted into
the front panel slot and the second for leverage
in the notch on the underside of the controller
front plate. The notch is the only area that can
be used as a leverage point – do not attempt to
lever the front panel from any other area.
Fig. 4.6 Removing the Controller from its Case