2TSA451011P0000 Rev-B © 2020 Emax 2 Retrofill Circuit Breakers 600A-4000A | 37
18. Extend the racking tool to create a cranking device (figure 76) shows the racking tool
extended.
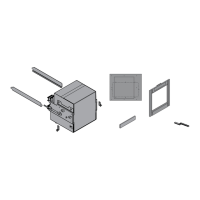
Figure 74
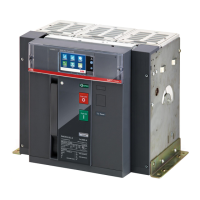
Racking Assembly Inside Switchgear Compartment (w/no breaker)
19. Insert a screwdriver in slot or rack-out lock, and turn it clockwise 90° so that racking
handle shutter opens and insert racking tool. (It resembles a vehicle ignition lock. See
figure 76)
Figure 75
Shutter
20. Insert the tool so it engages the racking mechanism inside the hole.
21. Then, crank clockwise so that the breaker starts to move in, slowly sliding forward.
Rotating clockwise ~ 37 turns racks the circuit breaker all the way into the cassette.
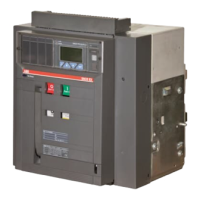
Figure 76
Crank or Racking Handle Inserted
back of this to allow the racking
tool to be inserted in this hole
Blade screw driver inserted here
Torque clockwise to limit of travel
handle inserted here

 Loading...