39
5
To mark the test as a control test, Press
and Release the
button once.
shows on the display window.
Important: If you do not mark the test as a control test,
it will be saved in your meter’s memory as one of your
personal blood glucose or blood β-Ketone results. This
could affect your blood glucose averages.
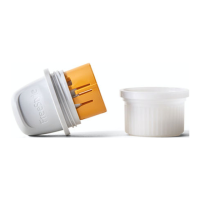
Applying Control Solution to the Test Strip
1
Turn the control solution bottle upside down three to
four times to mix the solution.
2
Remove the cap.
3
Apply a drop of control solution to
the test strip in the area shown here.
The control solution is drawn into
the test strip.
4
Continue to touch the control solution to the test strip
until the meter begins the test.
The meter begins the test when:
•You hear the beeper, if the beeper is ON.
•The display window shows the status bar.
•Then the display window shows the countdown.
40
Status bar
Countdown
Note: Do not remove the test strip from the meter or disturb it
during the countdown.
Important: If the countdown does not start:
What It Means:
You might not have applied enough control
solution to the test strip.
What to Do:
• Discard the test strip, turn off your meter, and
try again with a new test strip.
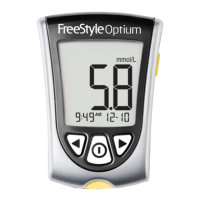
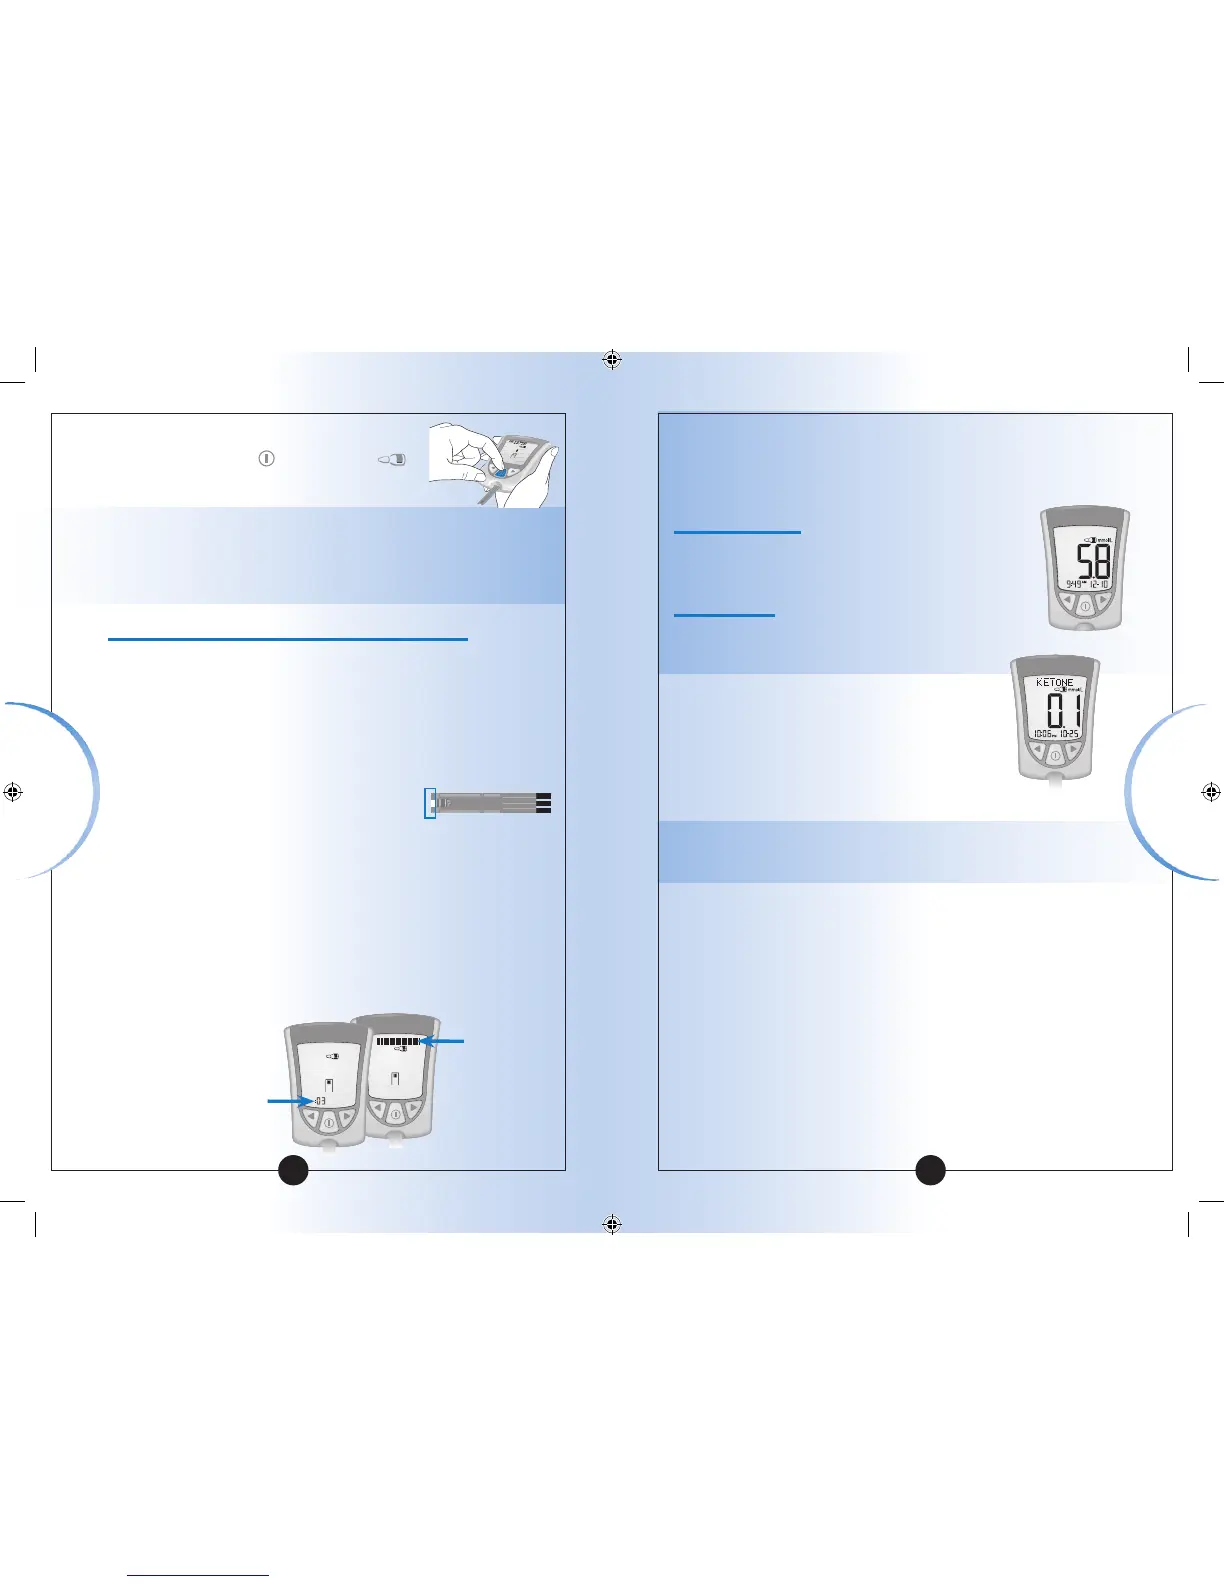
5
At the end of the countdown:
• If the beeper is ON, listen for the
beeper.
• The control result shows on the display
window.
Note: If you are doing a β-Ketone control solution test,
KETONE will also show with the result.
• The result is stored in your meter’s memory as a control
result. In your logbook, record the result as a control result.
Glucose
β-Ketone
Control Solution
Testing
Control
Solution Testing