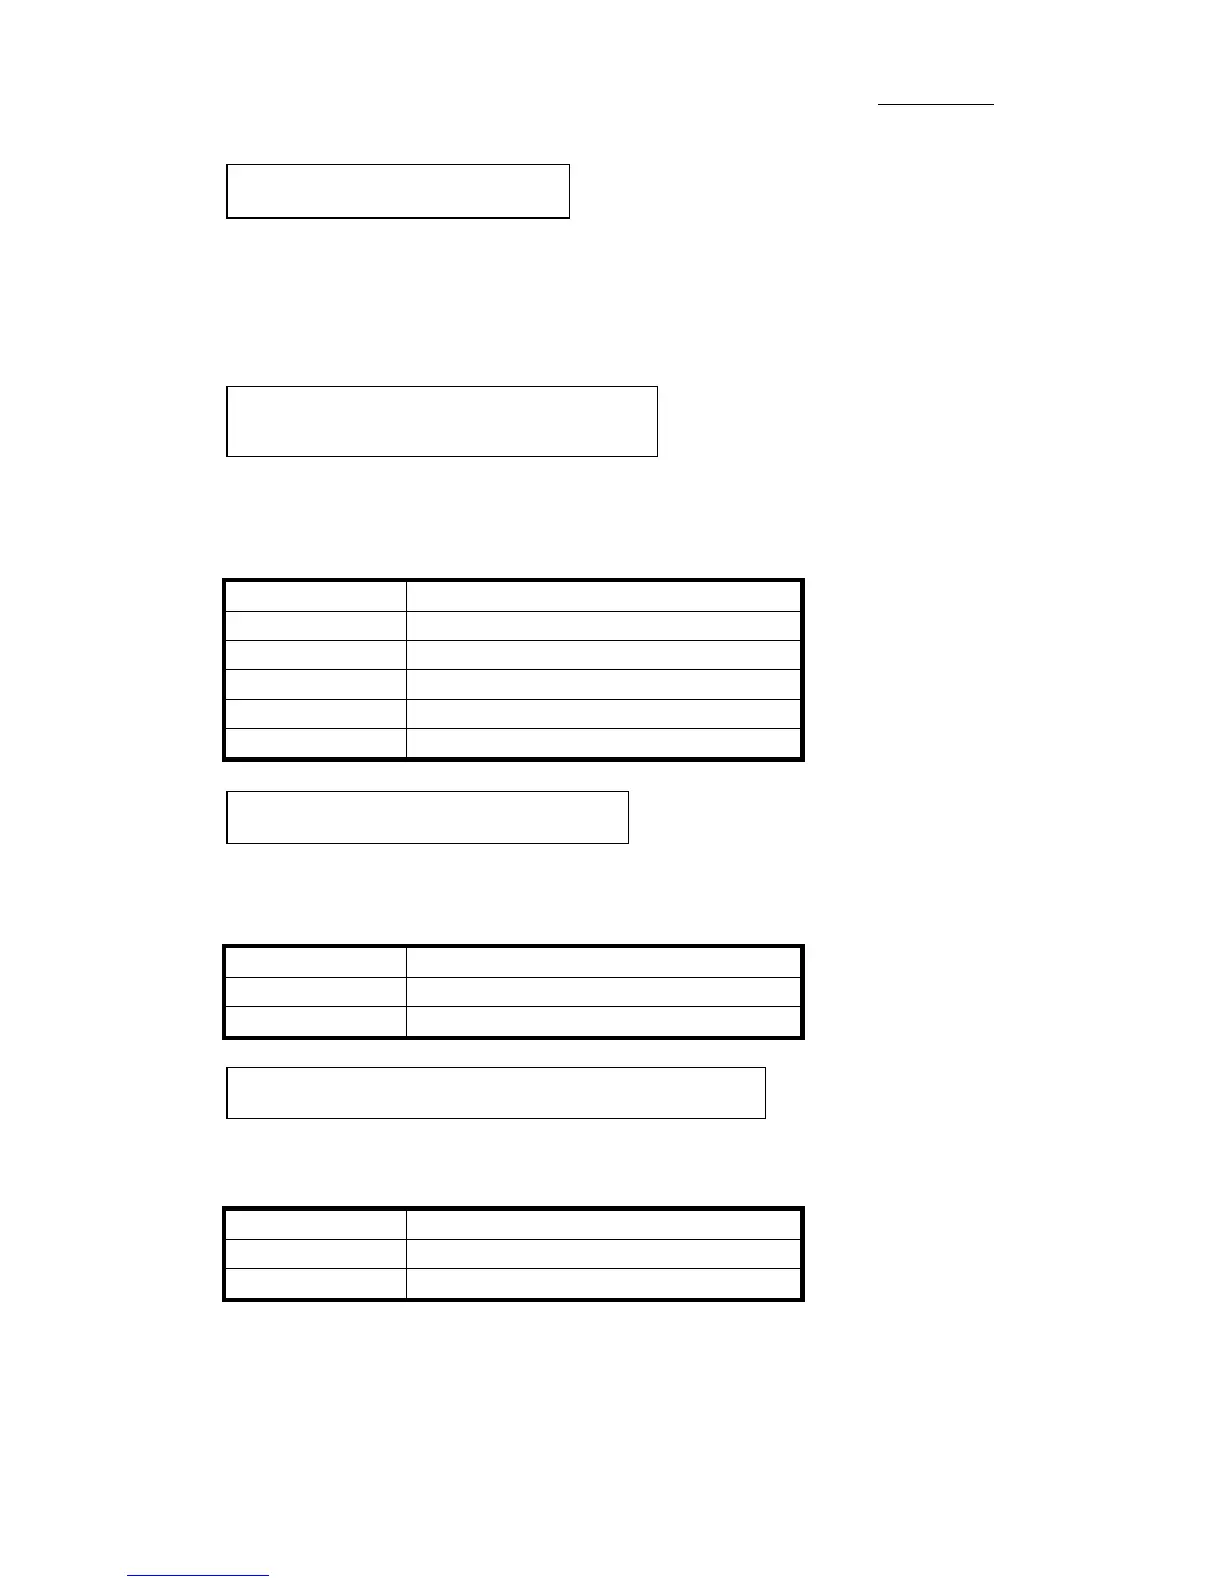
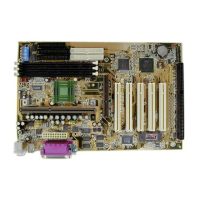
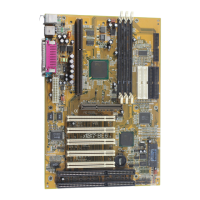
Appendix AA-2
Watch the pin position and the orientation
IDE2 (Secondary IDE):
Connect one end of the 40-pin cable that comes with
the drive to the CD-ROM connector, and the other end to the IDE2 pin
connector on the motherboard.
Note:
Be sure that the red line on the cable connects to the first pin of the
connectors.
Watch the pin position and the
orientation
PN1 Pin 1-5:
There is a specific orientation for pin 1 to pin 5. Insert the two-
threads keylock cable into pin 4 and pin 5, and three-threads power LED cable
to Pin 1 ~ pin 3. Correct pins of header on the motherboard.
Pin number Name of the signal or signification
1 +5VDC
2 No connection
3 Ground
4 Keyboard inhibit Signal
5 Ground
Watch the pin position and the
orientation
PN1 Pin 6-7:
There is a specific orientation for pin 6 and pin 7. Connect the
two-threads IDE HDD LED connector of the computer case to correct pins of
header on the motherboard.
Pin number Name of the signal or signification
6 LED power
7 HDD active
PN1 Pin 8-9 :
There is no specific orientation for pin 8 and pin 9. Connect the
two-threads power switch cable to the PN1 header pins on the motherboard.
Pin number Name of the signal or signification
8 Ground
9 Power On/Off switch
Installing CD-ROM drive
Installing Keylock and power LED
connectors
Installing HDD LED connector
Installing power On/Off switch connector