Appendix AA-4
Pin number Name or significance of signal
9LED Power
10 Suspend LED active
Watch the pin position and
the orientation
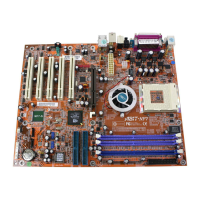
CONT1:
Connect the power supply unit to the correct connectors on the
motherboard.
Pin number
Name of the signal or
signification
Pin
number
Name of the signal or
signification
1 +3.3VDC 11 +3.3VDC
2 +3.3VDC 12 -12VDC
3 Ground 13 Ground
4 +5VDC 14 ON/OFF control signal
5 Ground 15 Ground
6 +5VDC 16 Ground
7 Ground 17 Ground
8 Power Good 18 -5VDC
9 +5VSB 19 +5VDC
10 +12VDC 20 +5VDC
Watch the pin position and the
orientation
KM1 lower connector:
There is an orientation pin. Connect your PS/2
keyboard connector to the connector on back side of the motherboard.
Watch the pin position and the orientation
KM1 upper connector:
There is an orientation pin. Connect your PS/2 mouse
connector to the connector on the back side of the motherboard.
Watch the pin position and
the orientation
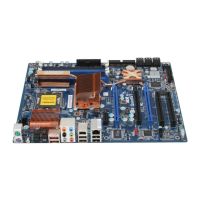
FAN:
There is a specific orientation. Connect the three-threads fan power cable
to the fan header on the motherboard.
FAN1 (CPU FAN), FAN2
Installing ATX Power input connector
Installing Keyboard connector
Installing PS/2 Mouse
Installing CPU fan power connector