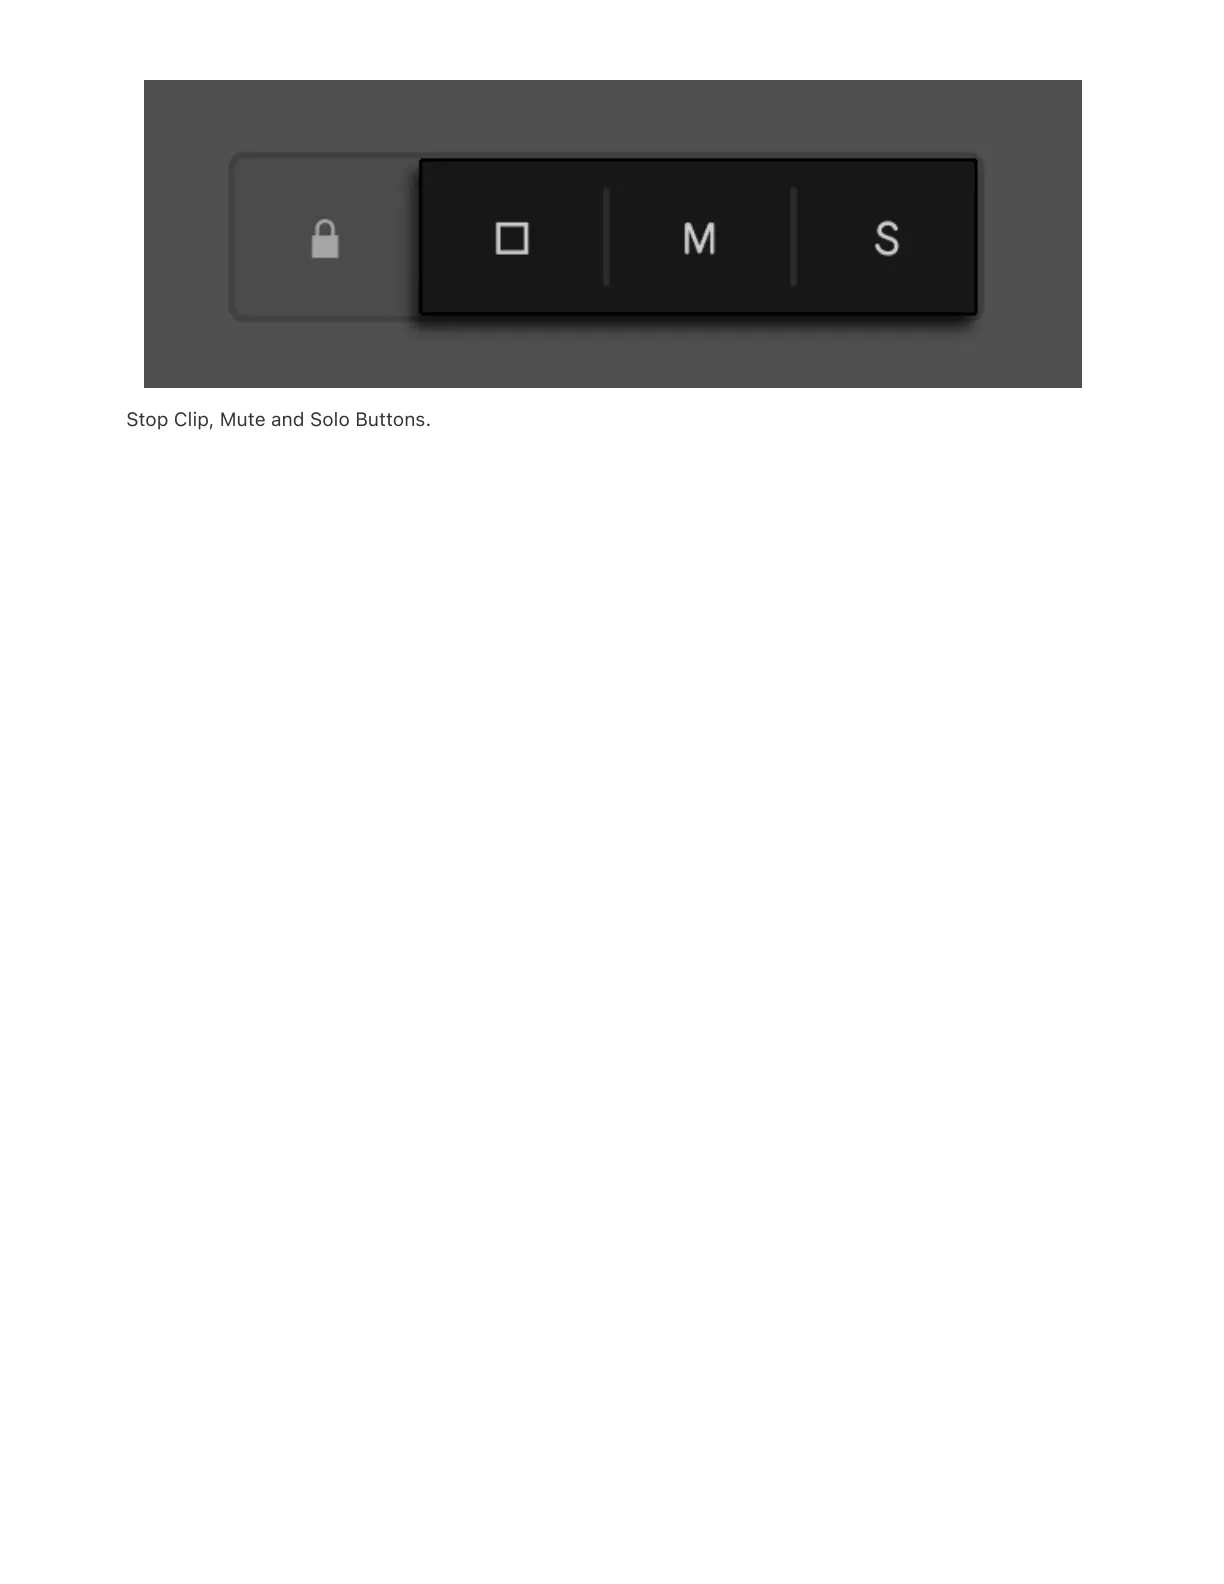
Stop Clip, Mute and Solo Buttons.
Select a track and press one of the buttons to apply the corresponding
action to that track. You can also apply the action to another track
without navigating from the currently selected track. To do this, hold
the button corresponding to the action you want to apply, then press
the lower display button of a track.
The Stop Clip, Mute and Solo buttons have different ways of indicating
that their respective actions have been applied to tracks. When the
Stop Clip button is held down, the lower display buttons are unlit for
any tracks that contain stopped clips. If a track is muted, the Mute
button will be lit up when that track is selected, while its lower display
button will be unlit and its controls will be grayed out in the display. If a
track is soloed, the Solo button will be lit up when that track is selected
and all the other tracks will have unlit lower display buttons and grayed
out controls.
14.1 Lock Track Controls
Typically, pressing a lower display button will select the corresponding
track, but you can use the Lock button to link pressing lower display
buttons to a specific action such as stopping, muting or soloing a track.