Note: Result must be marked with an L1 or L2 for the
meter to verify if the control result is within range. If
result has not been marked with an L1 or L2, refer to
the test strip container label for the glucose control
ranges.
If result is not within the acceptable range, a control
bottle symbol appears on the screen while the control
test result, and time and date (if set), alternate with “Err”
and “L1” or “L2” on the display. See “Understanding
Control Results” for more information.
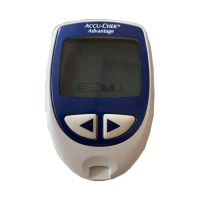
Example of an unacceptable Level 1 control result.
9. Remove the used test strip from meter and discard.
Note: Marking a test as “L1” or “L2” prevents the
quality control result from taking up space in the
meter’s memory. If you do not mark the test as a
control, the control result is stored in memory and
included in averages.
26
and