40
3. Press and release the right arrow button once to
select a L1 (Level 1) control or twice to select a L2
(Level 2) control.
Note:
Results marked as L1 or L2 do not appear in
memory or averages.
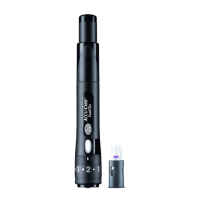
4. Hold the control bottle horizontally with the tip
pointed directly at the right edge of the test strip.
5. Gently squeeze the bottle to form one small drop.
6. Bring the drop to the edge of the test strip within
the curve, and allow the test strip to automatically
draw the solution into the yellow window until it is
completely filled.
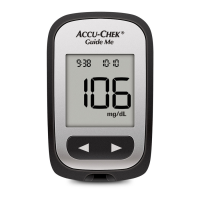
7. An hourglass symbol flashes in the display until the
measurement is complete.
8. The control result appears. If result is within the
acceptable range (which is found on the side of
the container of test strips), a control bottle symbol
appears on the screen while the control test result
and time and date (if set) alternate with “OK” and
“L1” or “L2” on the display.
Note:
Result must be marked with an L1 or L2 for
the meter to verify if the control result is within
range.