SP8026-1909
EVOLUTION ELECTRIC STEAMER
37
DOOR SWITCH
Door Latch on the Left-Hand Side
1. Unplug the Unit.
2. Remove the Left-Side Panel by removing
the Sheet Metal Screws holding it in
place.
3. Disconnect the probe wires: Control/
Keypad Panel J7 Pin 1 & the White/Brown
wire from the Chamber Pressure Switch
(the wires to the location pins are enter-
changeable).
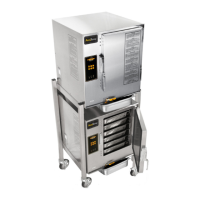
4. Push back the insulation, so you can
access the other mounting nut to be
removed.
5. Remove the 2 mounting nuts and then
remove the Door Switch (4.3D).
6. Re-install in reverse order.
Door Latch on the Right-Hand Side
1. Unplug the Unit.
2. Remove the Left-Side, Right-Side, and
Top Panel by removing the Sheet Metal
Screws holding it in place.
3. Disconnect the probe wires: Control/
Keypad Panel J7 Pin 1 & the White/Brown
wire from the Chamber Pressure Switch;
and pull the wires up, over the top of the
steamer (the wires to the location pins
are enter-changeable).
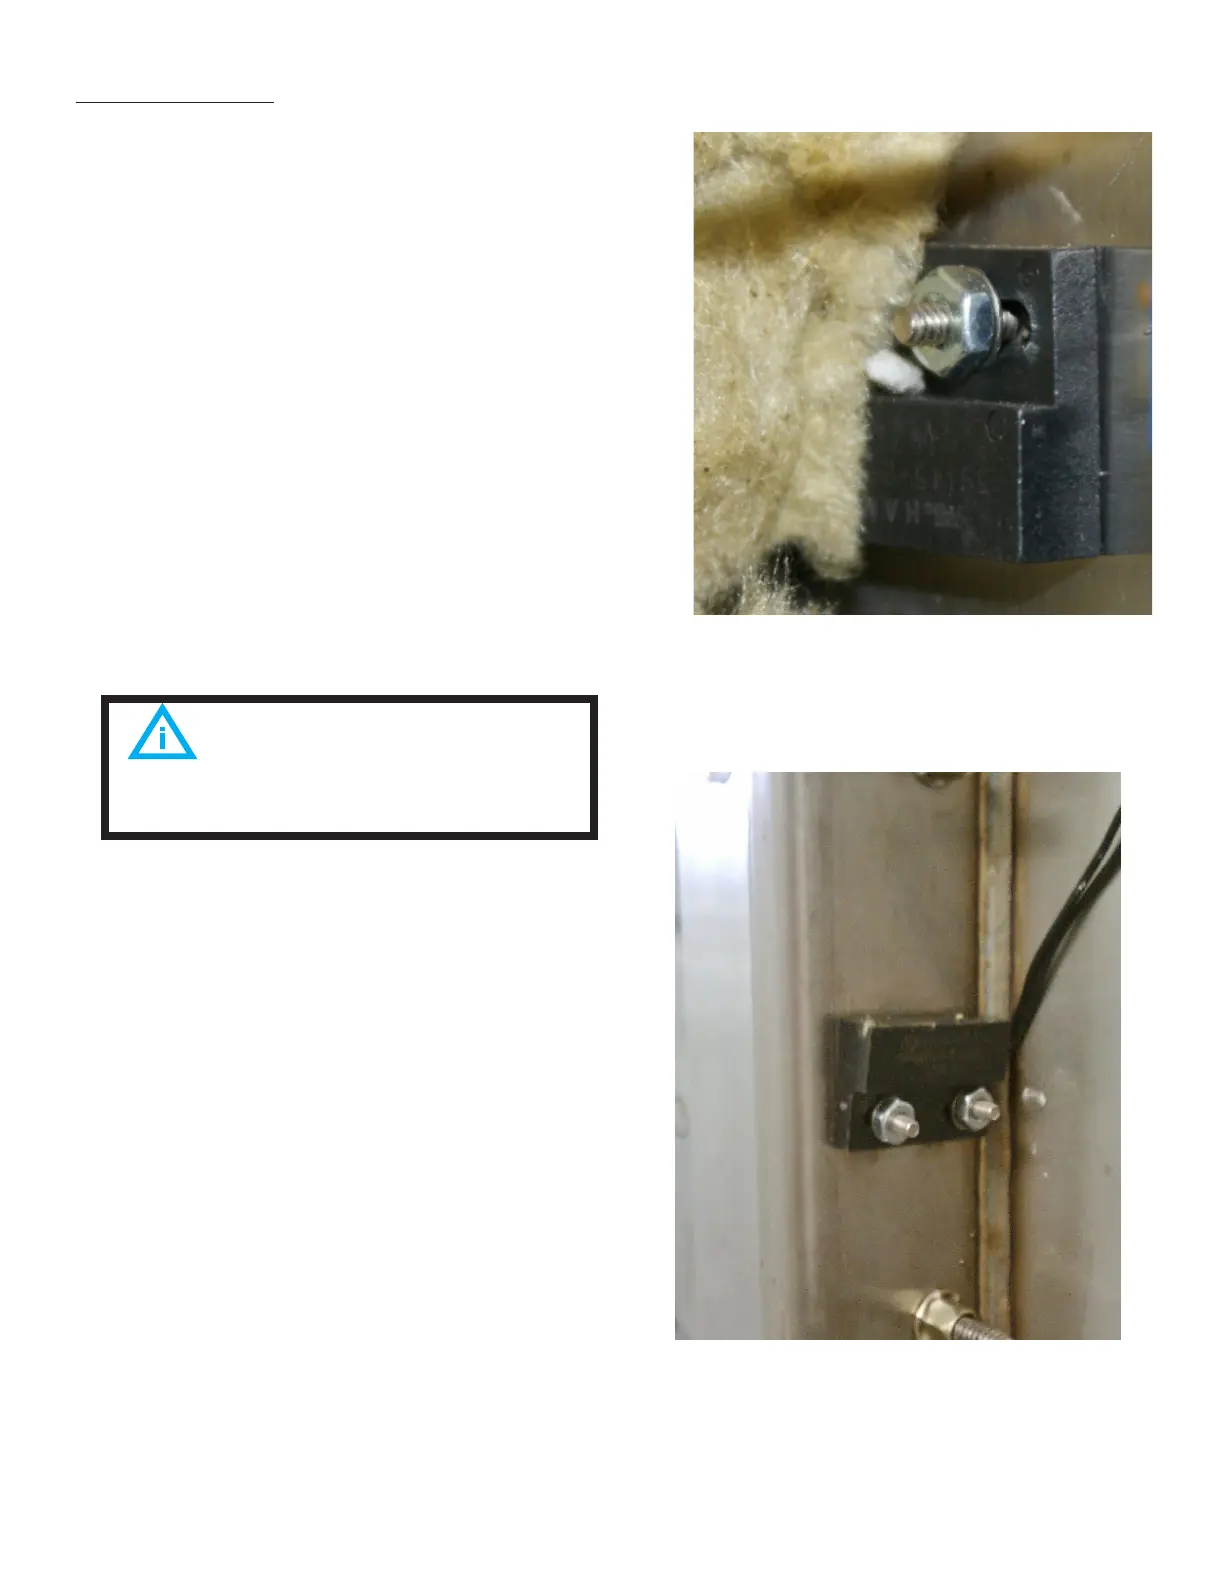
4. Remove the insulation on the right side,
to access the Door Switch to be removed
(4.3E).
FIG 4.3D
FIG 4.3E
The switch features a long length
of wire. Use a wire tie to prevent it from
being pinched.