SP8026-1909
EVOLUTION ELECTRIC STEAMER
32
4.2 Removal and Replacement of Water Level Control Components
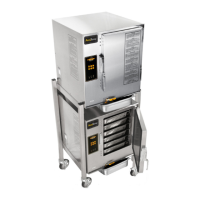
FIG 4.2A
Do not remove board from the anti
static bag until ready to use.
A grounding strap is recommended to
remove static
AT1A-5192-1 - Previous design
WATER SENSOR CONTROL BOARD
1. Unplug the Unit.
2. Remove the Left-Side Panel by removing
the Sheet Metal Screws holding it in
place.
3. Disconnect the wires (note the wire color
to its location pin).
4. Carefully, push in the locking leg on the
4 plastic posts while pulling the Water
Board up o the posts (note the board’s
orientation).
5. Remove the Water Board.
6. Remove Plastic legs - these should also
be replaced.
7. Re-install in reverse order.
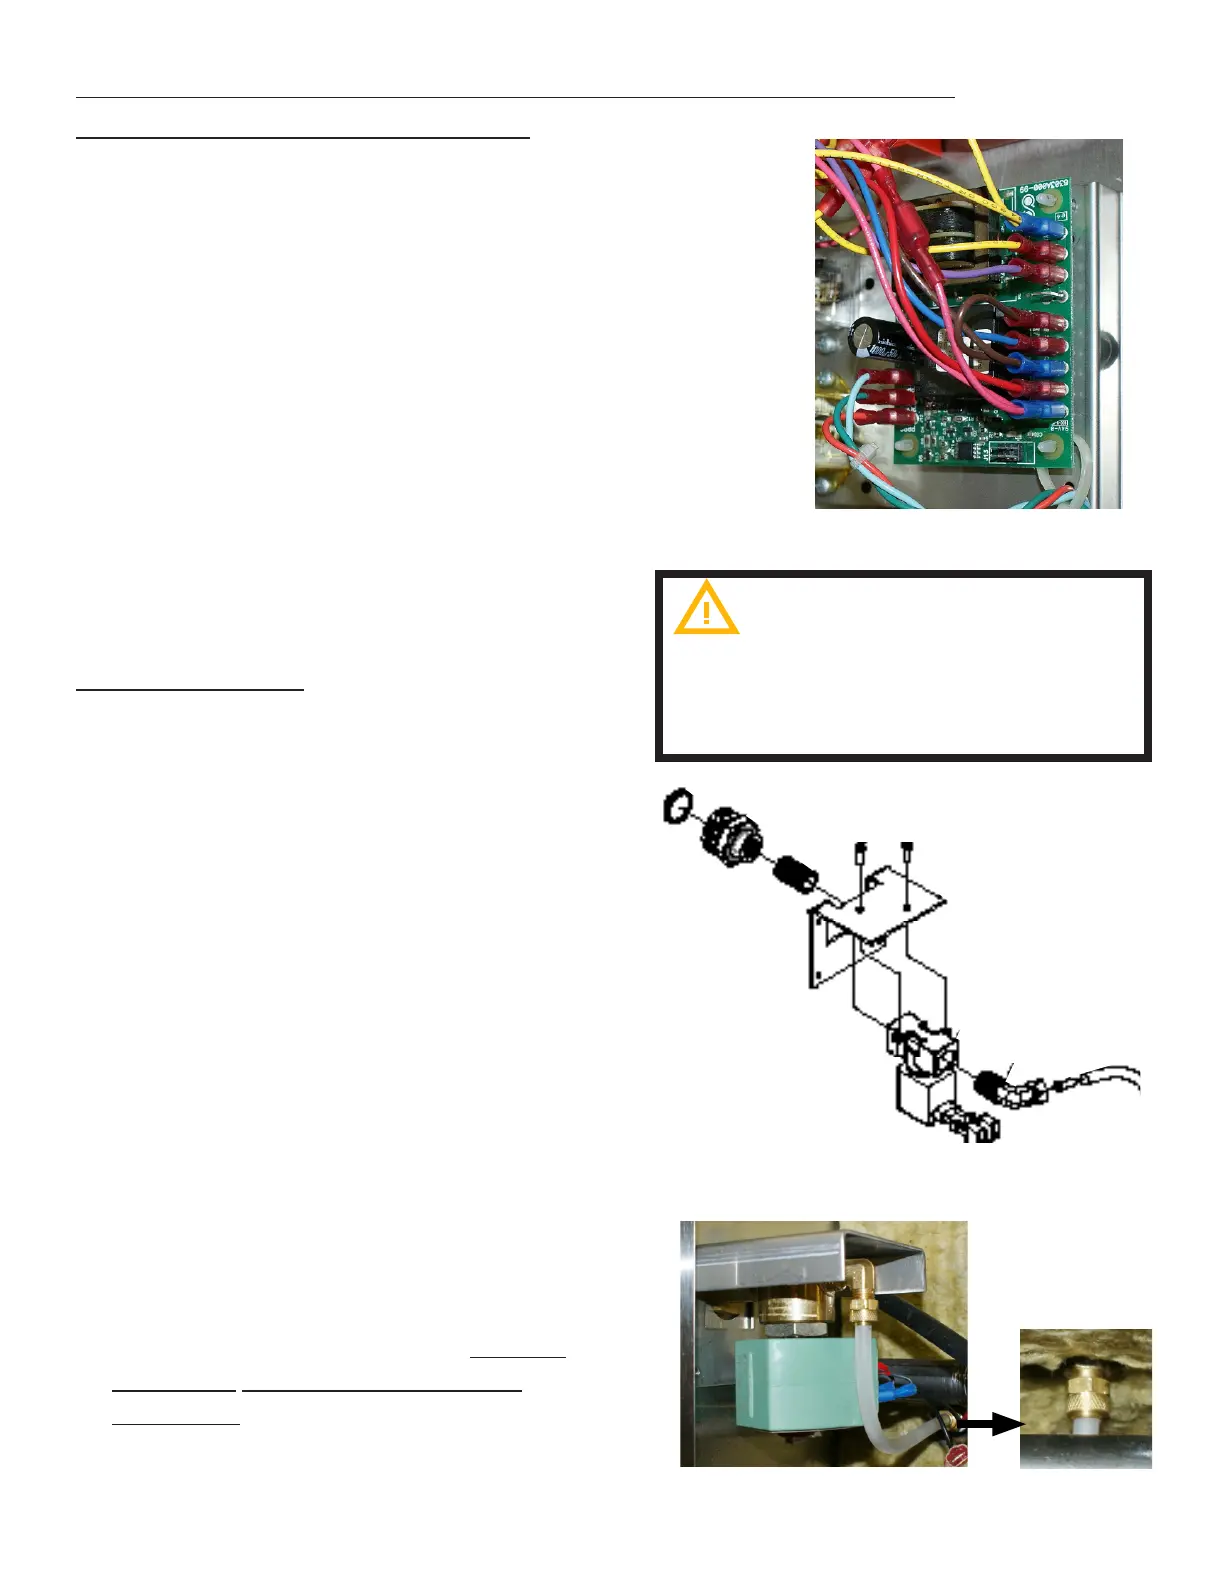
AUTO-FILL VALVE
1. Unplug the Unit & drain any remaining
water from the steam chamber.
2. Close the supply water valve and
disconnect the Supply Water Hose
coming into the steamer.
3. Remove the Left-Side Panel by removing
the Sheet Metal Screws holding it in
place.
4. Disconnect the wires from the Auto-Fill
Valve (note the wire color to its location
pin).
5. Disconnect the Auto-Fill Valve Hose
Fitting (FIG 4.2B)
6. On the back of the steamer, remove the
4 mounting screws securing the Auto-
Fill Valve bracket on the inside of the
steamer.
7. Remove the Auto-Fill Valve.
8. Re-install in reverse order. Ensure
Sealant is re-applied to all pipe
threading.
FIG 4.2B
AT1A-5185-1 - current design