Installation Guide
14
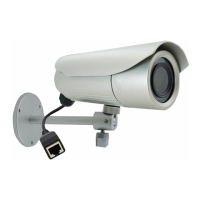
5. Pull the network cable and other cables (if any) through the bottom conduit hole.
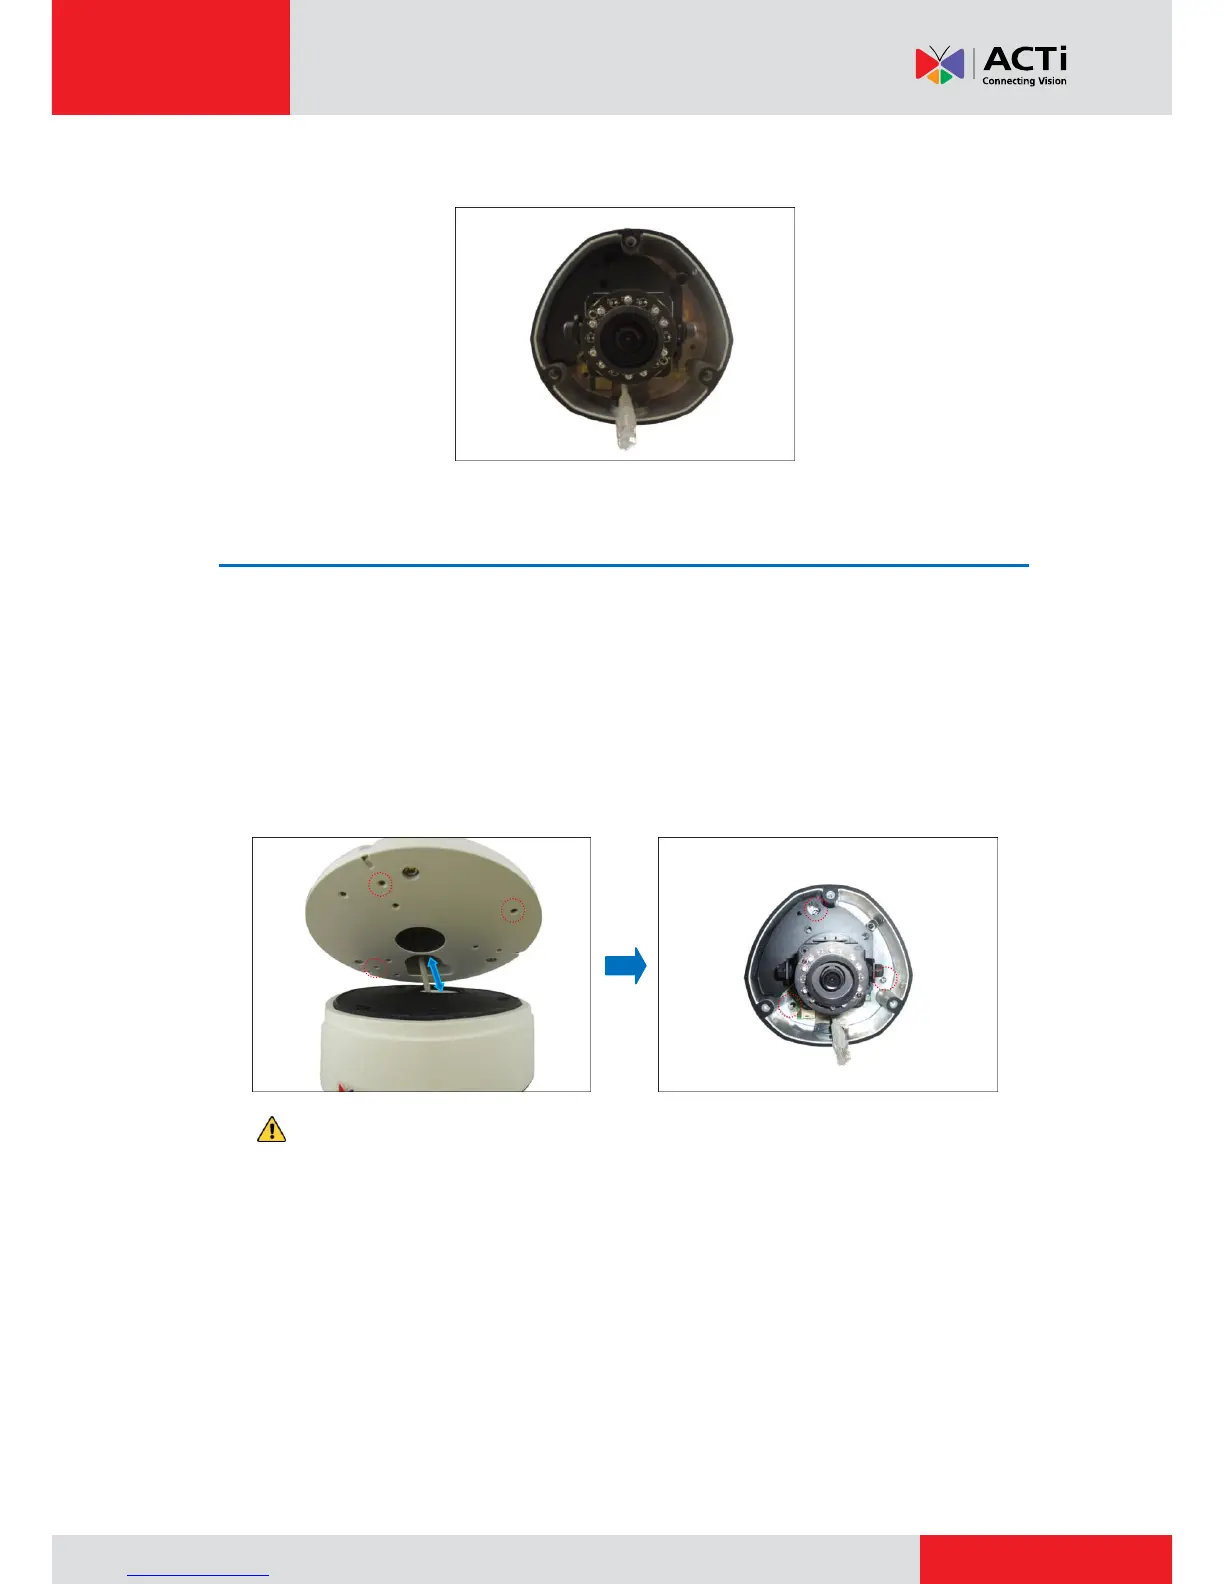
Step 6: Install the Camera to the Mount Kit
1. If necessary, insert a memory card (not supplied) into the card slot of the camera.
2. Align the camera screw holes and the conduit hole to the corresponding holes on the mount
kit and attach the three (3) supplied screws (included in the Mount Kit package) to secure the
camera.
NOTE: There are several screw packs included in the mount kit package, select the screw
pack applicable to the camera model.
CAUTION: When using electric screwdrivers, be careful not to touch the internal
camera components while attaching the screws. Since electric screwdrivers vary in sizes,
speed, and force, they may bruise and damage the internal camera components.
DISCLAIMER: ACTi will not be responsible for camera damage caused by improper
installations or the misuse of equipment for installation.
 Loading...