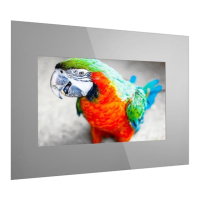
12
STEP 2 - WALL PREPARATION
1) The following paragraphs explain how to mount the different elements on the wall. ad notam provides different mounting
combinations. Verify your own
shop
drawing page 6 (Wall View Legend)
to identify your wall mounting option. The
column Art. Ref. provides the description of the selected items necessary for your wall preparation.
ARCHITECTURAL Structural measures must be
accomplished for an on-wall installation. ad notam
declines any liability for the screws and screw anchors
used on site.
ENVIRONMENT. ad notam mounting systems are
engineered for vertical use only. Verify walls´ verticality
and items vertical and horizontal alignment to prevent
serious injuries and product damage.
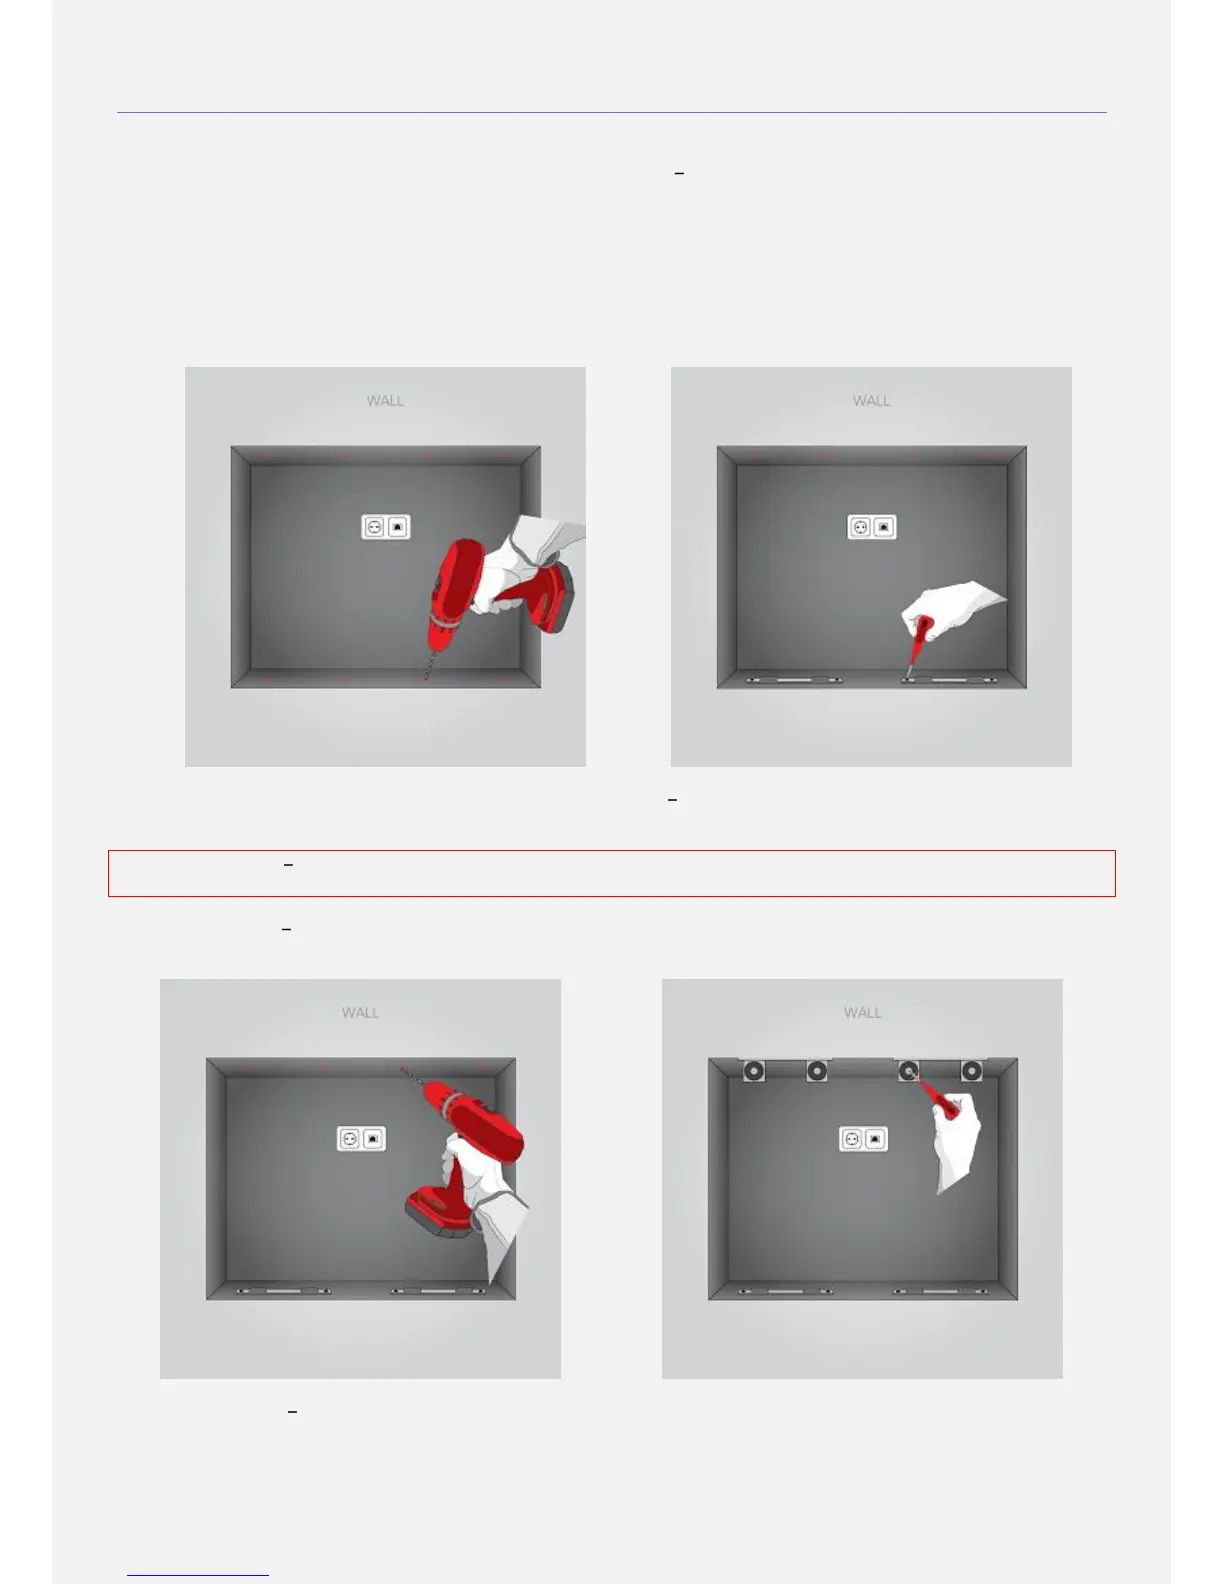
2) You marked all drilling points on the wall. Drill at the marks and proceed adding the appropriate screw anchors.
3) Art. Description Verify your own configuration page 6 (Wall View Legend) to identify your mounting option. The column
provides the description of the selected items necessary for your wall preparation.
4) Art. Description PLASTIC SPACERS
. (Not found? Move to the next step.)
These items need to be combined with the IN WALL
BRACKET for recessed installation flush to the wall. Position the item below the IN WALL BRACKET before securing it.
5) Art. Description IN WALL BRACKET
. (Not found? Move to the next step.)
Secure the IN WALL BRACKET verifying screws anchors
alignment before firmly locking the first screw. Proceed with the other screws mirroring their position right and left.
6) Art. Description. MAGNET HOLDER PLATE
. (Not found? Move to the next step.)
Secure the MAGNET HOLDER PLATE verifying
screws anchors alignment before firmly locking the first screw. Proceed with the other screws mirroring their position on
the right and left side.
7) Caution: you might have more MAGNET HOLDER PLATE s. Repeat the procedure for each one of them.