26
ADOBE PHOTOSHOP CS2
User Guide
5. Load a complete set of custom shapes.
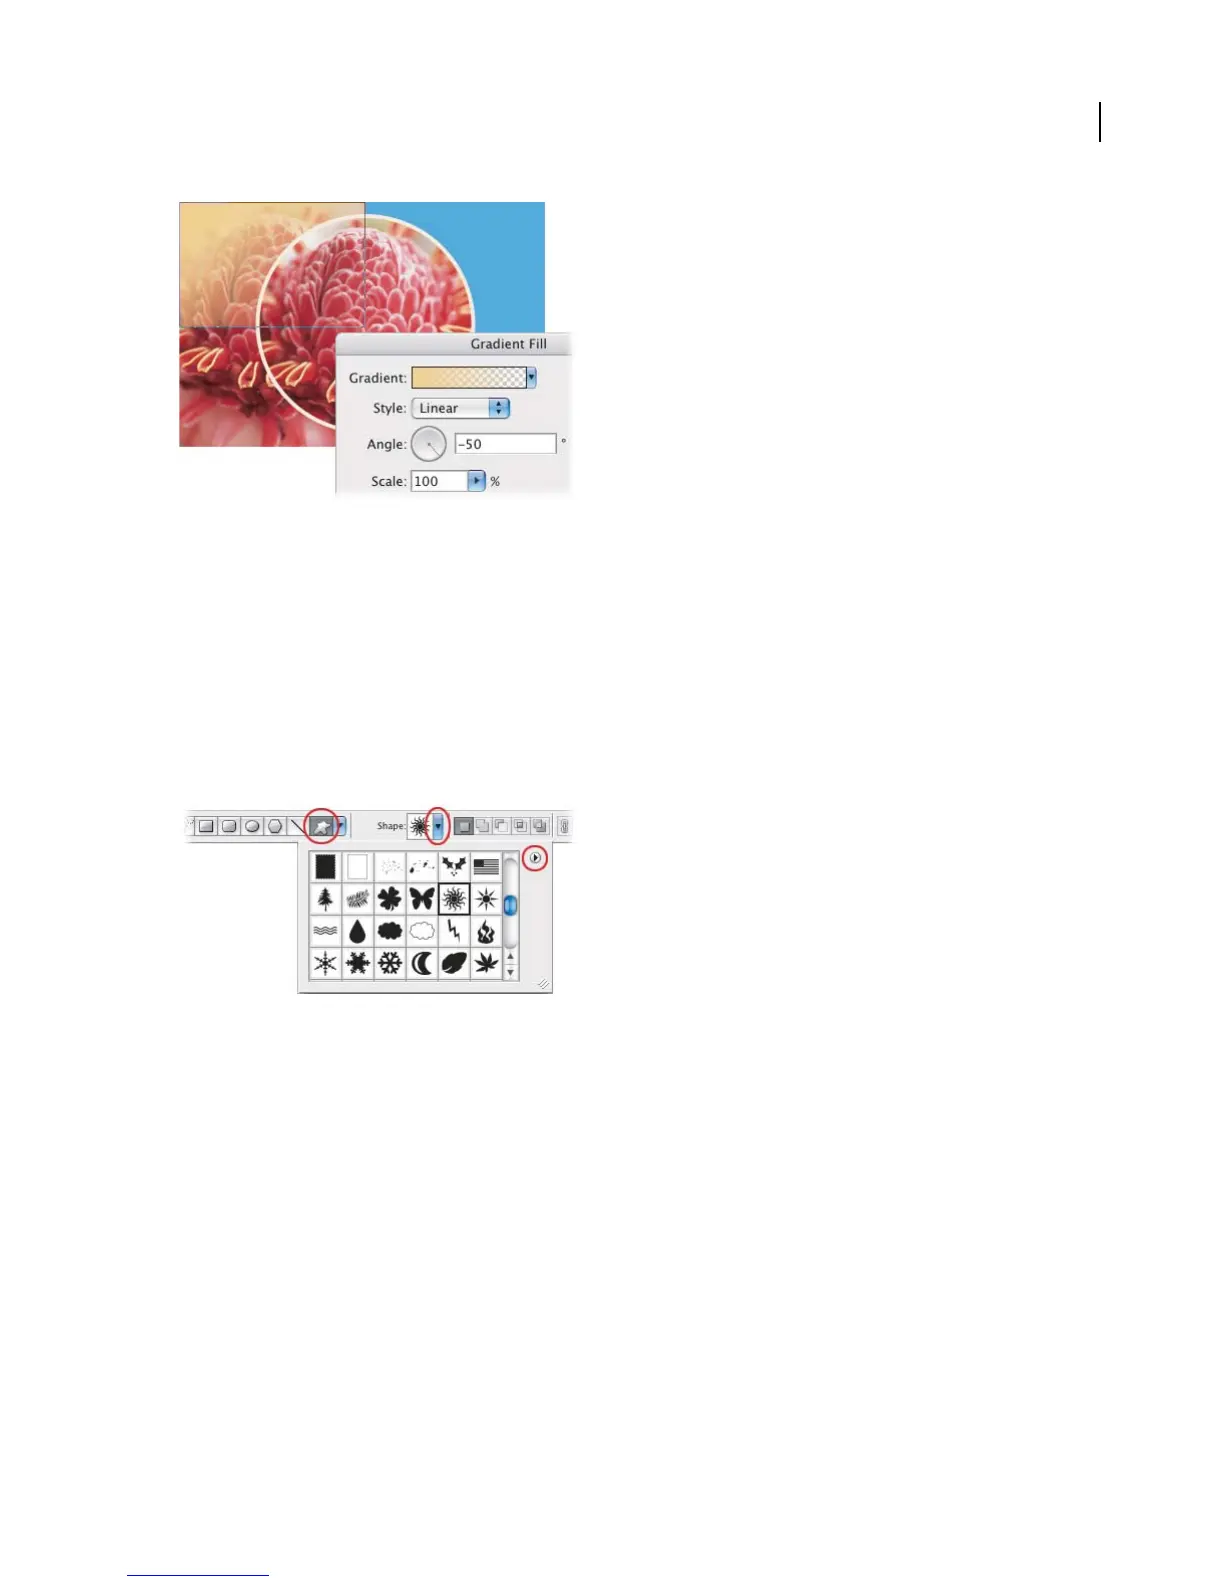
Select the Custom Shape tool in the tool options bar. Click the Shape pop-up menu to open the Custom Shapes
pop-up palette.
Before selecting a custom shape, let’s add more shapes to the Custom Shapes pop-up palette. Click the black triangle
andchoosePresetManager from thepalette menu.Inthe Preset Managerdialogbox,makesurethatCustomShapes
appears in the Preset Type pop-up menu, and then click Load. Navigate to the Custom Shapes folder (default path:
Adobe Photoshop CS2/Presets/Custom Shapes) and select All. Click Load to load the full set of custom shapes. This
loads all the predrawn shapes into the Custom Shapes palette.
Click Done to close the Preset Manager.
6. Draw a custom shape.
Now add a custom shape to the foreground for an overlay effect. Select the top layer of the image, and use the
foreground color swatch in the toolbox to select a color for the new shape. Select a custom shape from the Custom
Shapes pop-up palette in the options bar. (For our image, we chose the sunburst shape.) Hold down the Shift key to
constrain proportions, click and drag in the image to draw the shape.
Becausethe vector shapeisonits ownlayer,itiseasytomoveorresizewithout affectingother elements of theimage.
Select thelayer andthenuse theMovetooltomovethe shape, or choose Edit >FreeTransform to resize,rotate, flip,
or skew it.