The Advanced
®
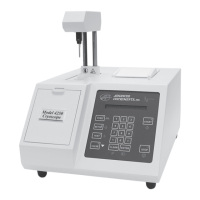
Model 3250/4250 Service Manual
38
D
circulated through the pump and well,
and into the bottle.
12. When satisfied that the solution is free-
flowing, flush the bleach solution with
clean water, then stop and drain the cool-
ing system.
13. Reassemble the instrument by replacing
the spring (C) and elevator (B), securing
with the Tru-arc retaining ring, then
replace the head cover and instrument
cover.
14. Add a new bottle of heat transfer fluid
and prime the pump. The instrument is
ready for testing.
Cryoscope Well Cleaning
1. Turn off the power and unplug the instru-
ment. Remove the heat transfer fluid
from the front cover.
2. Follow steps 2-4 from the Osmometer
Well cleaning instruction (previous page).
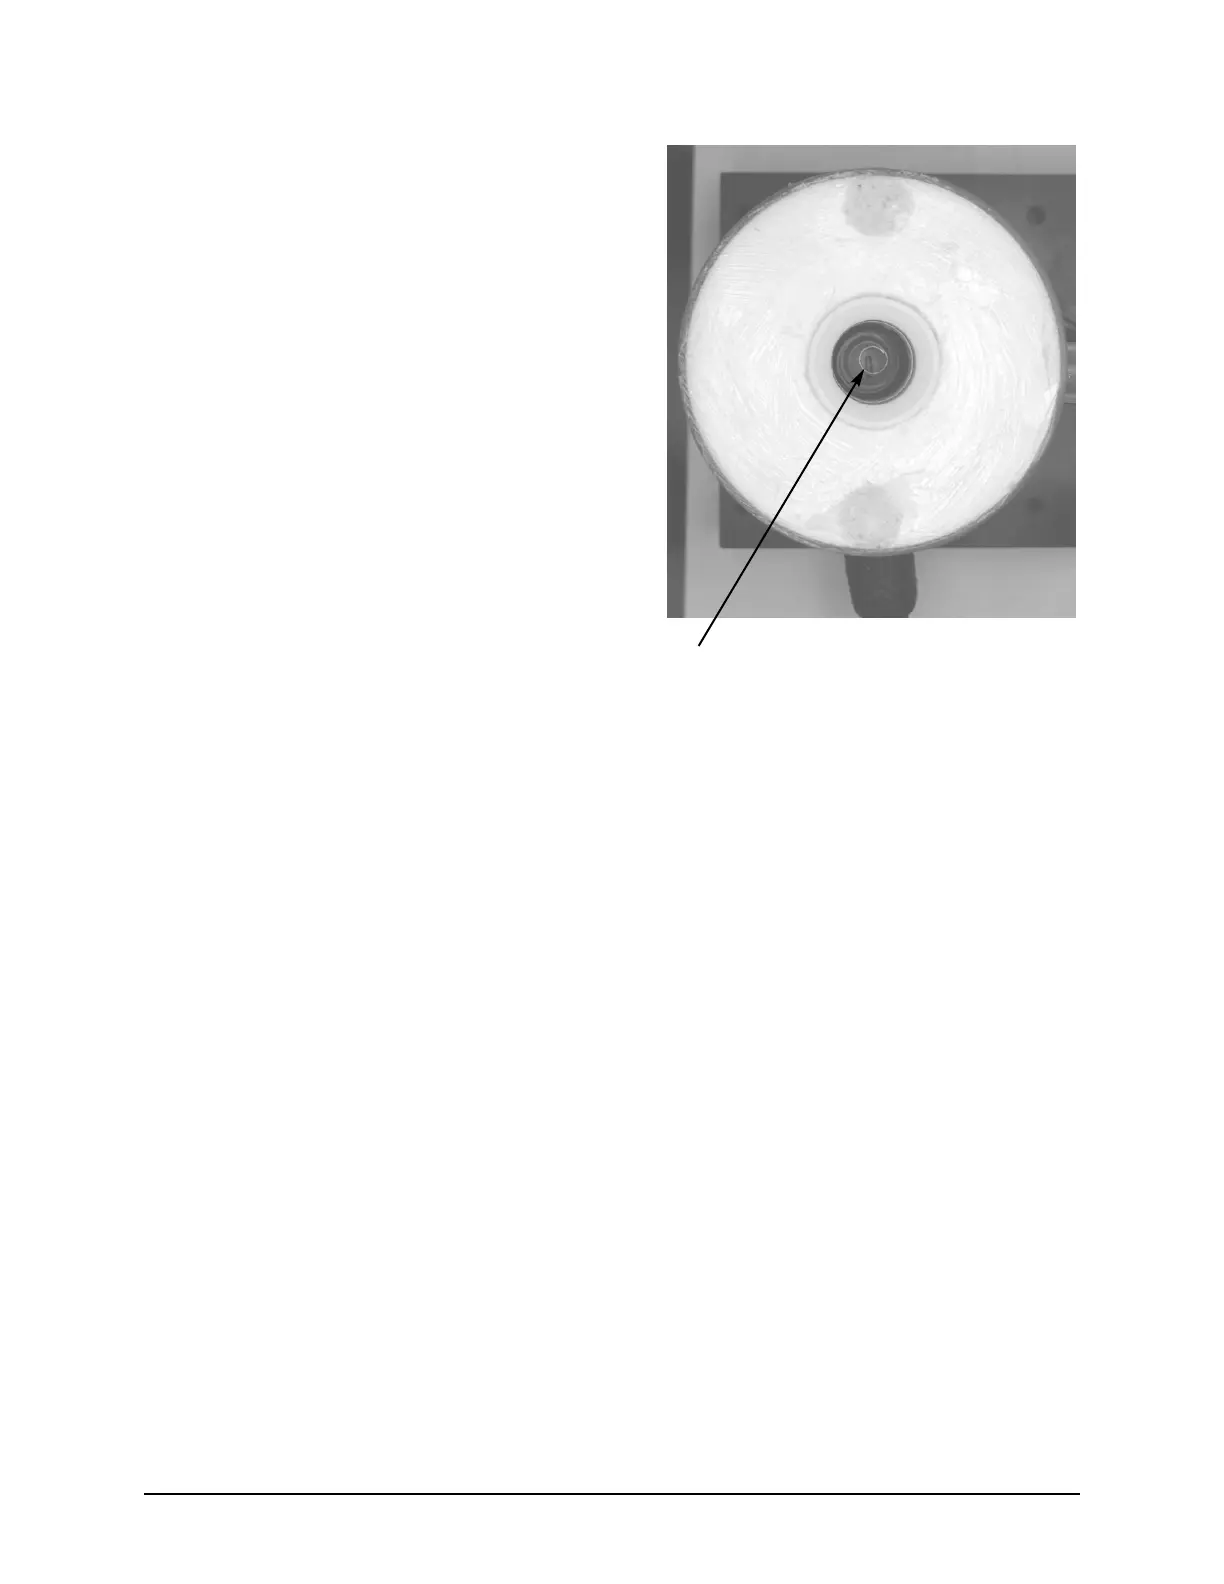
3. Remove the spring (D) from the well and
set aside, to be replaced after cleaning.
Note the orientation of the spring as you
remove it from the well, wide-end down.
4. Follow steps 7-12 from the Osmometer
Well Cleaning instruction.
5. Replace the spring (wide-end down) into
the well and reassemble the instrument by
replacing the instrument cover and the
head cover.
6. Add a new bottle of heat transfer fluid
and prime the pump. The instrument is
ready for testing.