8
Functions available on the unit
N° Parameter Range Note
1 Mode
Manual defrosting
The value can only be changed if the unit is OFFHeating
Cooling
2 Electric heating
On
Enabling auxiliary electrical heaters
O
3 Auto anti-freezing
On
/
O
4 Contact-control ON/OFF
Disabled
Enable a clean contact for the unit’s remote ON/OFF
Enabled
5 Timer ON/OFF
Disabled
Used to set programmed switch-on and switch-o
Enabled
6 Timer setting Enter Used to set the timer
7 Manual defrosting Enter Can only be set if the unit is OFF and the mode is “Manual defrost”
8 ON/OFF memory
On
/
O
9 Energy-saving mode
On
Refer to the “PARAMETERS” menu for the setting of the parameters relating to this function.
O
10 Quiet mode
On
/
O
11 Remote monitoring address 1~255 /
12 Reset Enter Apart from the language setting
13 Installer menu Enter /
14 Factory commissioning Enter /
(1) Mode
To access the mode setting page (when the unit is OFF), press the "Mode" button
and select the required value, then press "OK" to save and quit the page or "Cancel"
to quit without saving the modications.
Note:
— if "Manual-defrost" mode is set, the relative setting page (specied in point 7)
will be accessible
— every data modication will be saved in the memory and automatically reset
after a voltage failure
(2) Electric heating:
To access the electric heater setting page, press the "Electric heater" button and
select the required value, then press "OK" to save and quit the page or "Cancel" to
quit without saving the modications.
Note:
— the default value for this parameter is "O"
— every data modication will be saved in the memory and automatically reset
after a voltage failure
(3) Auto anti-freezing:
To access the antifreeze function setting page, press the "Auto anti-freezing" button
and select the required value, then press "OK" to save and quit the page or "Cancel"
to quit without saving the modications.
Note:
— the default value for this parameter is "On"
— every data modication will be saved in the memory and automatically reset
after a voltage failure
Attention: it is forbidden to disable it if the unit is installed in areas where
the outdoor temperature could drop below 0°C, unless a suitable amount
of glycol is added to the technical water treated by the unit.
(4) Contact-control ON/OFF:
To access the contact ON/OFF setting page, press the "Contact-control ON/OFF"
button and select the required value, then press "OK" to save and quit the page or
"Cancel" to quit without saving the modications.
Note:
— once this parameter has been set to “On”, a clean contact will be active (termi-
nals 9 and 10 of the service control board). Closing this contact allows for the
“On" command to be given to all the connected units; remember that, in the
event that multiple units are managed by a single remote switch, every single
unit will need to be connected to the switch independently;
— the default value for this parameter is "O"
— every data modication will be saved in the memory and automatically reset
after a voltage failure
(5) Timer ON/OFF:
To access the timer setting page, press the "Timer ON/OFF" button and select the
required value, then press "OK" to save and quit the page or "Cancel" to quit without
saving the modications.
Note:
— the default value for this parameter is "O"
— when the "Contact-control ON/OFF" function is active, this function will be au-
tomatically deactivated
— if this function is activated, the relative setting page (specied in point 6) will
be accessible
— every data modication will be saved in the memory and automatically reset
after a voltage failure
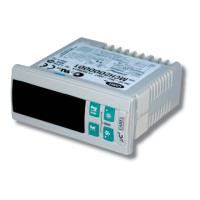
(6) Timer setting:
Press the "Timer setting" button to access the timer setting page and see the fol-
lowing page:
00:00
00:00
00:00
00:00
00:00
00:00
00:0000:00
Timer setting
Timer ON Select SelectTimer OFF
Tues.
On the left, select the day of the week that you want to program (using the arrow
buttons). Every day can have up to 4 programmable time bands, and for each one
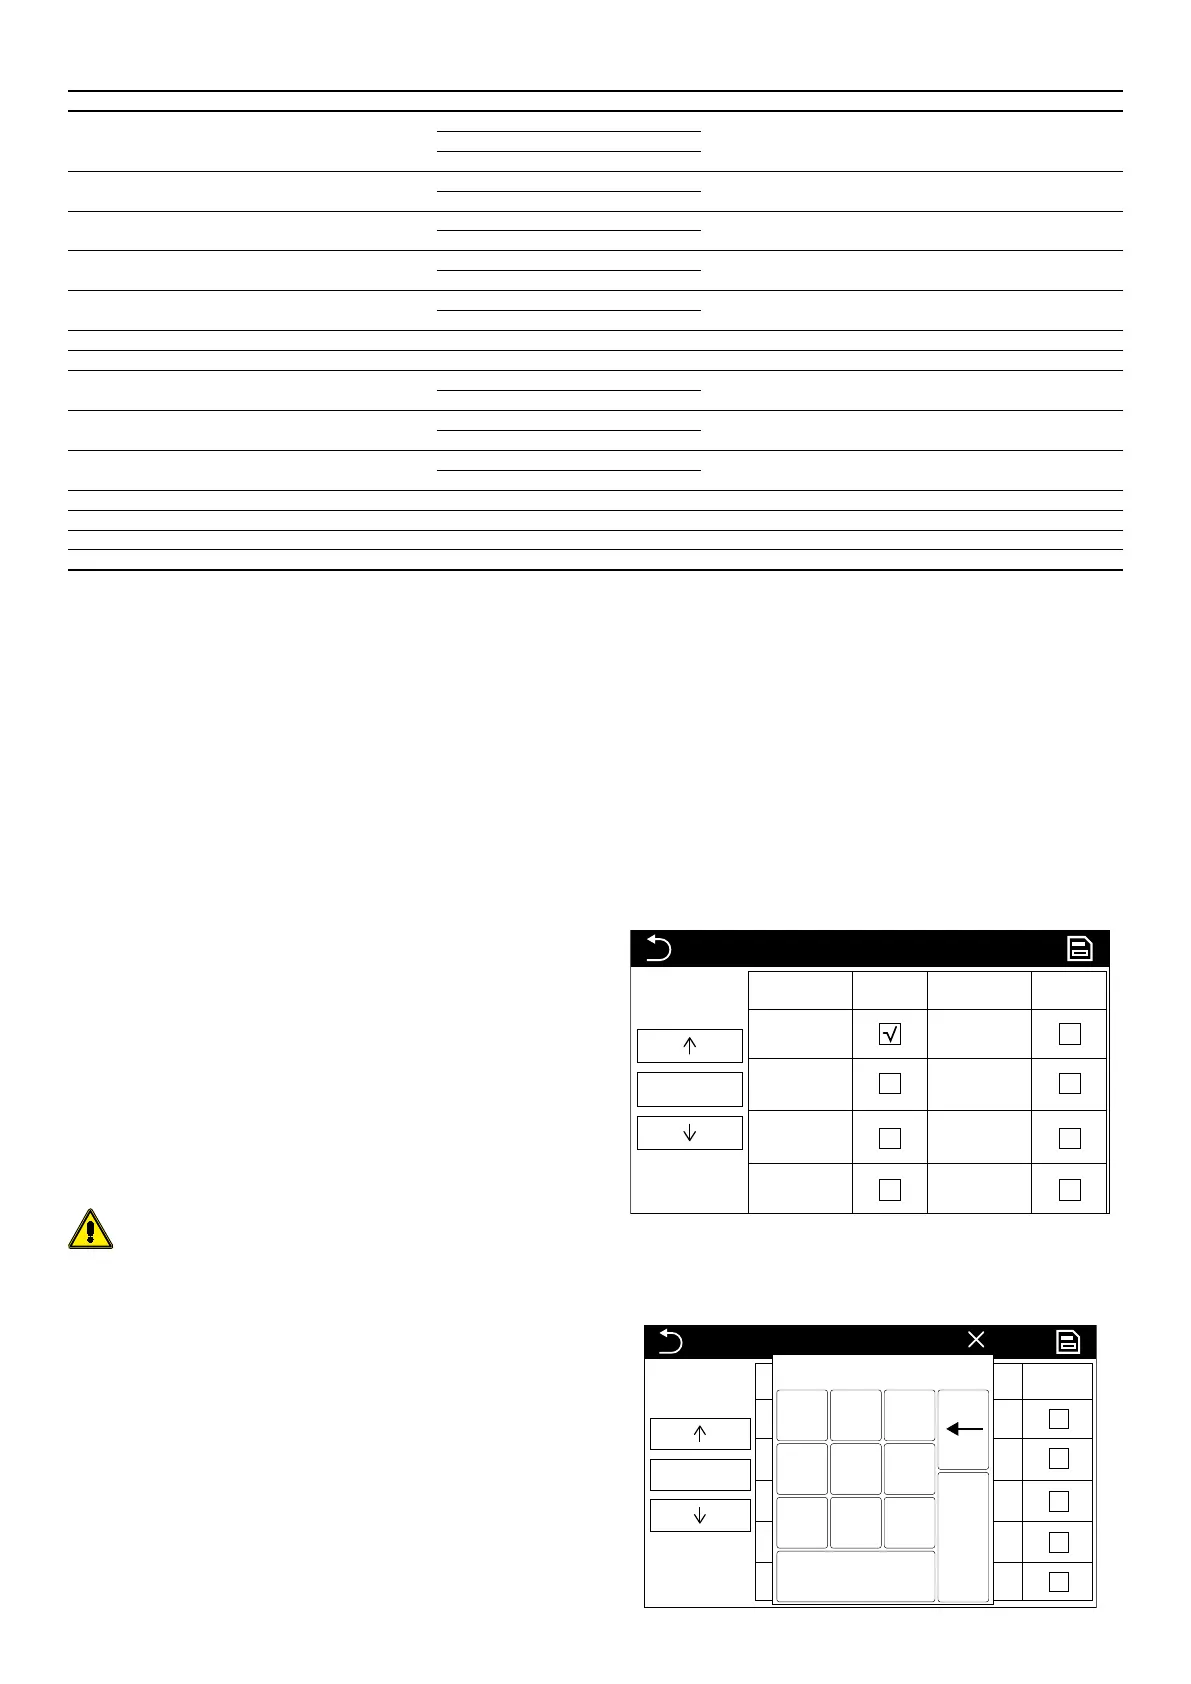
you can dene whether the unit should be ON or OFF. Touch any time (either hours
or minutes) in a time band to open the window for making the setting:
00:00
00:00
00:00
00:00
00:00
00:00
00:00
00:00
00:0000:00
Timer setting
Timer ON Select SelectTimer OFF
Tues.
00:00
00:00
00:00
00:00
00:00
SelectTimer ON
Min: 0 Max: 23
0
1 2 3
4 5 6
7 8
0
9
Ok
 Loading...