5-38
Making Measurements
Making automatic measurements
Making automatic measurements
Quick Meas makes automatic measurements on any channel source or any
running math function. The results of the last three measurements selected are
displayed on the dedicated line above the softkeys, or in the display area when
some menus are selected. Quick Meas also makes measurements on stopped
waveforms when you are panning and zooming.
Cursors are turned on to show the portion of the waveform being measured for
the most recently selected measurement (right-most on the measurement line).
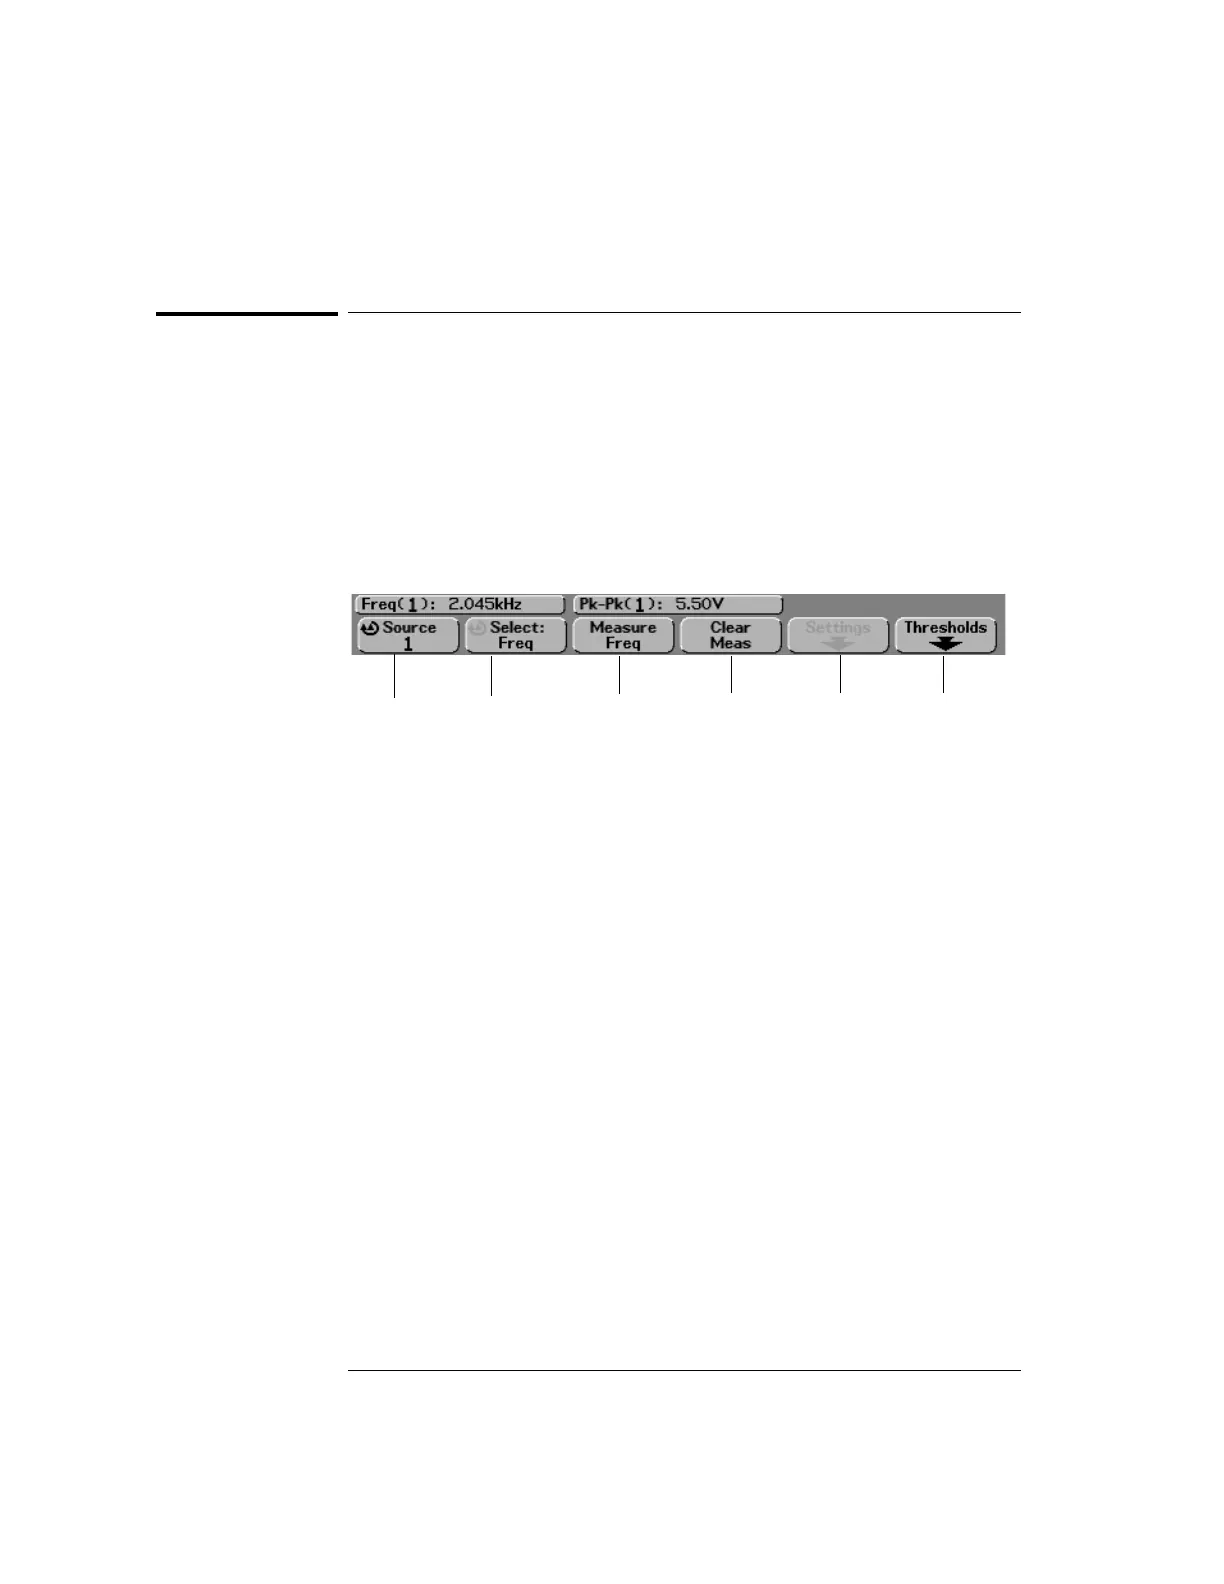
1Press the Quick Meas key to display the automatic measurement menu.
2Press the
Source softkey to select the channel or running math function
on which the quick measurements will be made.
Only channels or math functions that are displayed are available for
measurements. If you choose an invalid source channel for a measurement, the
measurement will default to the nearest in the list that makes the source valid.
If a portion of the waveform required for a measurement is not displayed or
does not display enough resolution to make the measurement, the result will
display “No Edges”, “Clipped”, “Low Signal”, “< value”, or “> value”, or a similar
message to indicate that the measurement may not be reliable.
3Press the Clear Meas softkey to stop making measurements and to erase
the measurement results from the display line above the softkeys.
When Quick Meas is pressed again, the default measurements will be Frequency
and Peak-Peak.
4Press the Select softkey then rotate the Entry knob to select a
measurement to be made.
5The
Settings softkey will be available to make additional measurement
settings on some measurements.
6Press the
Measure softkey to make the measurement.
7To turn off
Quick Meas, press the Quick Meas key again until it is not
illuminated.
Source
select
Select
measurement
Press to make
measurement
Erase all
measurements
Additional
settings
Measurement
Thresholds
 Loading...


