Chapter 3 Front-Panel Operation
Programming Overvoltage Protection
30
Programming Overvoltage Protection
Overvoltage protection guards the load against output voltages that reach a specified
value greater than the programmed protection level. It is accomplished by shorting
the output via an internal SCR when the trip level is set to equal or greater than 3
volts, or by progamming the output to 1 volt when the trip level is set to less than 3
volts.
The following steps show how to set the OVP trip level, how to check OVP operation,
and how to clear overvoltage condition.
• Front-panel operation:
Setting the OVP Level and Enable the OVP Circuit
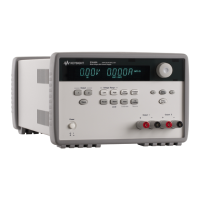
1 Turn on the power supply.
The power supply will go into the power-on / reset state; the output is disabled (the
OFF annunciator turns on); the 8V/20A* or 25V/7A** range is selected (the 8V* or
25V** annunciator turns on); and the knob is selected for voltage control.
2 Enable the output.
The OFF annunciator turns off and the display will go to the meter mode.
3 Enter the OVP menu and set the trip level.
You will see the above message on the display when you enter the OVP menu. Adjust
the control knob for the desired OVP trip level.
Note that you cannot set the trip levels to lower than 1.0 volt.
4 Enable the OVP circuit.
You will see the above message after pressing key.
LEVEL 22.0V (E3633A)
LEVEL 55.0V (E3634A)
OVP ON
*For HP E3633A Model **For HP E3634A Model