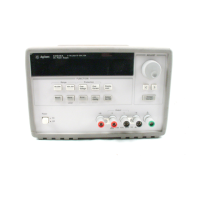
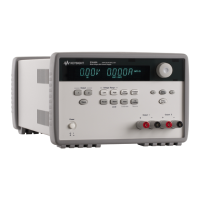
Appendix Service Information
Calibration Record for Your Power Supply
202
Calibration Record for Your Power Supply
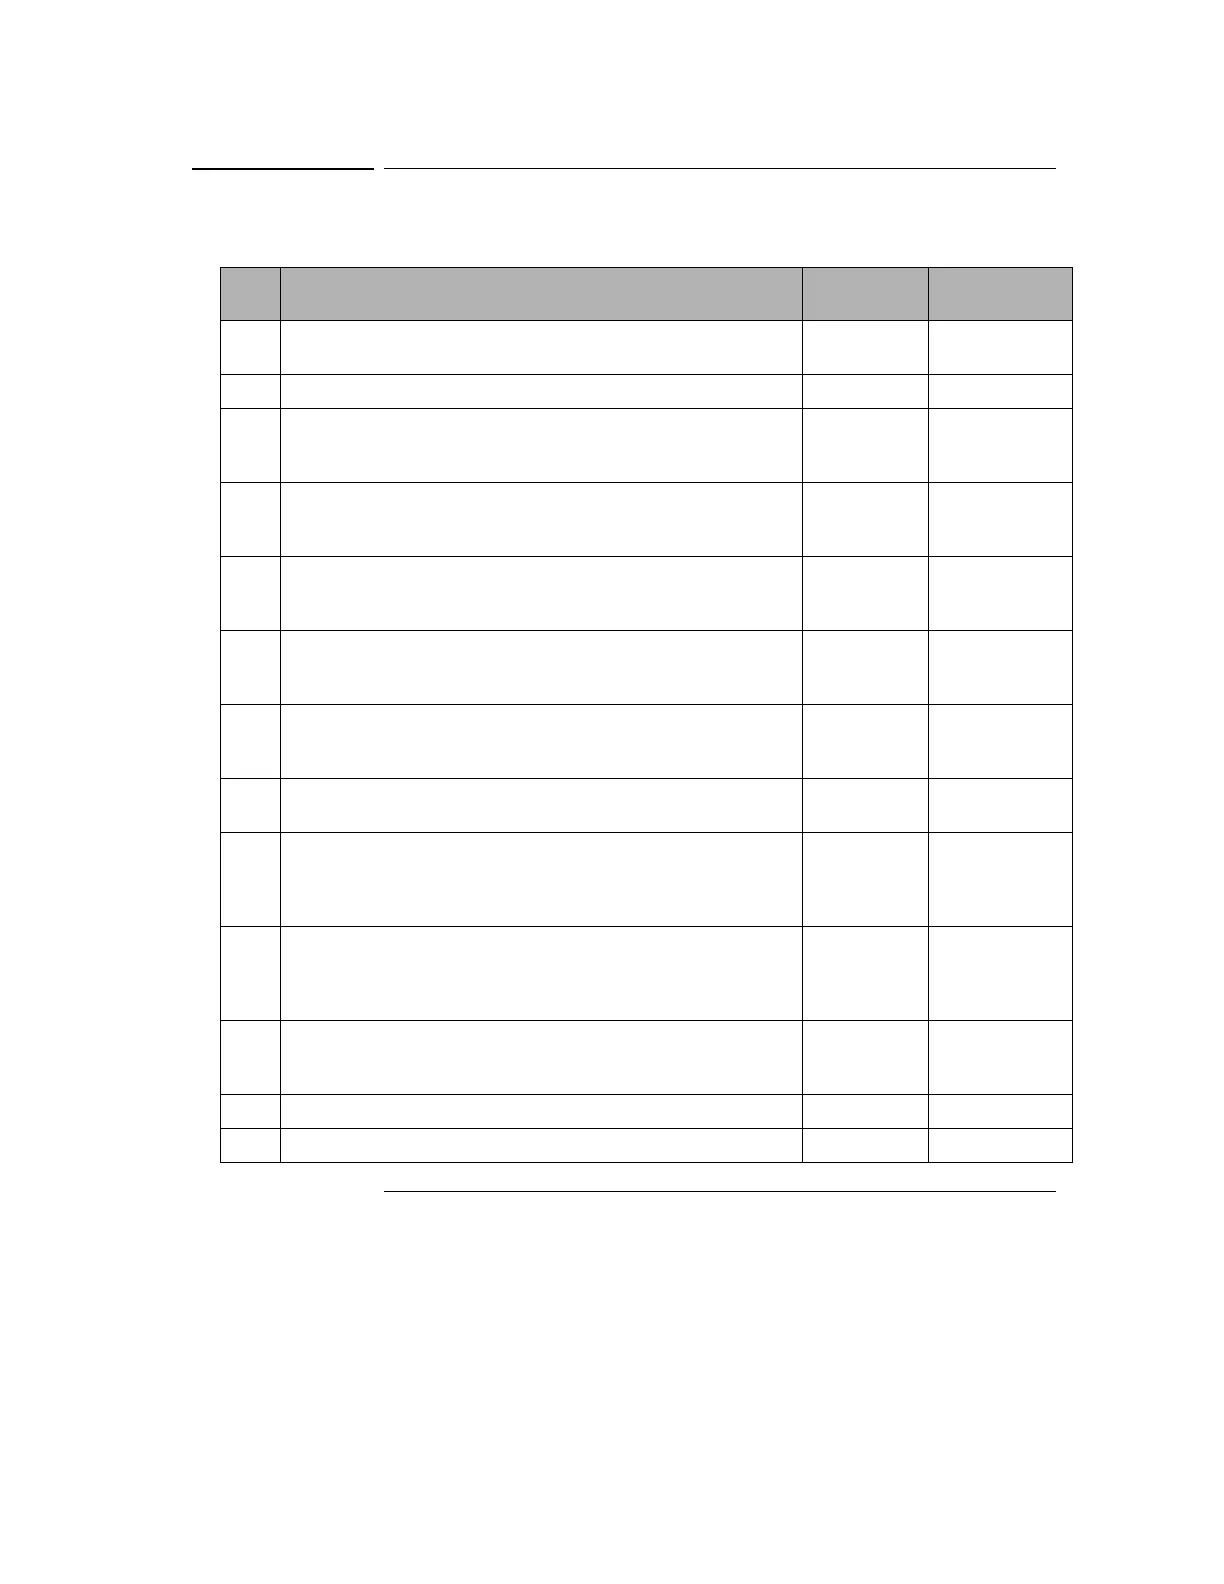
Step Calibration Description
Measurement
Mode (DVM)
Supply Being
Adjusted
1
Turn on the calibration mode by holding down the "Calibrate" key as you
turn on the power supply until you hear a long beep.
2 Unsecure the power supply if secured. (See page 67)
3 Press "Calibrate" key to move down menu to voltage calibration menu.
A "VOLT1 CAL" is displayed. Press "Calibrate" key to select the low
voltage calibration point.
Voltage
Calibration
4
A low voltage calibration point is displayed. Enter the DVM reading by
using the knob and resolution keys. Press "Calibrate" key to save the
changes and select the middle calibration point.
V
Low voltage
calibration
5
A middle voltage calibration point is displayed. Enter the DVM reading
by using the knob and resolution selection keys. Press "Calibrate" key to
save the changes and select the high calibration point.
V
Middle voltage
calibration
6
A high voltage calibration point is displayed. Enter the DVM reading by
using the knob and resolution selection keys. Press "Calibrate" key to
save the changes and select the OVP calibration.
V
High voltage
calibration
7"OVP1 CAL" is displayed. Press "Calibrate" key to run the overvoltage
calibration. A "CALIBRATING" is displayed to indicate that the
calibration is progressing.
V
OVP calibration
8
Connect shunt resistor (0.01
Ω) across the output terminals. And press
"Calibrate" key to select the current calibration.
Current calibration
9
A low current calibration point is displayed. Enter the computed value
(DVM reading / by shunt resistance) by using the knob and resolution
keys. Press "Calibrate" key to save the changes and select the middle
calibration point.
A
Low current
calibration
10
A middle current calibration point is displayed. Enter the computed value
(DVM reading / by shunt resistance) by using the knob and resolution
keys. Press "Calibrate" key to save the changes and select the high
calibration point.
A
Middle current
calibration
11
A high current calibration point is displayed. Enter the computed value
(DVM reading / by shunt resistance) by using the knob and resolution
keys. Press "Calibrate" key to save the changes
A
High current
calibration
13 Repeat the steps (3) through (16) for the output2 calibration.
14 Turn off the "Power" switch to exit the calibration menu. Exit CAL MODE