18 U1731B/U1732B User’s and Service Guide
2 Features and Functions
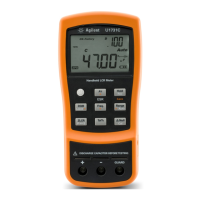
Follow the instructions below to perform the CAL function:
1 Press and hold the CAL key for more than one second to enter CAL
mode.
2 CAL prompts will be shown on the display.
3 Press the MANUAL key to select the desired range for correction. Follow
the prompts instruction on the upper right of the display of the
selected range for the terminal connection. Leave the positive and
negative connector terminals open for open connector (OPn) connection,
or short the connector terminals at short connector (Srt) connection.
4 Press the CAL key to start the correction function. The OPn or Srt
annunciator on the upper right of the display will disappear to indicate
the start of the correction process.
To skip the correction process, press D/Q/θ.
5 The CAL annunciator on the main display will disappear once the
correction process is completed. The LCR meter will be restored to the
normal display and ready to perform measurement.
1 Changing measurement frequencies is handled the same way as selecting a different hardware
range, and the automatic calibration prompts will be displayed in the recommended ranges.
2 Ensure that the same testing position is used after short calibration.
 Loading...
