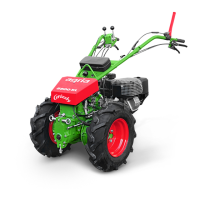
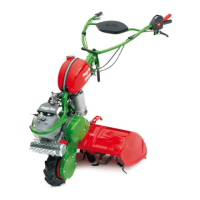
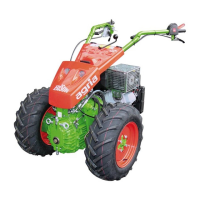
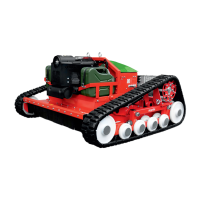
agria Multi-Purpose Machine 400E/400K 9
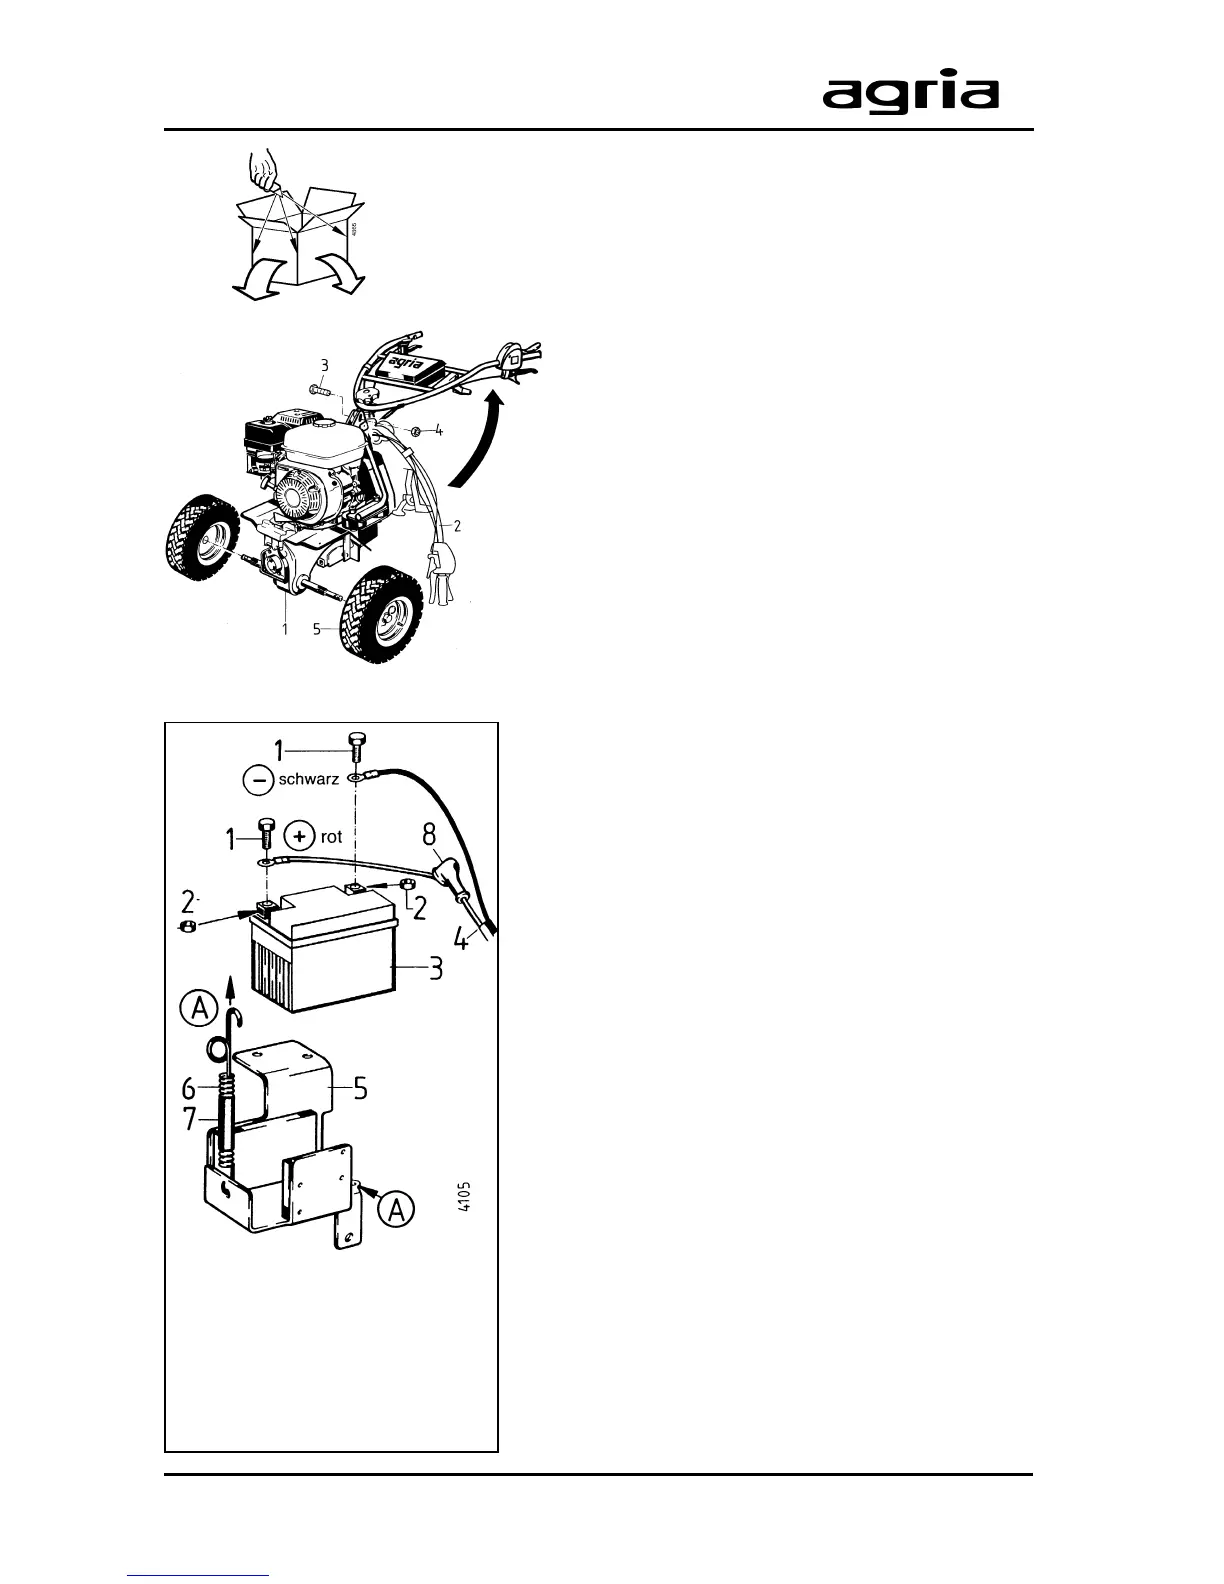
Instructions for Unpacking
l
Open the box top.
l
Cut the two rear corners open and fold down
the side.
l
Remove the steering handle attachment bolt
(3 + 4).
l
Pivot the steering handle (2) upwards.
Then attach and tighten the bolt (3 + 4).
l
Attach the drive wheels (see instructions on
page 26).
l
Starting-up
See instructions on page 41).
Version Type 400K additionally:
A standard battery charger with 12V DC and a maxi-
mum charge of 0.6 A should be used for the 12V 6Ah
battery (motorcycle battery).
- The battery is packed and must be filled with the
battery acid supplied and fully loaded before fitting.
l
After unpacking fill the battery with the battery acid
supplied in line with the instructions enclosed with
the battery and then close it up. When filling the tem-
perature of the battery and the acid should be at least
10°C .
l
Place the battery in the battery holder (5) and tighten
down using the tensioning spring (6) (place over the
battery and insert the hook into the hole "A" ) and
ensure that the protective hose (7) is located in the
area of the battery terminals.
l
Connect the battery cable; first connect the posi-
tive terminal (+) to the red cable, then the negative
terminal (-) to the black cable - ensure that the termi-
nal screws are firmly tightened.
- When disassembling first disconnect the positive
terminal (+), then the negative terminal (-) .
- Lightly lubricate the battery terminals and terminal
screws with acid-free grease.
- Fit the protective connecting cap (8) over the posi-
tive terminal.
I
The battery operation and its maintenance and
care must be made in line with the battery
manufacturer's operating instructions on page 33.
1 Hexagon nut (terminal screws)
2 Square nut
3 Battery
4 Battery cable
5 Battery holder
6 Tensioning spring
7 Protective hose
8 Connecting cap
and Assembly