3. Place the keypad on SmartBracket. The device LED indicator will ash. It is a
signal indicating that the enclosure of the keypad is closed.
If the LED indicator doesn’t light up during placing on SmartBracket, check the
tamper status in the Ajax app, the integrity of the fastening, and the tightness of the
keypad xation on the panel.
4. Run the and signal strength tests. The recommended signal
strength is two or three bars. If the signal strength is low (a single bar), we
do not guarantee stable operation of the device. Consider relocating the
device, as repositioning even by 20 cm can signicantly improve the signal
strength. If there is still poor or unstable signal after the relocation, use
radio signal range extender.
Jeweller Wings
ReX
2
5. Run . During the test, the signal strength can be
reduced and increased to simulate different conditions at the installation
location. If the installation spot is chosen correctly, the keypad will have a
stable signal strength of 2–3 bars.
Signal Attenuation Test
6. If the tests are passed successfully, remove the keypad from SmartBracket.
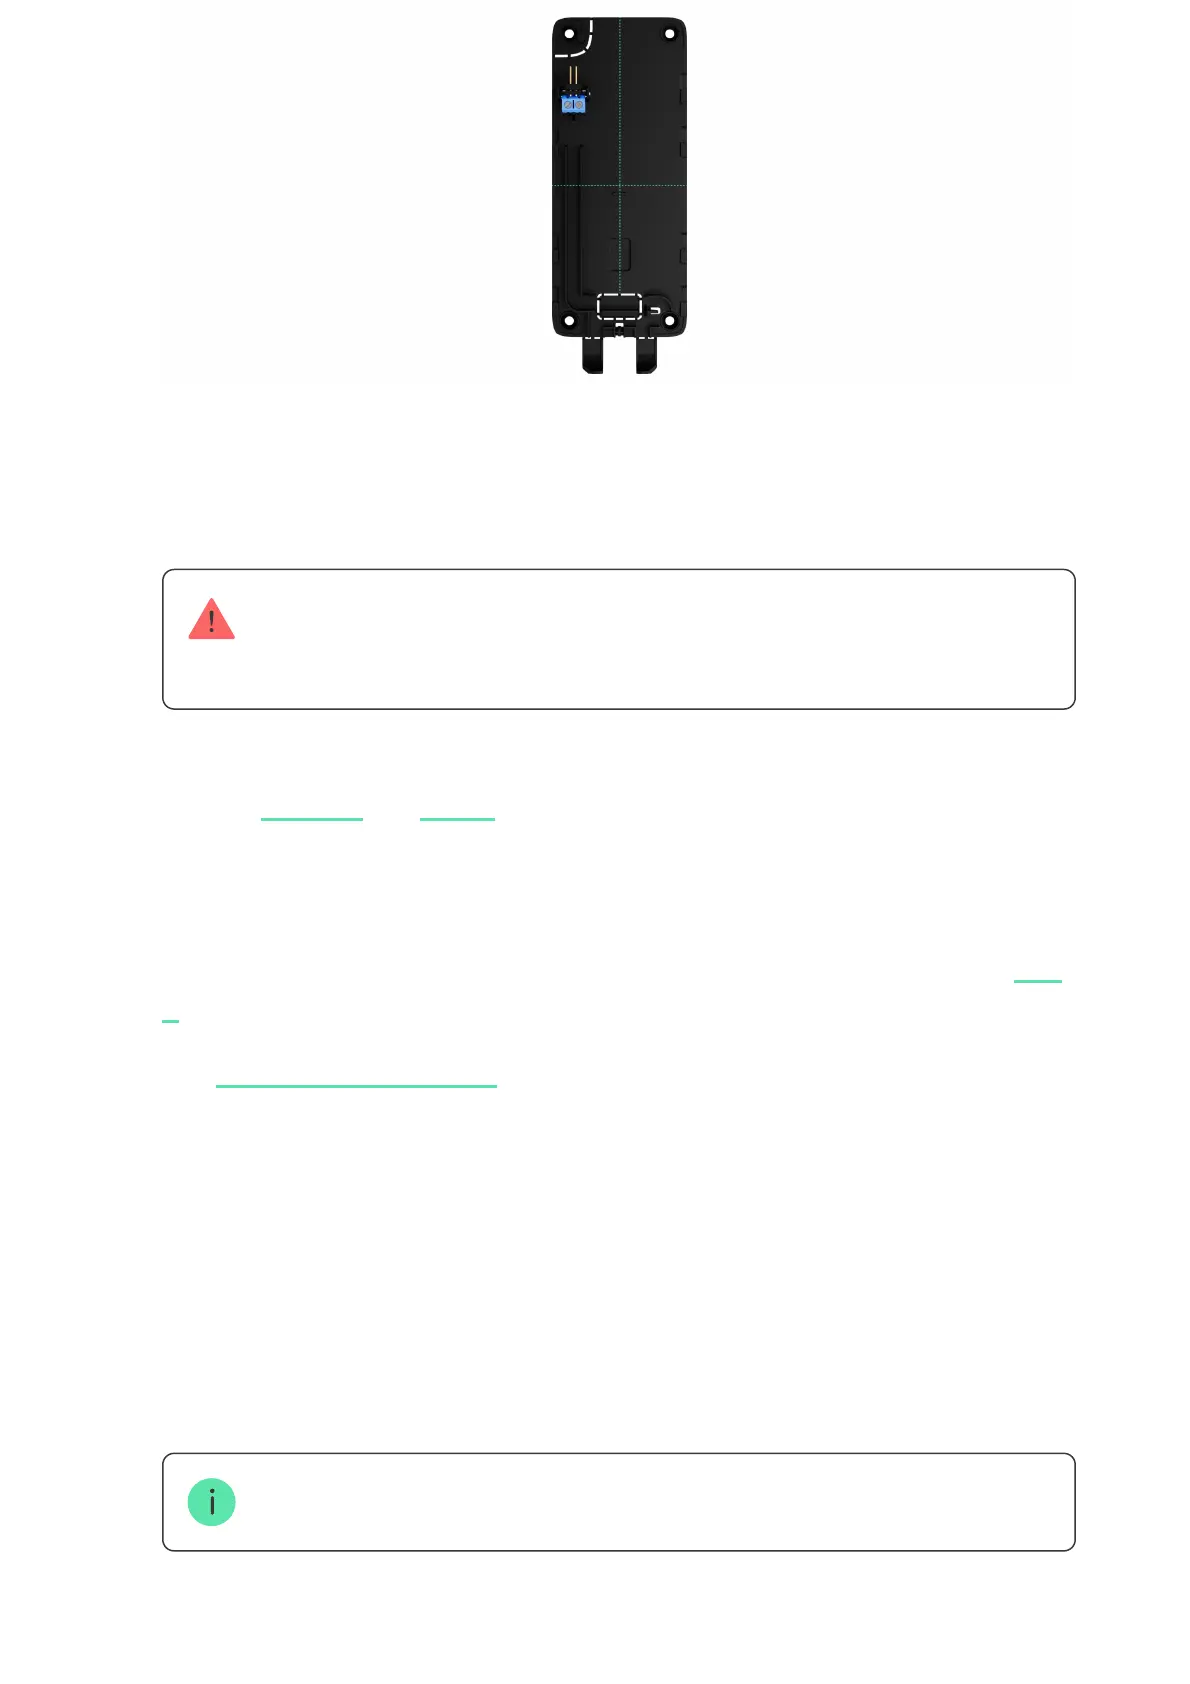
7. Fix the SmartBracket panel on the surface with bundled screws. Use all
xing points.
When using other fasteners, ensure they do not damage or deform the panel.
8. Place the keypad on the SmartBracket mounting panel.
 Loading...