Setting What you can do
or
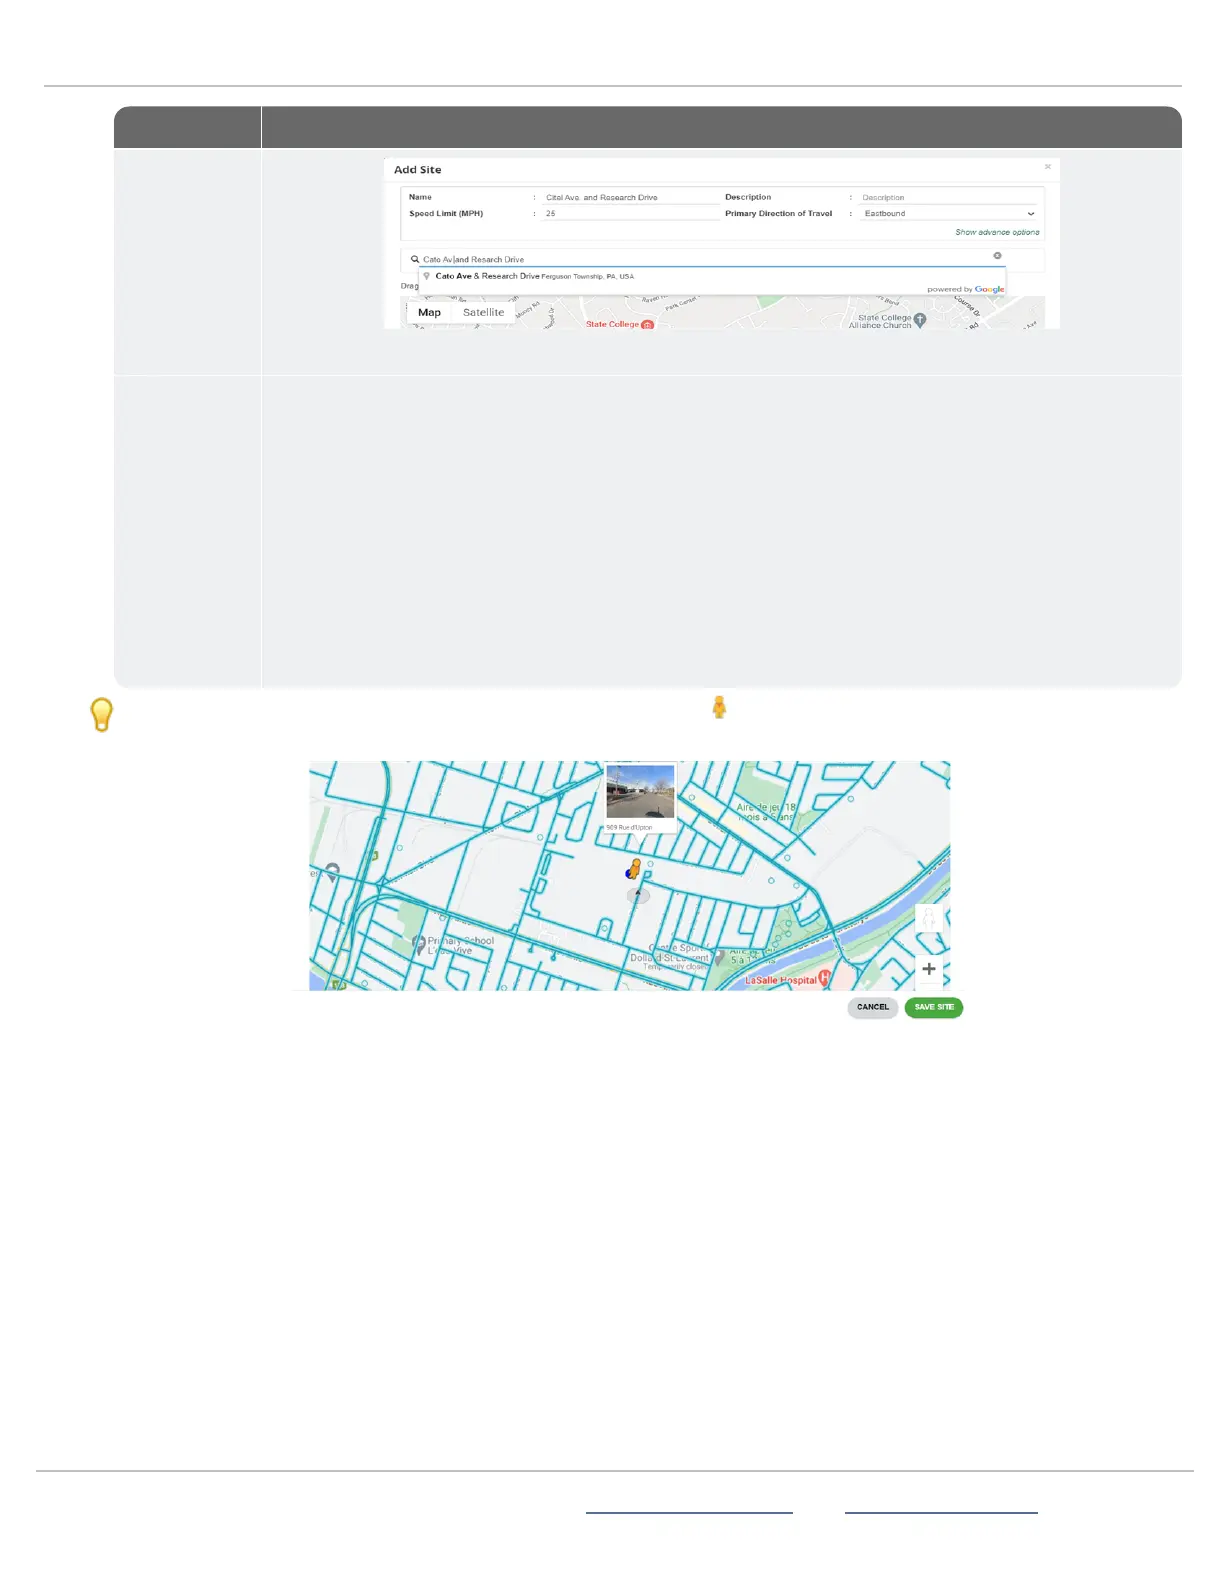
Zoom the map until you can see street names. To zoom in,
Do any of these:
» Roll the middle mouse button forward,
» Use the + sign on the bottom right corner of the map, or
» Click the keyboard + key. See the Keyboard Shortcuts at the bottom-right corner of the map as
well.
» As you zoom, click and hold the mouse button on the map to drag and reposition your view of the
blue dot or status marker.
Drag the blue dot to the planned location. The goal is to move the dot to within 100 feet of the Site
address.
TIP: You can also use Google Satellite view or drag the Pegman onto the map to switch to Street view. Drag the
Pegman to the blue dot and release the mouse button when you see the street view popup.
D.
Click the Save Site button. Your Site will appear in the Sites list in the main window. By default, only active Sites show in
the list. Click Show Hidden to show all Sites, including active and hidden Sites.
Repeat these steps for multiple Sites
If you'll be using a StatTrak-E at multiple Sites, you can repeat the above steps for those Sites or add them later.
ATS | Chantilly, VA | USA | Tel: 1-866-366-6602 | Email: sales@alltrafficsolutions.com | Web: www.alltrafficsolutions.com
Copyright © 2024 |
StatTrak-E Quick Start Guide, TraffiCloud Subscriber Edition
, ver. 1.01 | 4800268 | All rights reserved.
Step 3:Choosing a Site for your StatTrak-E Page 5 All Traffic Solutions