Rockwell Automation Publication DNET-IN001B-EN-P - January 2012 29
Install a 1769 DeviceNet Communication Module Chapter 2
Panel Mounting
Mount the module to a panel by using two screws per module. Use M4 or #8
panhead screws. Mounting screws are required on every module.
Panel Mounting Using the Dimensional Drawing
Hole spacing tolerance is ±0.04 mm (0.016 in.).
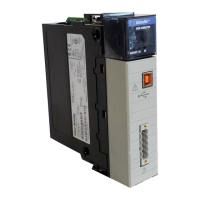
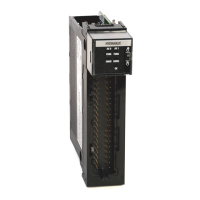
Compact I/O Modules with CompactLogix Controller and Power Supply
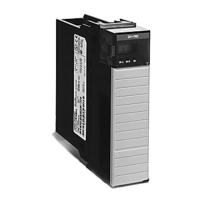
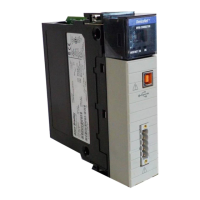
Compact I/O Modules with MicroLogix 1500 Base Unit and Processor
ATTENTION: During panel or DIN rail mounting of all devices, be sure
that all debris, such as metal chips and wire strands, is kept from falling
into the module. Debris that falls into the module could cause damage on
powerup.
132 mm (5.19 in)
122.6 mm (4.83 in)
118 mm (4.65 in)
147.4 mm (5.81 in)
14.7 mm
(0.58 in)
35 mm
(1.38 in)
35 mm
(1.38 in)
28.5 mm
(1.12 in)
35 mm
(1.38 in)
70 mm
(2.76 in)
35 mm
(1.38 in)
35 mm
(1.38 in)
35 mm
(1.38 in)
50 mm
(1.97 in)
40 mm
(1.58 in)
59 mm
(2.32 in)
59 mm
(2.32 in)
DIN Rail Center Line
Mounting Hole Dimension
132 mm (5.19 in)
122.6 mm (4.83 in)
118 mm (4.65 in)
147.4 mm (5.81 in)
14.7 mm
(0.58 in)
35 mm
(1.38 in)
168 mm
(6.62 in)
147 mm
(5.79 in)
35 mm
(1.38 in)
13.5 mm
(0.53 in)
59 mm
(2.32 in)
59 mm
(2.32 in)
28.5 mm
(1.12 in)
DIN Rail Center Line
Mounting Hole Dimension
 Loading...