© Copyright, Alliance Laundry Systems LLC – DO NOT COPY or TRANSMIT
Maintenance
35
1300003 (EN)
Press-Roller Pressure Adjustment
Tension of the press-roller must be adjusted on both
sides of the finisher to adjust the pressure of the press-
roller. To adjust the tension of the press-roller, follow
these steps and refer to Figure 24.
1. Remove both side panels from the finisher.
2. Locate the press-roller tension systems on each
side of the finisher.
3. On one side of the finisher, unhook the tension
spring from the tension pin.
4. Slide the tension pin out of the holes on the
tension bracket.
5. Move the tension pin to another set of holes
higher or lower on the tension bracket to adjust
the tension of the press-roller.
NOTE: The press-roller should have enough
tension to allow it to slightly touch the cylinder for
effective ironing but not so much tension that it
applies excessive pressure on the cylinder.
6. Hook the tension spring back onto the tension
pin.
7. Make an equal adjustment to the press-roller
tension system on the other side of the finisher.
NOTE: Count the number of holes on each tension
bracket to verify that the tension of the press-roller
is equal on both sides of the finisher.
8. Replace both side panels on the finisher.
Press-Roller Drive Chain Tension
Adjustment
To adjust the tension of the driving chain, follow these
steps and refer to Figure 24.
1. Remove the right side panel from the finisher.
2. Locate the press-roller drive chain and the drive-
roller sprocket.
3. Move the adjustable drive-roller sprocket along
its rail to increase tension of the press-roller drive
chain.
NOTE: The press-roller drive chain should have
approximately 1.13 inches (3 cm) of freeplay.
4. Replace the right side panel on the finisher.
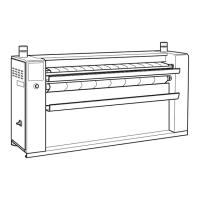
FWF6N
1 Drive-Roller Sprocket
2 Tension Pin
3 Tension Spring
4 Tension Bracket with Holes
5 Drive Chain
Figure 24
FWF6N
5
1
2
3
4
PRESS-ROLLER TENSION SYSTEM