© Copyright, Alliance Laundry Systems LLC – DO NOT COPY or TRANSMIT
Maintenance
39
1300003 (EN)
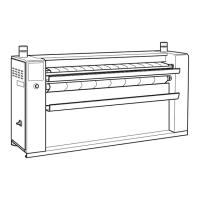
6. Unlock the feeding ribbon roller at the left side
interior panel by removing two screws. Keep
roller in place and check the direction in which
the bearing is mounted. Refer to Figure 31.
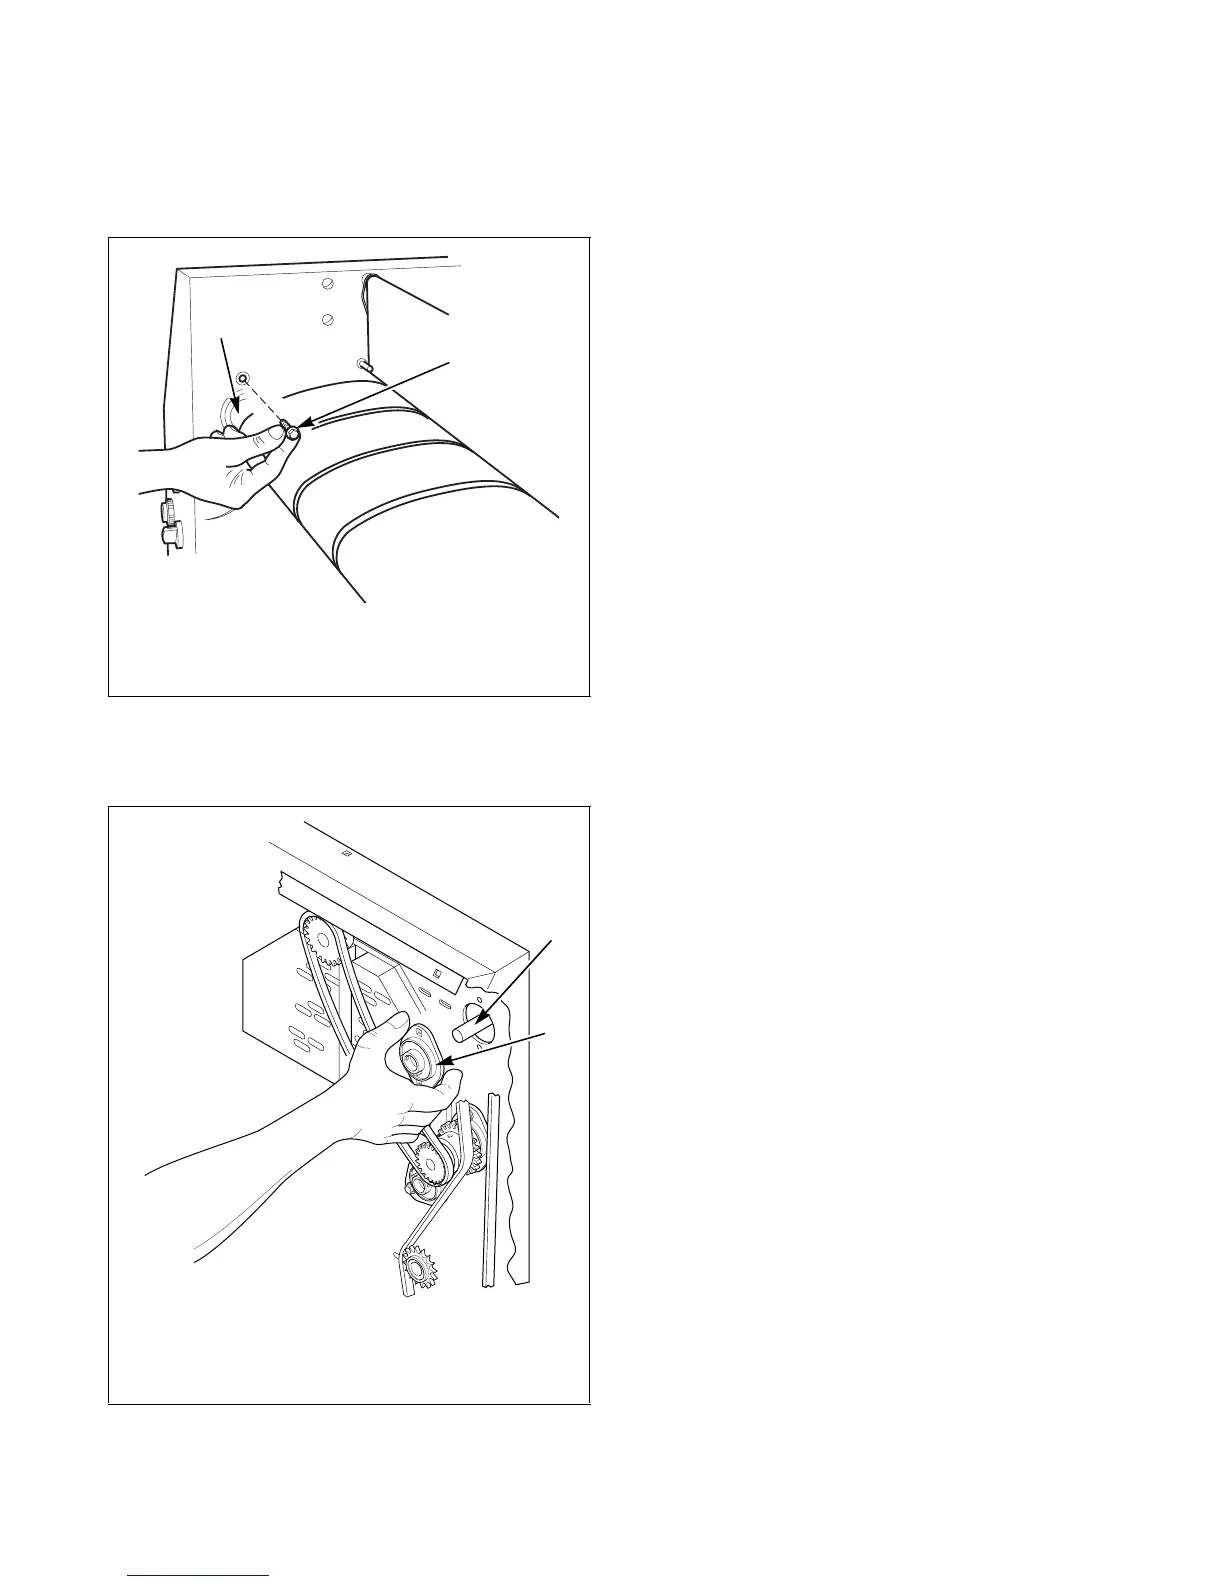
7. Remove bearing by pressing left. Refer to
Figure 32.
8. Remove feeding ribbons by sliding to left side of
roller.
9. Replace feeding ribbons by sliding from left side
of roller to right side.
NOTE: The feeding ribbons must be replaced by a
complete new set of feeding ribbons.
10. Install shaft by pressing right, making sure that
shaft is in same direction as when it was
removed.
11. Reinstall two screws to left side interior panel.
12. Reinstall screw to left side of top panel.
13. Reinstall feeding roll pin.
14. Glue adhesive strip back onto feeding roll with
neoprene glue.
15. Install new clamp onto feeding roll.
16. Verify that the distance between the end of the
input table and the cylinder is between 1/5 inch
(5 mm) and 1/4 inch (6 mm).
NOTE: The gap between the feeding ribbons and
cylinder must be at least 1/5 inch (5 mm).
FWF26N
1 Feeding Ribbon Roller
2 Screw
Figure 31
FWF27N
1 Feeding Ribbon Roller
2 Bearing
Figure 32