Eding a Door/Entry Panel
• Click the label of the door/entry panel you wish to modify.
• Modify the door/entry panel name and other sengs in accordance with the requirements listed in that
device’s help secon.
• Once you are nished, click Save Panel.
For detailed help with the specic sengs for your door panel device(s), please see device-specic help secons:
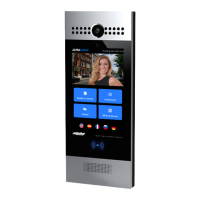
AT700AS Door Panel
» Deleteing a Door/Entry Panel
• Click on the drop-down menu icon ( ) next to the door/entry panel you wish to delete.
• Click Delete
• You will be presented with a conrmaon dialog to ensure that you truly wish to delete that building.
oIMPORTANT: Deleng a door/entry panel will remove all of the sengs associated with it. The
panel can be re-added later on, either to the same installaon or a dierent one.
• Once you have veried that you wish to delete the door/entry panel. conrm that by clicking Delete
Panel.
» Moving a Door/Entry Panel to a Dierent Installation
NOTE: You must have add/edit hardware permissions in both the source installation as well as the destination installation in order to
perform this task.
• Click on the drop-down menu icon ( ) next to the door/entry panel you wish to delete.
• Click Move to Another Installation
• In the resulting dialog box, select the installation you wish to move the door panel to.
• Click Move Panel.
» Duplicating a Door/Entry Panel
• Click on the drop-down menu icon ( ) next to the door/entry panel you wish to delete.
• Click Duplicate
• A new Panel will be created with the prex “Copy of “ added to the original Panel’s title.
• It is important to update the MAC Address of the device and connect it to the cloud within 60 minutes of
it being created for simplest installation.s
» Rebooting a Door/Entry Panel
• Click on the button next to the door/entry panel you wish to reboot.
26