LtWARNING
Do not damage pipe or wiring when drilling
holes.
2 Drill holes about 6mm in diameter and fasten
securely
with
shouldered hexagonal
bolts
(M6xSO)
(j) and shouldered hexagonal
nuts
(M6)
@.
1 Fasten the L-shaped brackets ®
to
both sides
of
this
unit.
2
To
install vertically, attach
to
the floor using the
hexagonal washer faced tapping screws
(MSx1S)
G).
• Suspension from
the
Rear Tray
1
To
install horizontally, attach
to
the
floor
using the
hexagonal washer faced tapping screws
(MSx1S)
G).
3 Make X-shaped
cuts
in
the
carpet.
,p
<+:>,';'
,
~
...
"..
'-:'.->
~
4 Install
on
top
of
the carpet using the shouldered
hexagonal washer faced
nuts
(M6)
@.
Horizontal @ 6
61
installation I i
I a
2 Insert the hexagonal
bolts
(M6x2S) @
into
the
floor
base
@,
then
mount
directly
on the
floor
using
the hexagonal washer faced tapping
screws (MSx1S) G).
<D
"
®i=1
®l
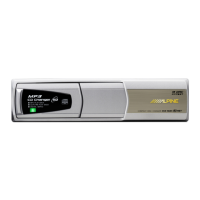
• When installing horizontally,
nwke
sure that the disc magazine's
slot is on the left side,
•
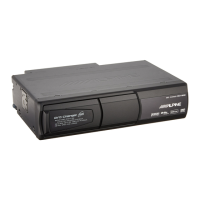
Floor
base
installation
1 Determine
the
position under the carpet
at
which the
unit
is
to
be installed.
Vertical
installation
• When installing vertically, make sure that the disc nwgazine's slot
is on the top side,
• Installing
directly
on
the
floor
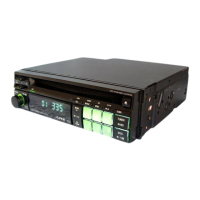
Checking
Operation
LtWARNING
Do not damage pipe
or
wiring when drilling
holes.
1 Turn
the
ignition key
on
and check
that
the
unit
is
operating properly, referring
to
the
operating
instructions.
2 Check that the vehicle's equipment (horn,
stop
lights, etc.) are operating properly.
39.EN