Semng
the
System
Switch
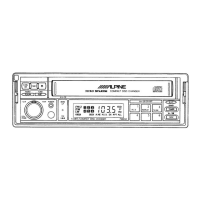
Switch to operate from either an Ai-NET compatible head unit
or
Ai-NET compatible
AV
head unit connected to this unit.
Be sure to set the system switch before fastening the DHA-S690 in place.
1 Disconnect the power plug.
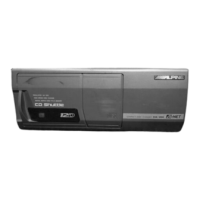
2 Change the System Switch (Fig. 1).
This switch is used to select Ai-NET or Stand Alone operation. Change the switch position using a small screwdriver or
other pointed object.
Fig. 1
CD
Ai-NET system
1 2
[L]
Stand Alone system
1 2
OJ
1:
When connecting to an Ai-NET compatible head unit or Ai-NET compatible
AV
head unit.
If
set to
2,
with any of the Ai-NET compatible
(AV)
head units connected, you may not be able to operate from the head unit, or listen to
audio from some external devices, etc.
The factory default is
1.
2:
When connecting to an Ai-NET incompatible head unit or another manufacturer's head unit.
CAUTION:
When switching the System Switch, make sure there are no cables attached to the DHA-S690.
3 Connect the power plug.
System
Example
• Connecting a Monitor
Monitor
(sold separately)
Audio Input
Terminal
Monitor
B.BOX
(sold separately)
t
Video Input
Terminal Video Output
t f
C<>""""~
RCA Extension Cable
(included)
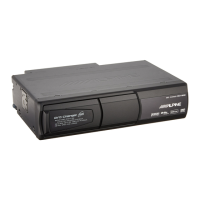
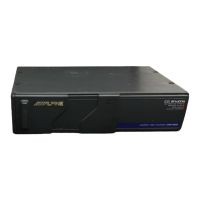
DHA·S690
Remote Control
Eye Jack
.--
Remote
Control Eye
Audio Output Connector
setting
of
DHA-S690
The DHA-S690's system settings must
be
made after connections are completed.
Before fixing the unit in place, refer to
page
41
to change the system setting.
System Switch
• Be sure to connect the switched Power Lead (Ignition).
• Also refer to the operating instructions
of
the other products in the system.
1 2
OJ
Switches to "2".
41-EN