Operation
17
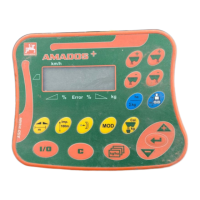
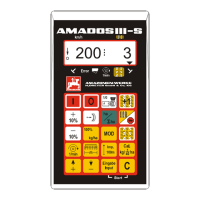
AMADOS
+
DB 1001 01.04
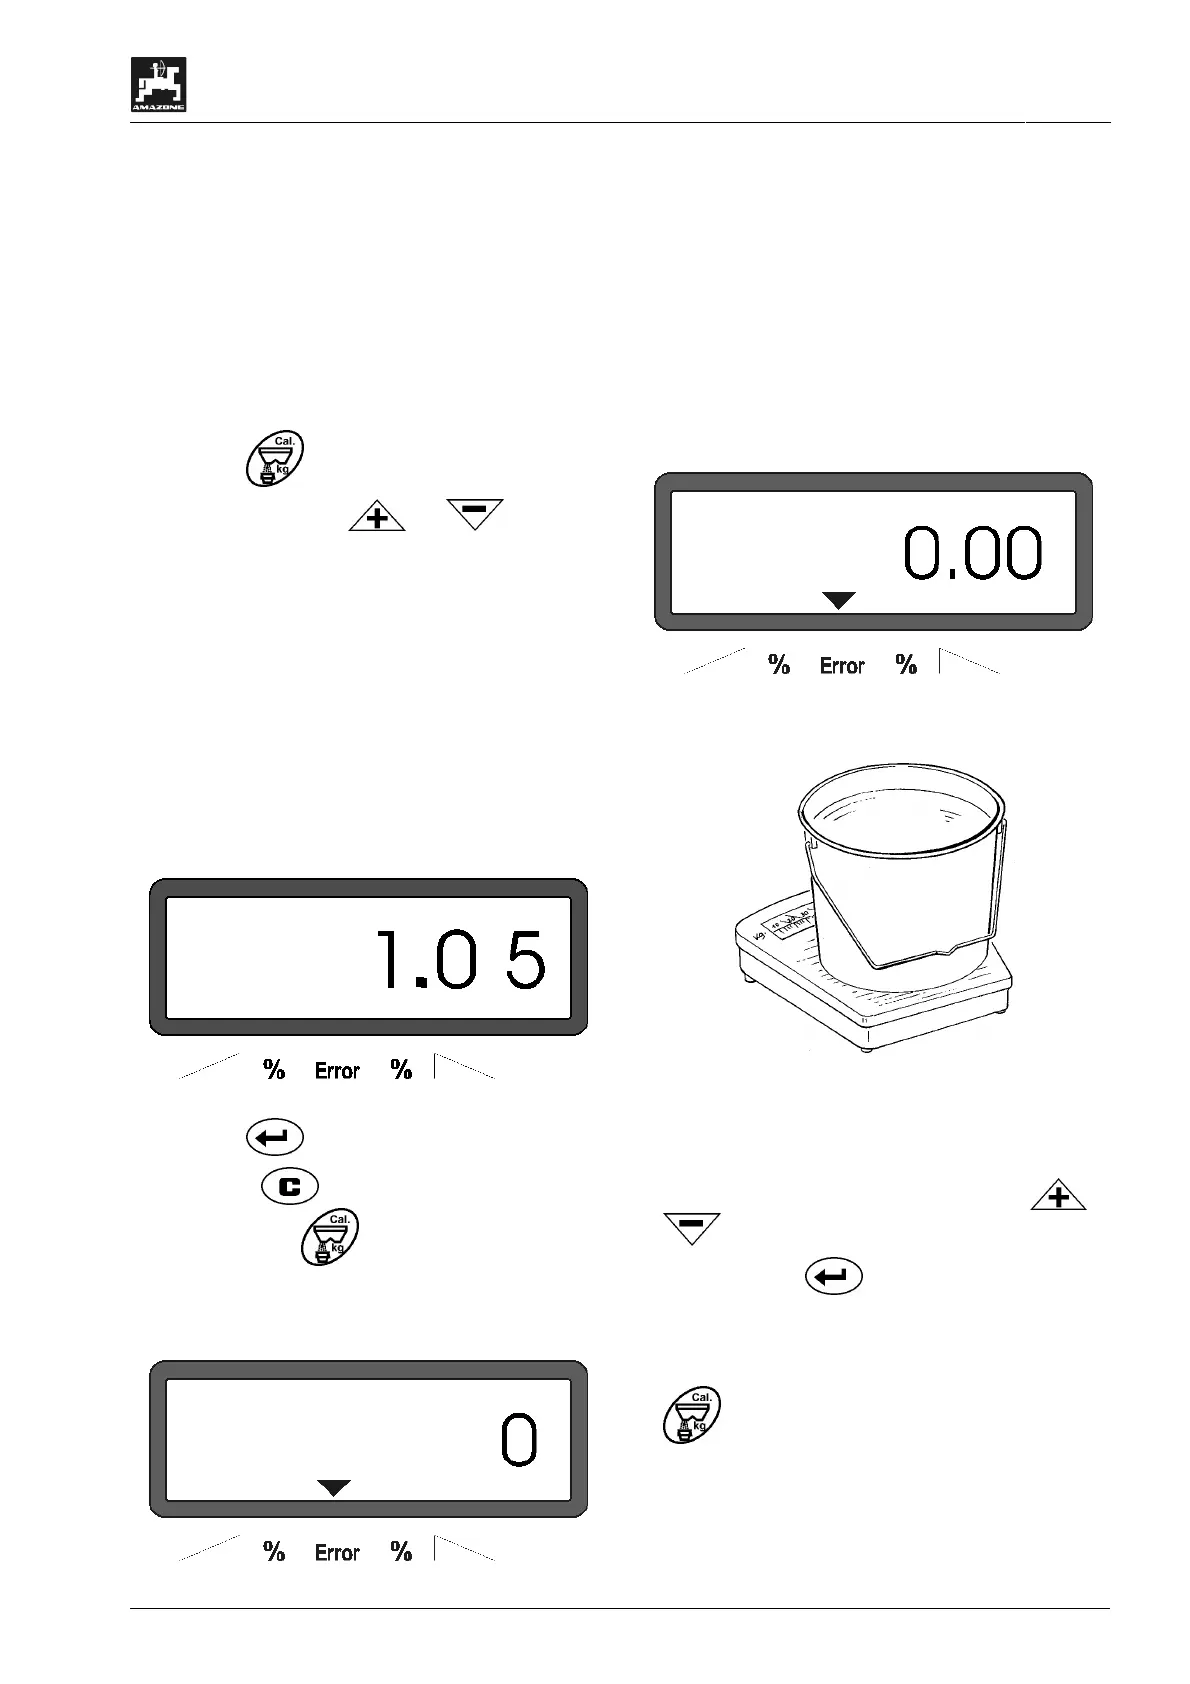
Stationary determination of the calibration factor:
- Check the entered values for the desired spread
rate and working width and correct if necessary.
- Fill a sufficient amount of fertilizer into the storage
hopper.
- Remove the left hand spreading disc.
- Place the collection bucket underneath the dis-
charge opening (please observe the ZA-M instruc-
tion manual!).
- Press key
- Enter via the keys or calibration
factor on the display, e.g. 1.05.
- To enter the calibration factor it is possible to
- take the calibration factor directly from the set-
ting chart or
- take experience value
I
Calibration factor realistical (0.7-1.4):
- about 0.7 for urea
- about 1.0 for mineral fertilizer CAN
- about 1.4 for fine, heaviness PK-
fertilizer
Display after entering the calibration factor
- Press key and confirm.
- Press key , keep pressed and simultane-
ously press key
and start the calibration.
- The display shows „0“.
Display during starting the fertilizer calibration
- With the pto shaft engaged, run the tractor at the
rated speed (540 RPM) and open the left hand
shutter.
- The display now shows the shutter opening time.
- Close the shutter earliest after 30 seconds or
when the bucket is full.
The display changes after the shutter has been
closed.
Display after closing the shutter
• Weigh collected fertilizer (consider net weight of
bucket).
I
The balance used must weigh very accu-
rately. Larger inaccuracies may cause
deviations in the actually applied spread
rate.
- Enter weight of the fertilizer via the keys or
into the computer, e.g. "12.50" for 12,5 kg.
- Then press key to confirm.
AMADOS
+
determines the fertilizer calibration fac-
tor. This is now valid for this specific kind of fertil-
izer.
- press and the fertilizer calibration factor is
displayed.
- After completing the calibration test reinstall the
spreading disc.