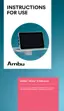
3. Setting up the displaying unit
This section explains the physical setup of the displaying unit in its place of operation.
3.1. Turning power ON and OFF
Turn the displaying unit ON:
• Press the power button
on the side of the displaying unit.
• A live image is available within seconds after power on, if a visualization device is connected.
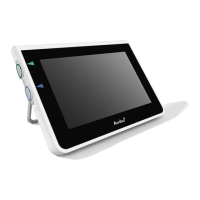
• The graphical user interface takes approximately 20 seconds to start up, but a live image is available as soon as the
monitor is turned on. If no visualization device is connected, an animation will be shown how to correctly connect a
visualization device to the displaying unit.
Turn the displaying unit OFF
• Press and release the power button
on the side of the displaying unit. When
the power button is released a pop-up
window will ask you to confirm that the
displaying unit should be turned off.
• If the battery level is low, charge the
displaying unit (see section 3.6 )
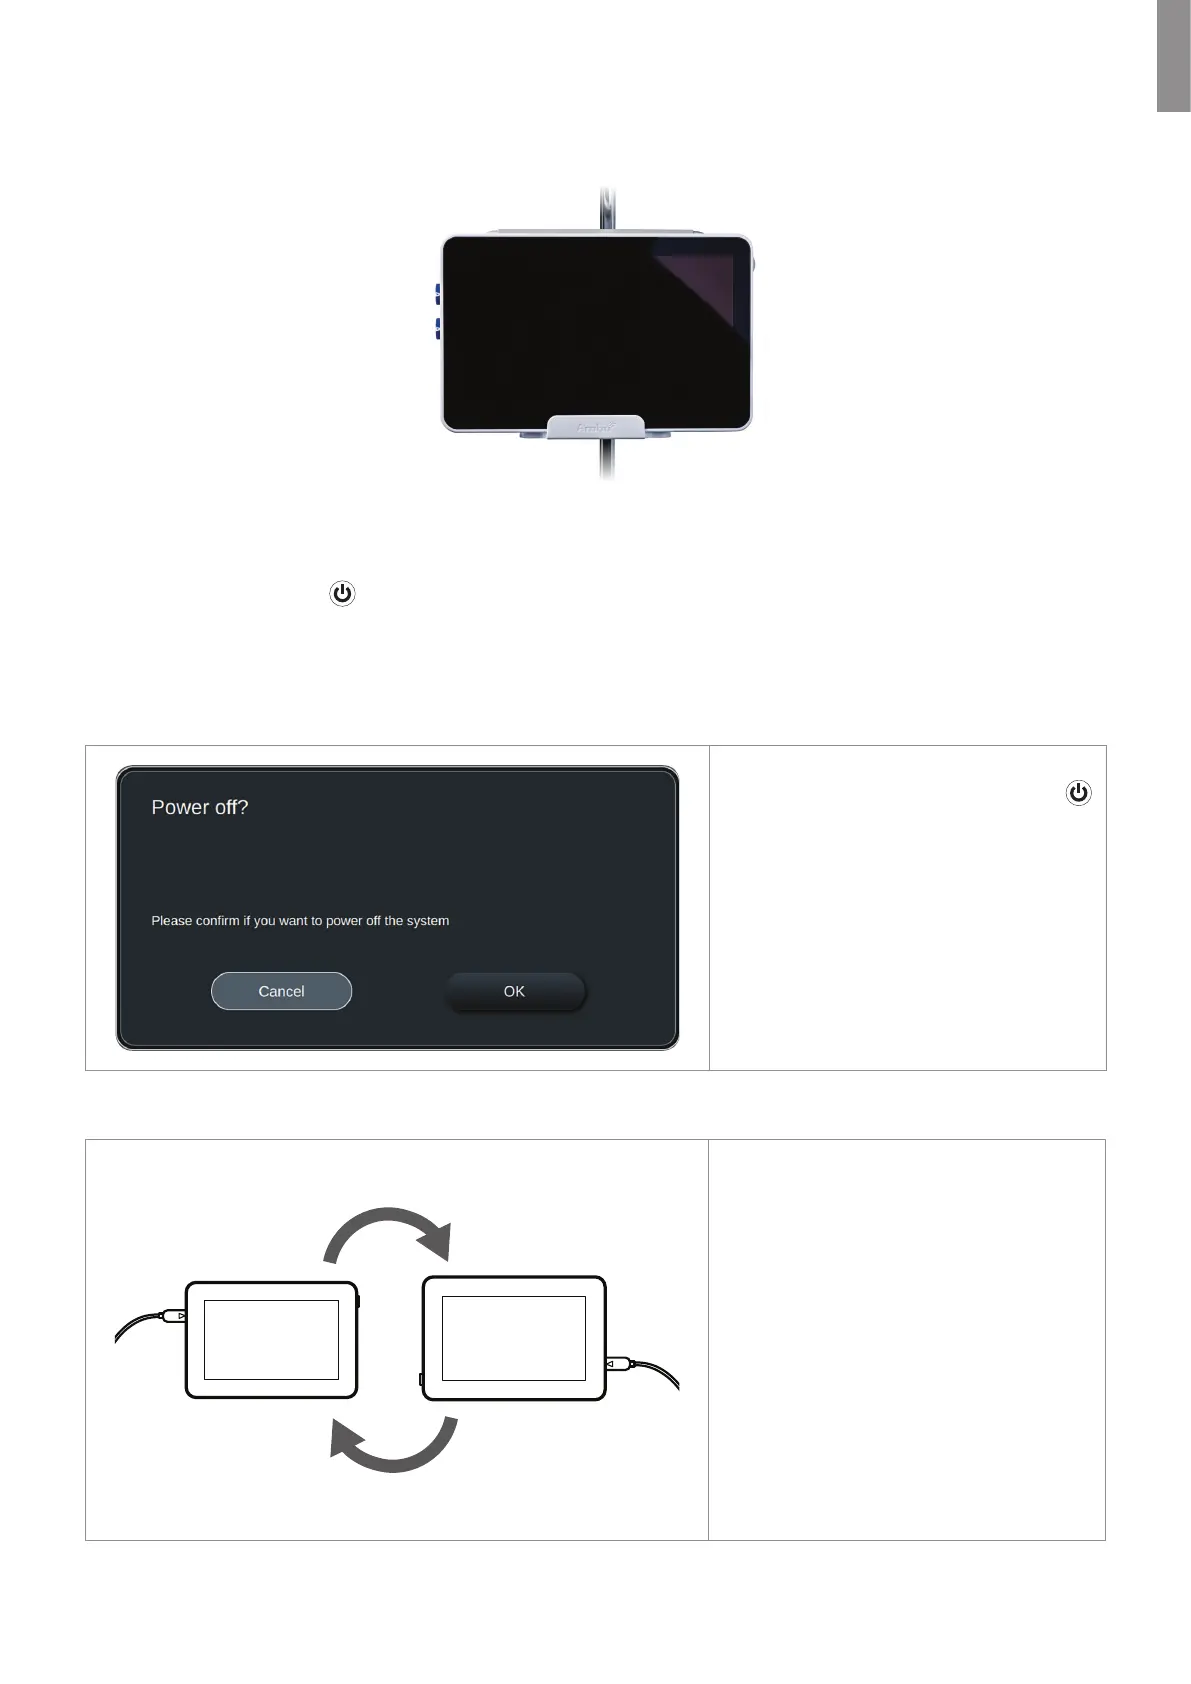
3.2. Choosing connecter port orientation
The displaying unit can be rotated
180-degrees to have the connector ports for
the visualization devices oriented left or
right in your preferred direction depending
on the clinical situation. The displaying unit
has a build in sensor which enables the
graphical user interface to adapt
automatically to its physical orientation.
Automatic image rotation can be enabled or
disabled under General settings (see
section 4.2.5)
The displaying unit can be placed on a plane
surface with the build-in stand (see section
3.3) or on a pole with the supplied bracket
(see section 3.4) in both orientations.
5
EN

 Loading...