54
8.1.1 Menu navigaon
8. OPERATING THROUGH THE FRONT PANEL
8.1
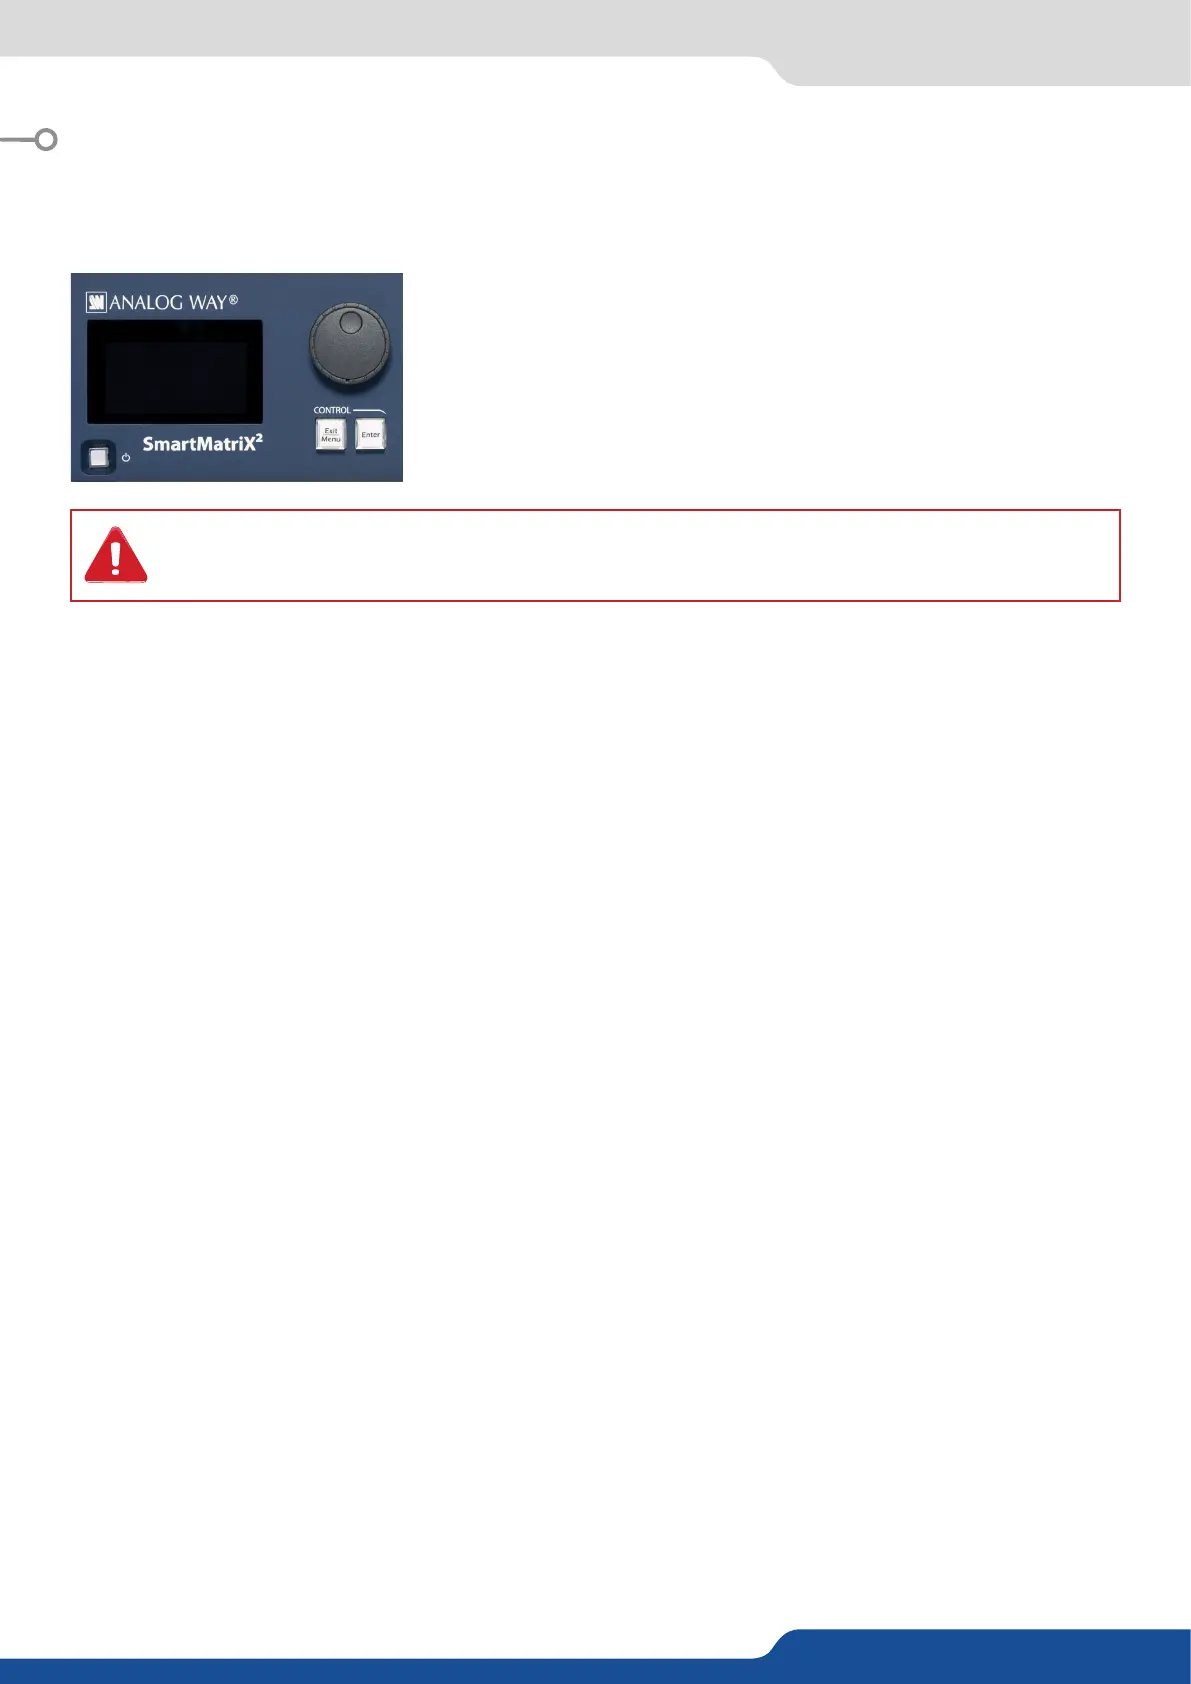
To access the SmartMatriX² menu, press the buon in the
control secon. To highlight items in the menu which will appear on the
VFD screen, turn the scroll knob le or right to the desired menu item.
When you have reached the desired menu item, press the ENTER buon
in the control secon to access that menu funcon. Pressing the ENTER
buon when a selecon has been made sets the value to that selecon
in the SmartMatriX² memory. When all sengs have been made, press
the buon to exit sub-menus and return to the main menu.
Pressing the MENU buon in the menu secon of the SmartMatriX², will display and give you access to the
following items on the menu VFD screen:
select to set the output types and resoluons of Output #1,
select to set the output types and resoluons of Output #2,
select to congure Video output card sengs,
select to congure the 10 individual input types and resoluons,
select to store and use presets,
select to change source image sengs of an input,
select to access keying and tling controls and parameters when video layer is selected,
setup your background color and your Quick Frame,
select to adjust layer size, posion, border, transparency or transions,
select to store (record), use and manage logos and frames into the SmartMatriX²,
select to access all audio input and output parameters,
select to access device soware informaon, LAN sengs, reset factory sengs, and other user
oriented funcons.
* These items are only displayed if a valid input is assigned to the current layer.
The SmartMatriX² oers 1 mode to work from: the Matrix mode which turns your SmartMatriX² into a true
10 x 2 scaled matrix with numerous eects and PIPs and logos.
Simply selecng a menu item will not set it to that value. Be sure to press the ENTER buon when
conguring the menu items or to push the scroll knob.