15
Praca | EN
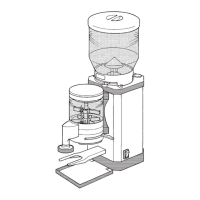
Seng up the grinder and inserng the bean container
You will need a slot screwdriver to x the bean container (not
supplied).
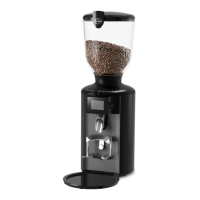
1. Place the grinder on a level and stable surface that does not vibrate.
2. Ensure that the outlet (13) is pushed as far upwards as possible and en-
gages securely in the outlet lock (see Fig. D).
3. Make sure that the grinder is switched o (On/O switch (5) to “0” posi-
on) and connect the grinder to the power supply by inserng the power
plug into a properly installed earthed socket.
4. Place the drip tray (9) into the corresponding casing recess below the
outlet.
5. Make sure that the rubber ring (18) has been properly inserted in the
bean container intake (2) and is lying at (see Fig. B).
6. Posion the bean container (1) on the bean container intake.
When posioning the bean container intake, ensure that the nose of
the bean container is located in the corresponding recess in the bean
container intake.
7. Push the bean container down slightly into the bean container intake and
rotate the bean container clockwise to lock it in place on the grinder.
If the bean container cannot be xed in place by rotang it, it may not
be posioned correctly. Align the bean container correctly (see step 6)
and try again to x it in place by rotang it (see also “Troubleshoong”
secon).
8. Use a slot screwdriver to ghten the locking screw (19) for the bean
container clockwise.
The grinder switches o automacally when the bean container
is not inserted.