18
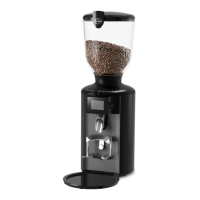
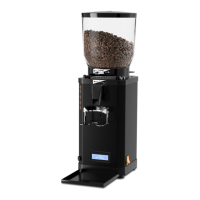
SINGLE ESPRESSO GRINDER
Adding espresso beans
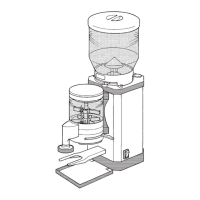
1. Remove the lid from the bean container (1).
2. Pour whole roasted espresso beans into the bean container from above.
• The maximum lling quanty should be approx. 1 cm below
the edge of the bean container.
• The minimum lling quanty should not fall below approx.
2 cm in order to ensure that there are no dispensing uctua-
ons.
3. Place the lid back onto the bean container.
4. If necessary, open the bean container by pulling out the sliding valve (20)
(see Fig. B).
Using the clip (17) on the lid of the bean container, you can
aach a label or similar to the grinder to indicate the type of
espresso beans you are currently using.
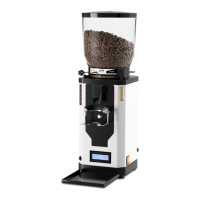
Switching on the grinder
1. Ensure that the power plug is inserted into a properly installed earthed
socket.
2. Switch on the grinder by moving the On/O switch (5) to posion “I”.
The grinder is ready for operaon as soon as the recipe last selected or
the symbol for manual grinding appears on the display (14).
Seng the grinding degree
• The lock for the grinding degree adjuster locks the grinding
degree slider (15) to prevent accidental adjustment of the
grinding degree.
• When the grinding degree lock (4) is open, the grinding
degree slide can be moved connuously along the grinding
degree scale (16). The nest seng is “0” and the coarsest
seng is “8”.
1. If necessary, release the lock on the grinding degree adjuster by rotang
the grinding degree lock (4) counterclockwise to the posion (open)
(see Fig. F).
2. Move the grinding degree slide (15) to the posion required so that the
groove on the slider shows the grinding degree required on the grinding
degree scale (16) (see Fig. G).