Calibration Step by Step:
Plug in the adopter and simultaneously long
press the and buttons together within
2 seconds to get into the Engineer Mode.
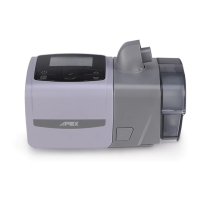
<The picture is for reference only >
While the screen displays “CALJB” and press the
button to start the first calibration point and
connect device with pressure meter.
<The picture is for reference only >
Adjust the pressure value by pressing the or
button until the reading of pressure meter
remains at the target value 3.0 cmH2O.
The pressure error value should be in 3.0 ± 0.1
cmH2O.
To make the sensor record the pressure completely,
the flow should be stable for about 20 seconds.
<The picture is for reference only >
Long press the button and at the same time
continue to press button to enter the second
calibration point.
<The picture is for reference only >
Adjust the pressure value by pressing the or
buttons until the pressure value on the pressure
meter shows 10.0 cmH2O.
The pressure error value should be in 10.0 ± 0.1
cmH2O.
To make the sensor record the pressure completely,
the flow should be stable for about 20 seconds.
<The picture is for reference only >
 Loading...