YC500A Installation/User Manual
Installation Procedures
Step 5 - Completing the APsystems Installation Map
Fill in the APsystems Registration Cards, which provide system information
and the installation map. Feel free to provide your own layout if a larger or
more intricate installation map is required. The layout map provided is
designed to accomodate labels in vertical or horizontal orientation to meet
all the field PV connections.
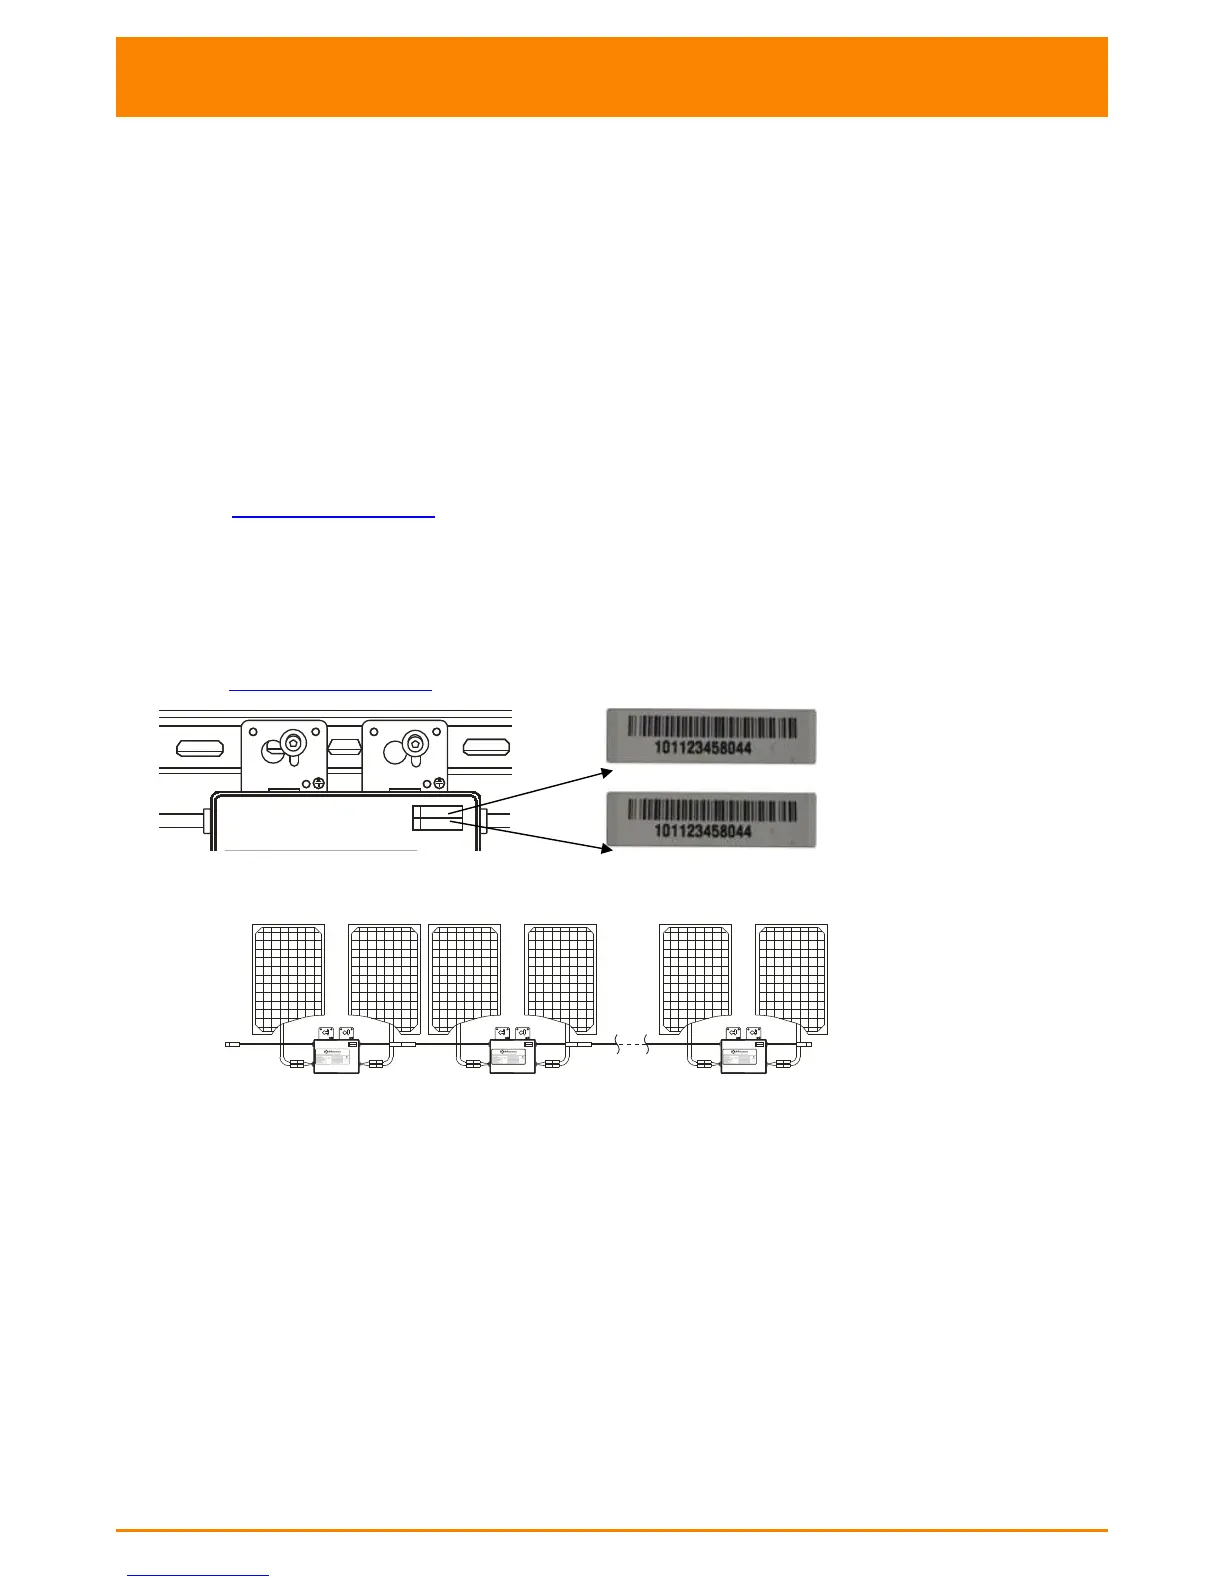
a. Each APsystems Microinverter has removable serial number labels.
Peel labels off, affix one to the respective location on the APsystems
installation map, and fill in A,B in the label below(as figure13)
according to the layout on the roof(as figure 12). Then affix another
label to the PV module frame which is easy to see. The warranty cards
can obtain from the appendix of this manual or APsystems website
www.APsystems.com
b. Fill the warranty cards and email to APsystems at
emasupport@altenergy-power.com
c. APsystems will create the EMA account and email you the account
information. Then you can use the EMA website to view detailed
performance of your PV system. You can learn more information on
energy monitoring and analysis system from APsystems website
www.APsystems.com
Microinverter
serial numbers
A
B
A
B
A
B
101123458044
101123458045
101123458054
……