27
UK
INSTALLATION INSTRUCTIONS
In addition to the guide below it is essential that the written instructions are read and
understood and that you have all the necessary components before commencing installation.
Failure to install the product in accordance with these instructions may adversely aect the
warranty terms and conditions. Do not undertake any part of this installation unless you are
competent to do so. Prior to starting ensure that you are familiar with the necessary plumbing
regulations required to install the product correctly and safely.
Bar valve fixing accessories are available separately.
The MD300EFB is a first fix fixing bracket. If using the
MD300EFB bracket, ensure sucient threads are left
from the finished wall surface, after the cover plates have
been fitted, to ensure adequate purchase for the
exposed valve. Please refer to page 14 for recommended thread depths information.
The BAR001FIX bar valve fixing kit accessory is available
separately, to provide a method of surface siting exposed
bar valves onto a finished wall surface, using 15mm
concealed pipe work.
If required, fit the bar valve fixing accessory following the relevant installation instructions
provided with the accessory kit and proceed to step 5.
The exposed valve and fixing bracket assembly MUST NOT be used as a grab rail support
method.
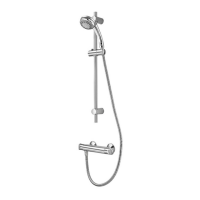
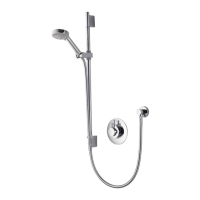
MIDAS
BATH SHOWER MIXER - WALL MOUNT
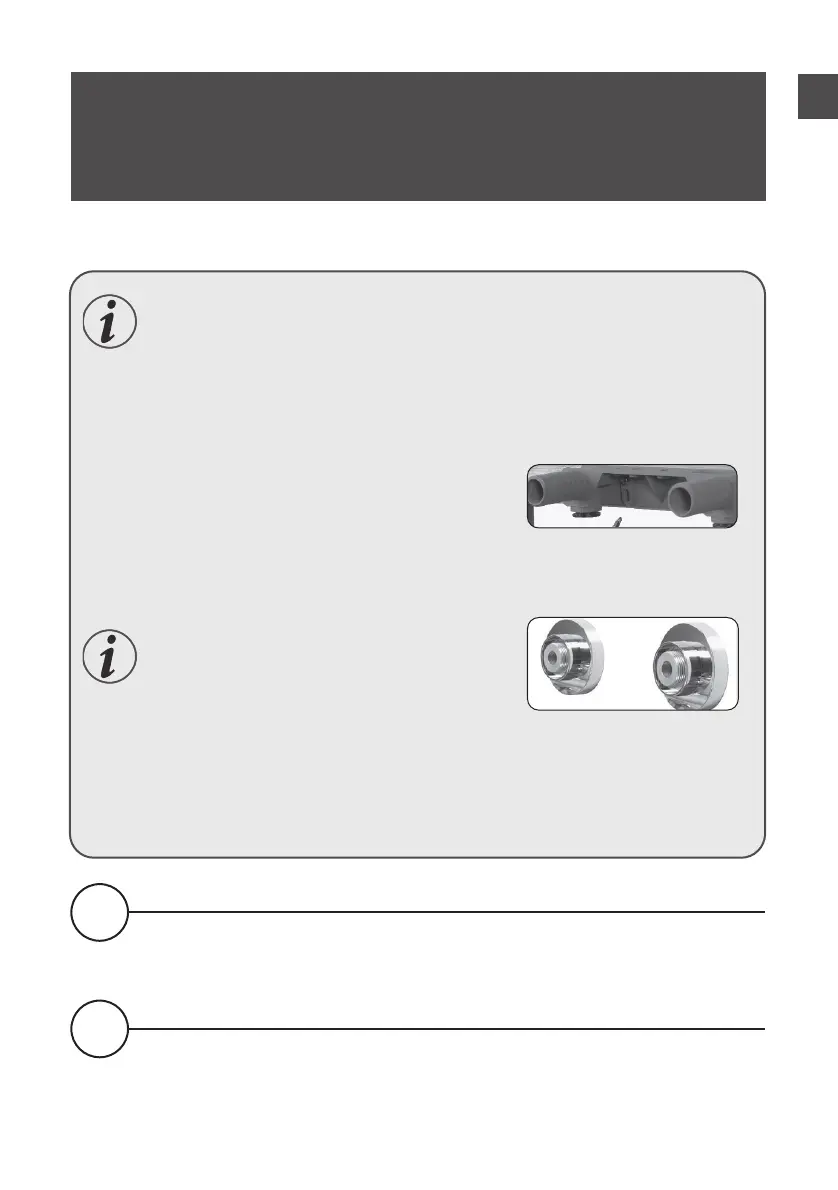
Construct suitable connections at 150mm centres terminating in ¾” BSP male threads
(available separately from Aqualisa customer services, part no. 525301 (Midas 110),
part no. 910549 (Midas 220).
Ensuring adequate provision to allow the water to discharge safely to waste, turn on the supplies
to flush the system through. Attach pressure test equipment and pressure test the system in
accordance with Water Supply Regulations.
2
1

 Loading...