Page 9
STEP 4.
—
- The control panel is supplied with a mounting plate
to simplify installation, and provide further protection
from water ingress. It comes with pre-countersunk
screw locators which must be used so that the screw
heads do not interfere with the mounting process.
- If pole mounting, use the centre 5 locators (as per
diagram), otherwise any of the outer ring of locators
can be used for wall mounting.
Mounting Plate
- Once the mounting plate has been correctly fixed to
wall or pole, the control panel can be temporary put in
place to choose appropriate gland locations for power,
pump, and level controls. While the control panel isn’t
permanently fixed to the mounting plate, please make
sure that it is physically held in place, so that it doesn’t
fall off and become damaged. Penetrations are NOT
to be made into the control panel other than through
the protected underneath section as per the below
example.
- Once gland locations are chosen, take off the backing
plate and drill. Once gland holes have been created,
clean out any plastic debris being careful not to
damage any internal wiring or components and firmly
install glands.
Installing Glands
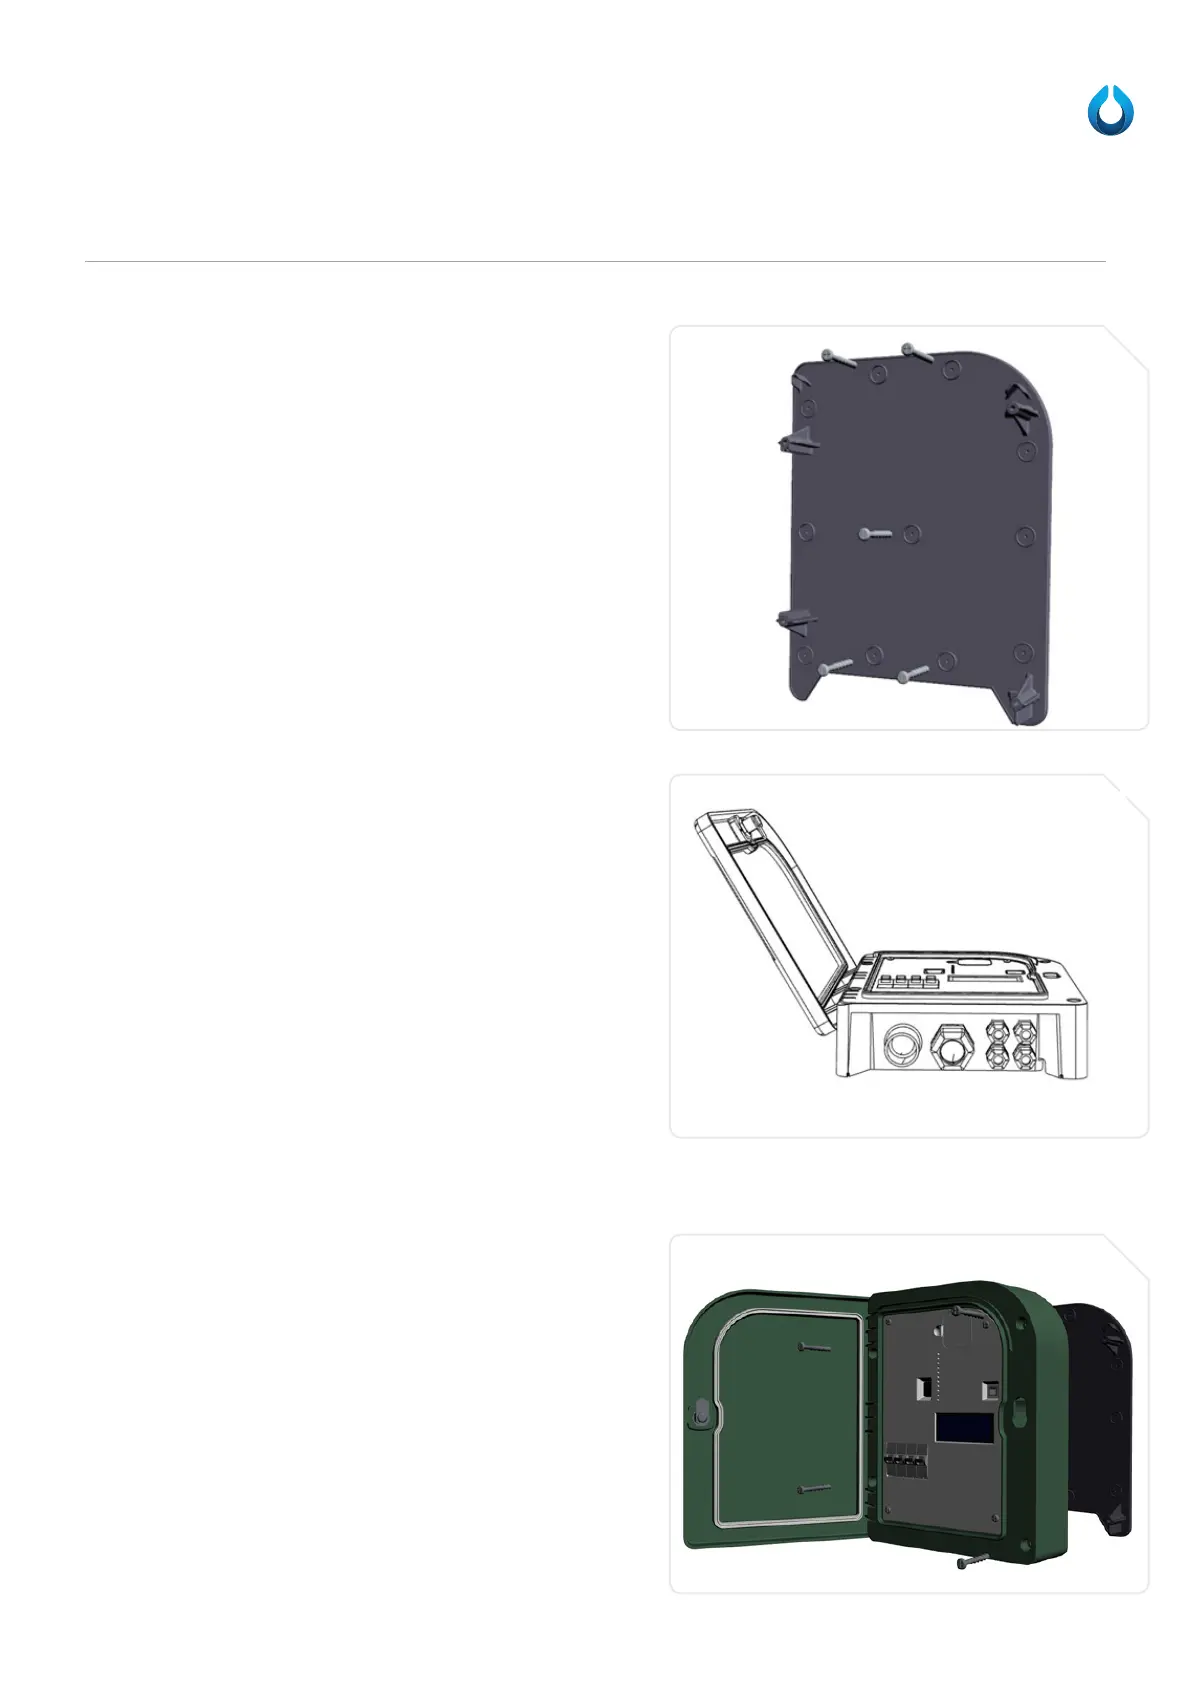
- Aer the glands have been installed, the controller
can now be permanently fixed to the mounting plate.
This is done by siding the controller onto the mounting
plate, and then screwing into place via the 4 supplied
screws around the outside edge. Please refer to
picture.
Fixing Control Panel to Mounting