EN – 25
AXLE BUSHING REPLACEMENT
Remove Bushing
NOTICE: Save all hardware for reinstallation.
1. Stop engine, remove key and wait for all moving parts
to stop and for hot parts to cool.
2. Disconnect spark plug wire from engine.
3. Place unit in service position. See Service Position on
page 8.
4. Remove bottom cover. See Bottom Cover Removal on
page 9.
5. Place speed selector lever in the fastest forward
position.
See Figure 41.
6. Remove sleeve bushing from axle.
7. Remove hardware securing bushing to frame. If
replacing bushing on right side of frame, remove roll
pin from left side of axle and move axle and spur gear
left to access hardware.
8. Remove bushing.
Install Bushing
1. Pre-tap new bushings with original tapping screws.
2. Install bushing onto axle.
3. Secure bushing to frame with two tapping screws from
inside frame and tighten hardware.
See Figure 42.
4. If reinstalling bushing on right side of frame, align spur
gear with pinion gear, center axle in frame and
reinstall roll pin into axle.
IMPORTANT: Position sleeve bushing and flat steel
washer against frame before reinstalling roll pin.
5. Reinstall sleeve bushing onto axle.
6. Reinstall bottom cover and secure with six hex bolts.
7. Reinstall wheels and secure with axle lock pins.
8. Return unit to operating position.
9. Reconnect spark plug wire.
WARNING: AVOID INJURY. Before placing unit
in service position, close fuel valve and drain
fuel from tank and fuel system. See Draining
Fuel System on page 8. Make sure unit is
secure and will not tip.
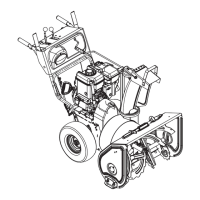
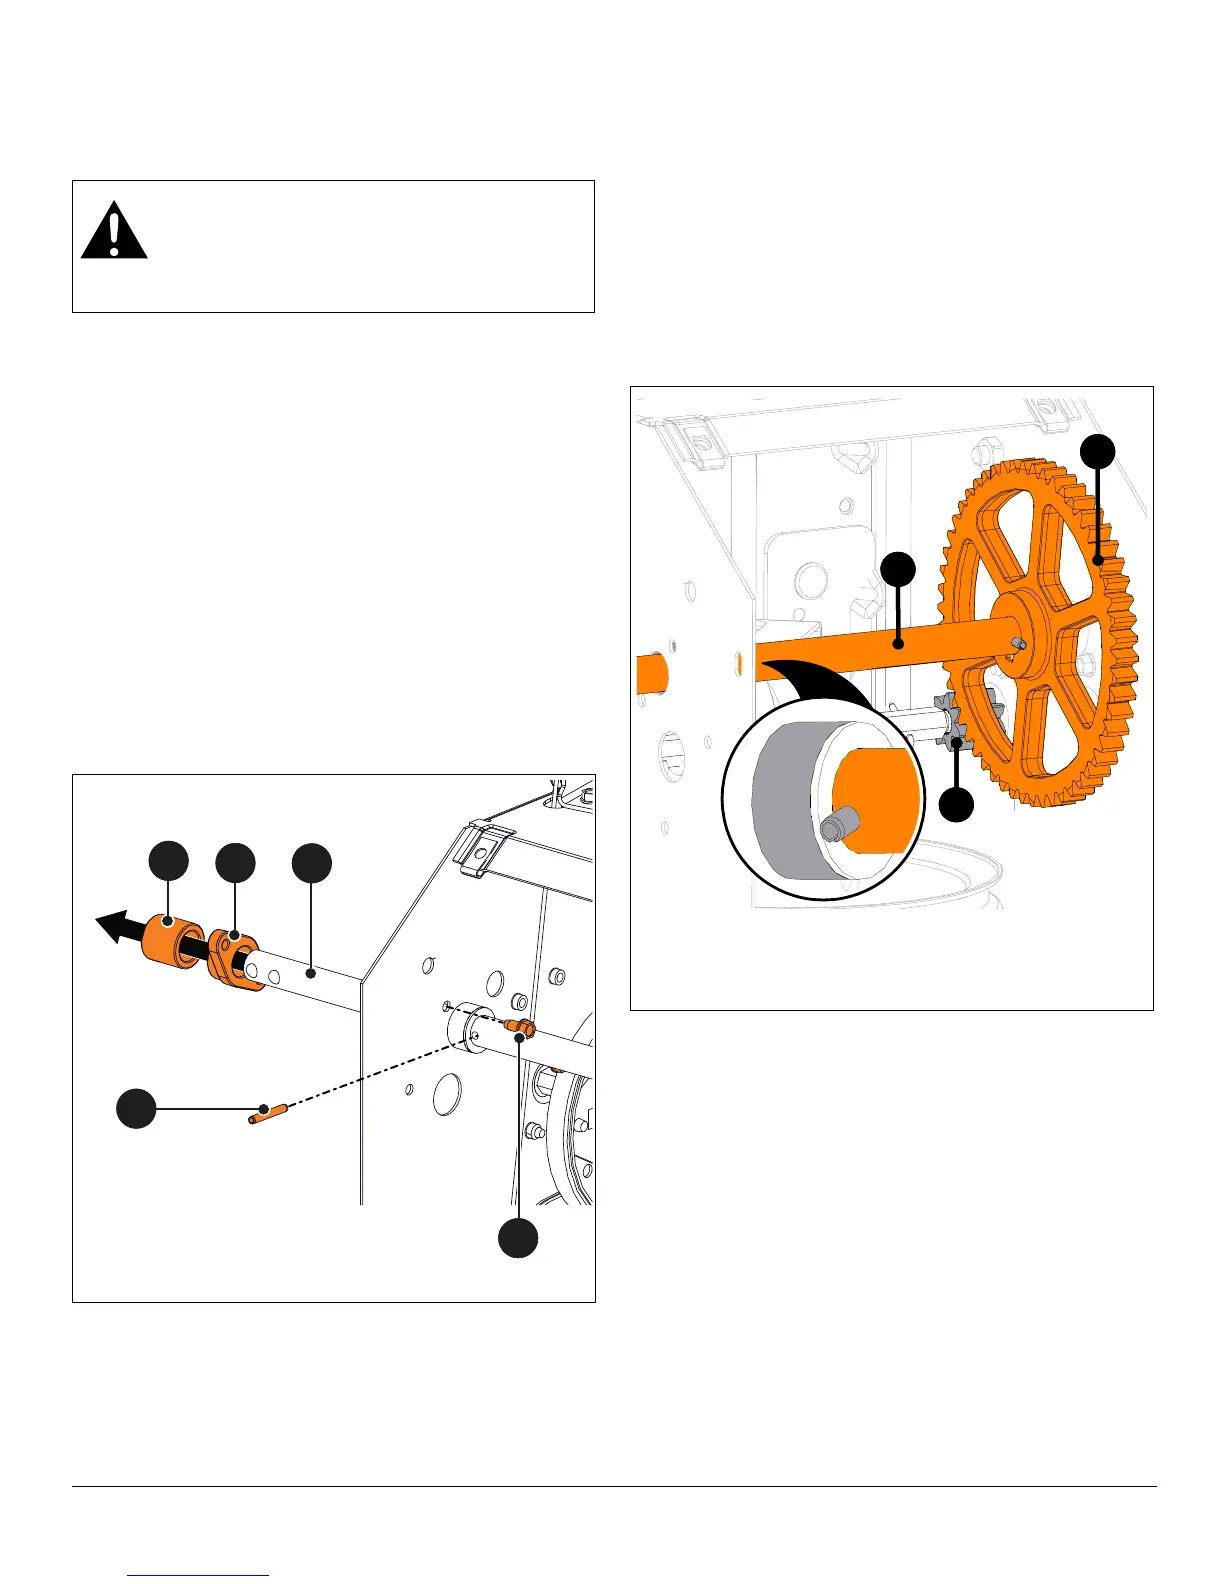
Figure 41
1. Tapping Screw
2. Sleeve Bushing
3. Bushing
4. Axle
5. Roll Pin
2
3
4
1
5
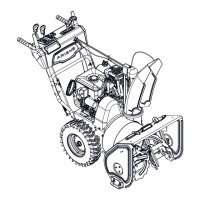
Figure 42
1. Axle
2. Spur Gear
3. Pinion Gear
1
3
2
 Loading...